Unlocking the Secrets of Alchemilla crinita: A Beginner’s Guide to Propagation
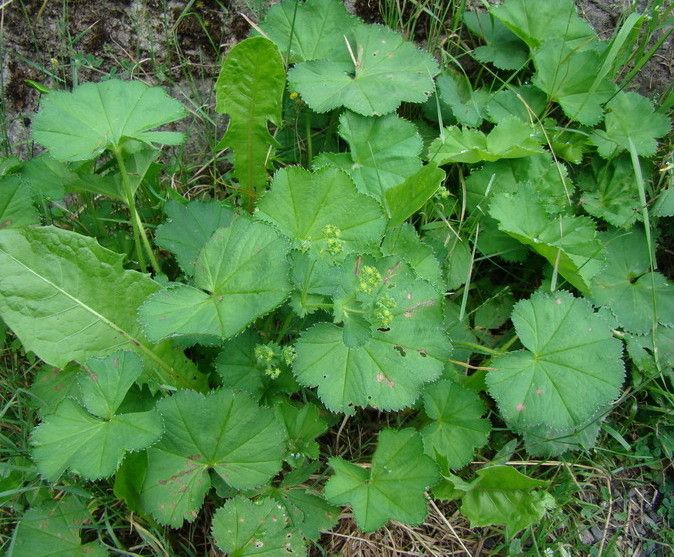
Alchemilla crinita, known for its delicate, silvery-green foliage and charming, chartreuse flowers, is a must-have for any garden. But getting your hands on this beauty can be a bit tricky, as it’s not always readily available at nurseries. That’s where propagation comes in! With a little know-how, you can easily create your own Alchemilla crinita plants from existing ones, ensuring your garden overflows with these captivating plants for years to come.
The Magic of Division:
Alchemilla crinita is a clump-forming plant, meaning it grows in dense clusters. This makes it a prime candidate for division, a simple yet effective propagation method. Here’s how to do it:
1. Timing is Key: The best time to divide Alchemilla crinita is in early spring or late summer. Avoid doing it during the hottest months, as the plants will be more susceptible to stress.
2. Prepare the Plant: Gently dig around the base of the Alchemilla crinita plant and carefully lift it from the ground. Use a sharp knife or spade to divide the plant into smaller clumps, each with healthy roots and foliage.
3. Planting the New Clumps: Prepare new planting holes that are wide enough for the roots and at least as deep as the original plant. Gently place each clump in a hole, ensuring the crown (where the roots meet the stems) is level with the soil. Backfill the hole with soil, firming it gently around the roots.
4. Water Well: Thoroughly water the newly planted divisions to help them settle in and establish roots.
Seed Starting: Unleashing the Bounty:
If you like a bit more of a challenge, you can successfully propagate Alchemilla crinita from seeds.
1. Harvest the Seeds: The seeds will ripen in the fall after the flowers fade. You can either collect them from the plant or purchase them from a reputable seed supplier.
2. Prepare for Planting: Sowing the seeds indoors is recommended for better control over temperature and moisture. Fill seed trays with a seed-starting mix and moisten it thoroughly.
3. Sow the Seeds: Place the seeds on the surface of the soil and lightly cover them with a thin layer of soil. Do not press the seeds down too firmly, as this can inhibit germination.
4. Create a Greenhouse Environment: Cover the seed trays with clear plastic wrap or a humidity dome to create a warm, moist environment that encourages germination. Place the trays in a bright spot, but avoid direct sunlight.
5. Patience is Key: Alchemilla crinita seeds can take up to several weeks to germinate, so be patient and keep the soil consistently moist. Once seedlings emerge, remove the plastic wrap or humidity dome.
6. Transplanting Time: Once the seedlings have developed a few true leaves (not including the seed leaves), they can be transplanted into individual pots or directly outdoors.
Tips for Success:
Choose a Suitable Location: Alchemilla crinita thrives in cool, shady conditions. Choose a spot in your garden that receives dappled sunlight or afternoon shade.
Well-Drained Soil: Alchemilla crinita prefers soil that drains well. If your soil is heavy, amend it with compost or other organic matter to improve drainage.
Regular Watering: Keep the soil consistently moist, but avoid overwatering.
- Fertilize Annually: Feed your Alchemilla crinita plants with a balanced fertilizer in the spring to encourage healthy growth.
By employing these propagation techniques, you can easily expand your Alchemilla crinita collection and infuse your garden with the allure of its delicate foliage and charming flowers. So, don’t be afraid to get your hands dirty and unlock the secrets of this enchanting plant!