Unmask the Magic: Propagating Your Alocasia Cucullata
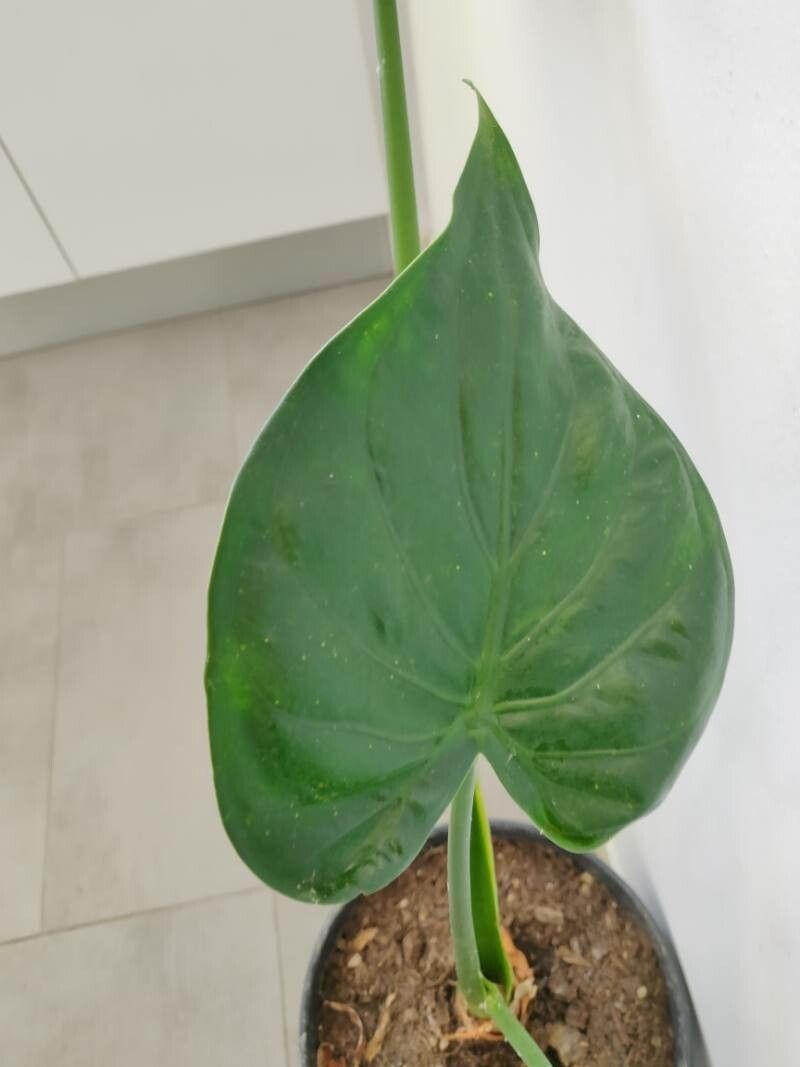
The Alocasia cucullata, also known as the “Hooded Dwarf Alocasia” or “Alocasia ‘Dragon Scale’,” is a captivating houseplant with its striking, hooded leaves. It’s a relatively easy plant to care for, making it a popular choice for plant enthusiasts. But what about growing even more of these beautiful plants? That’s where propagation comes in.
This blog post will delve into the world of Alocasia cucullata propagation, guiding you through simple and effective methods that will allow you to expand your collection or share this amazing plant with friends.
Methods of Propagation:
There are two primary methods for multiplying your Alocasia cucullata:
- Division: This method involves separating the plant into individual sections, each with its own roots and shoots. It’s the easiest and most common method for propagating Alocasia cucullata.
- Leaf Cuttings (less common): This method requires more specialized knowledge and is less successful than division. It involves taking a leaf cutting and rooting it in water or soil.
Let’s dive deeper into the division process:
- Choose the right time: The best time for dividing an Alocasia cucullata is during the spring or summer when it’s actively growing. Avoid division during the plant’s dormant period (fall and winter).
- Prepare the plant: Gently remove the Alocasia from its pot. Examine the roots and look for natural divisions where the plant has already started to branch.
- Separate the divisions: Using a sharp, clean knife or a pair of sharp scissors, carefully separate the divisions at the root base. Make sure each division has a healthy root system and a few leaves.
- Repot the divisions: Prepare individual pots filled with well-draining potting mix. Plant each division ensuring that the crown (the point where the stem meets the leaves) sits just above the soil level. Water lightly.
Tips for Success:
- Sterilization: Always sterilize your cutting tools to prevent the spread of diseases.
- Moisture: Keep the soil consistently moist but not waterlogged.
- Indirect light: Provide bright, indirect light. Avoid direct sunlight, which can scorch the leaves.
- Patience: Give your new Alocasia divisions time to establish themselves. They may not show significant growth for a few weeks.
Leaf Cutting Propagation (Advanced Technique):
While less common, you can try propagating your Alocasia cucullata from leaf cuttings.
- Select a healthy leaf: Choose a mature, disease-free leaf with a healthy petiole (the stalk that connects the leaf to the root system).
- Prepare the cutting: Using a clean, sharp knife, cut the leaf petiole near the base, leaving about 2 inches of petiole.
- Root the cutting: Place the cutting in a glass of water, ensuring the water level covers about half the petiole. Alternatively, you can dip the cut end in rooting hormone and plant it in a mix of perlite and vermiculite.
- Care for the cutting: Keep the water fresh or the soil consistently moist. Provide the cutting with bright, indirect light.
- Patience is key: Rooting a leaf cutting can take several weeks or even months.
Troubleshooting:
- Yellowing leaves: This could be due to overwatering, underwatering, or lack of humidity. Adjust your watering schedule and increase humidity.
- Brown spots: These might indicate sun damage or a fungal infection. If sun damage, move the plant to a shadier spot. For fungal infection, treat with a fungicide.
Propagating your Alocasia cucullata is an exciting journey that allows you to grow more of this unique and beautiful plant. Choose the method that suits your experience level and enjoy watching your new Alocasia flourish!