From One to Many: How to Propagate Your Stunning Aloe Broomii
Aloe broomii, with its striking sculptural form and vibrant red flowers, is a captivating addition to any succulent garden. But what if you could share this beauty with friends or create a stunning collection of these unique plants? The good news is, propagating Aloe broomii is surprisingly easy, even for beginner gardeners.
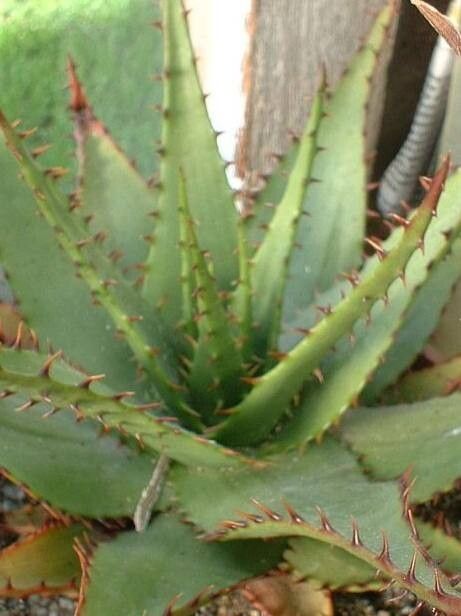
Understanding Aloe Broomii Propagation:
This stunning aloe species prefers to grow in well-drained soil, mimicking its native South African climate. It thrives in full sun and is surprisingly cold-hardy, making it a perfect addition to many climates. While Aloe broomii can be propagated through seeds, the easiest and most common method for home gardeners is through offset propagation.
Step-by-Step Guide to Propagating Aloe Broomii:
- Identify the Offsets: Look for small, newly formed “babies” growing at the base of your mature Aloe broomii. These offsets are essentially miniature clones of the parent plant, ready to develop their own unique shapes and blooms.
- Carefully Separate: Using a sharp, clean knife or garden shears, gently slice the offset away from the parent plant. Be sure to cut as close to the base of the offset as possible, leaving a clean cut.
- Let It Heal: Allow the severed offset to sit in a dry, shaded area for a day or two. This gives the cut end time to callus over, preventing rot when you plant it.
- Prepare Your Potting Mix: Choose a well-draining potting mix specifically designed for succulents. Mix it with perlite or pumice to improve drainage further.
- Pot the Offset: Plant the offset in a pot just slightly larger than its root system. Ensure the offset is planted deep enough so that its base is slightly below the soil line. Don’t push the offset too firmly into the soil.
Water and Patience: After planting, water your new Aloe broomii thoroughly. Allow the soil to dry completely between waterings, as overwatering can lead to root rot. Place your newly potted offset in a bright, sunny location and be patient. It might take a few weeks for the new plant to establish itself and begin to grow.
Tips for Success:
- Use a clean knife or shears: This helps prevent the spread of disease and ensures a clean cut for your offset.
- Don’t overwater: Aloe broomii prefers dry conditions, so only water when the soil is completely dry.
- Provide plenty of light: Place your new plants in a sunny location to encourage growth.
- Be patient! It may take a few months for your new Aloe broomii offsets to root and establish themselves.
A Note on Seed Propagation:
While possible, seed propagation is not as common for Aloe broomii. It requires more time and care. However, if you are interested in trying it, you can purchase Aloe broomii seeds online. Plant them in a well-draining seed-starting mix and keep them moist but not soggy until germination.
Sharing the Joy:
Once your new Aloe broomii offsets are established, you can share them with friends, family, or even sell them at plant markets. You’ll be spreading the beauty of this unique plant while enjoying the satisfaction of your propagation success.
Conclusion:
Propagating your Aloe broomii isn’t just about expanding your plant collection; it’s about celebrating its resilience and sharing its unique beauty with the world. Following these simple steps, you can turn one stunning plant into a collection of thriving Aloes, creating a vibrant and unique landscape that will brighten any space. So grab your tools and get ready to bloom!