Unlocking the Secrets to Spreading Sweet Alyssum: Propagation Made Easy
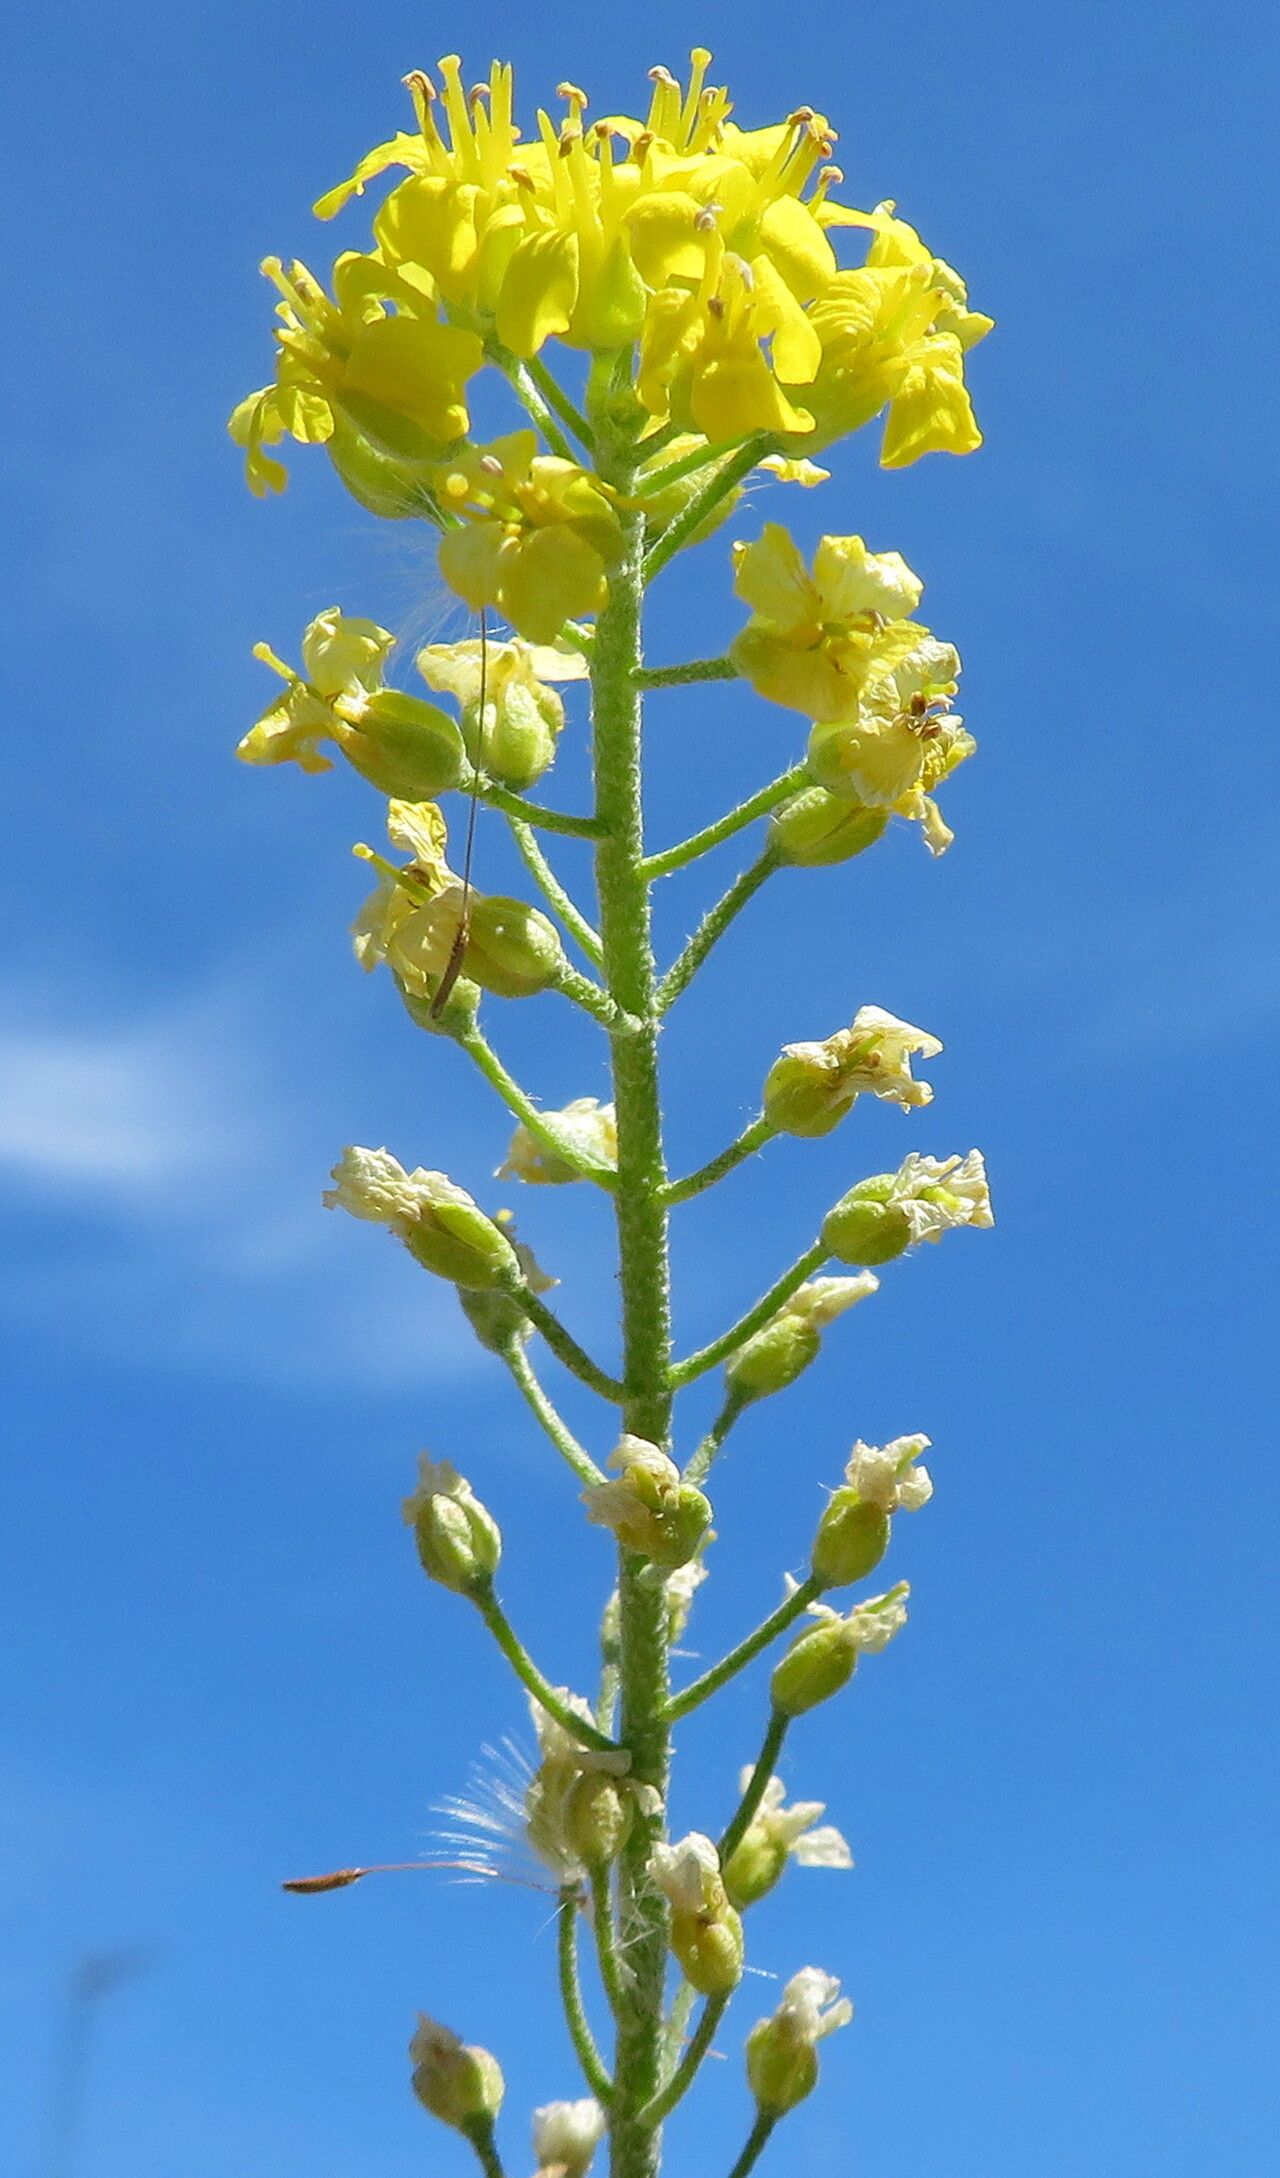
Sweet alyssum (Lobularia maritima, formerly Alyssum alyssoides), with its delicate, honey-scented blooms, is a favorite for edging borders, spilling over containers, and even tucking into rock gardens. But did you know that perpetuating its charm year after year is surprisingly simple? Understanding the basics of sweet alyssum propagation can empower you to create a cascade of these delightful flowers throughout your garden.
Starting from Seed: A Rewarding Journey
The most common and rewarding method of propagating sweet alyssum is by seed. These tiny powerhouses are surprisingly resilient and readily sprout, offering a gratifying experience even for novice gardeners.
Direct Sowing: For an effortless approach, direct sow seeds into your desired location after the last frost date in your region. Gently sprinkle the seeds over the soil surface, ensuring good contact, and water them in lightly. Within a week or two, you’ll be greeted by a carpet of tiny green seedlings. Thin them out to maintain a spacing of 6-12 inches to allow for ample airflow and prevent overcrowding.
Starting Indoors: Get a head start on the season by starting seeds indoors 6-8 weeks before the last frost. Use a seed-starting mix and sprinkle the seeds over the surface, pressing them down gently but avoiding burying them. Keep the soil consistently moist and provide ample light. Once the seedlings develop a few sets of true leaves, they are ready to be hardened off and transplanted outdoors.
Pro Tip: Sweet alyssum seeds require light for germination. Don’t bury them deep; simply press them onto the soil surface.
Cuttings: Cloning Your Favorites
While starting from seed is common, propagating sweet alyssum from cuttings is another viable method, especially if you want to replicate the characteristics of a particular plant.
Take Your Cuttings: Select healthy, non-flowering stems and use a sharp, clean knife or shears to take 3-4 inch cuttings just below a leaf node. Remove the lower leaves, leaving only a few at the top.
Encourage Rooting: Dip the cut end in rooting hormone (optional but helpful) and plant the cuttings in a well-draining potting mix.
Create a Humid Environment: Cover the pot with a plastic bag or use a humidity dome to retain moisture and promote rooting. Place the pot in a bright location, but out of direct sunlight.
- Transplanting Success: Within a few weeks, roots should develop, and new growth will emerge. Once the cuttings are established, they can be hardened off and transplanted to their desired location.
Caring for Your New Plants:
Whether you choose seeds or cuttings, once your sweet alyssum is established, it requires minimal care. Ensure well-drained soil, provide at least 6 hours of sunlight, and water regularly, especially during dry periods. Deadheading spent blooms encourages continuous flowering throughout the season.
Enjoy the Sweet Rewards:
Propagating sweet alyssum is a simple and rewarding process, granting you the joy of these charming blooms year after year. By following these straightforward steps, you can easily multiply your plants and create a stunning fragrant display that will brighten your garden and attract pollinators. So, unleash your inner gardener and watch your efforts blossom!