Unlocking the Secret to Endless Alyssum: Simple Propagation Techniques for a Blooming Garden
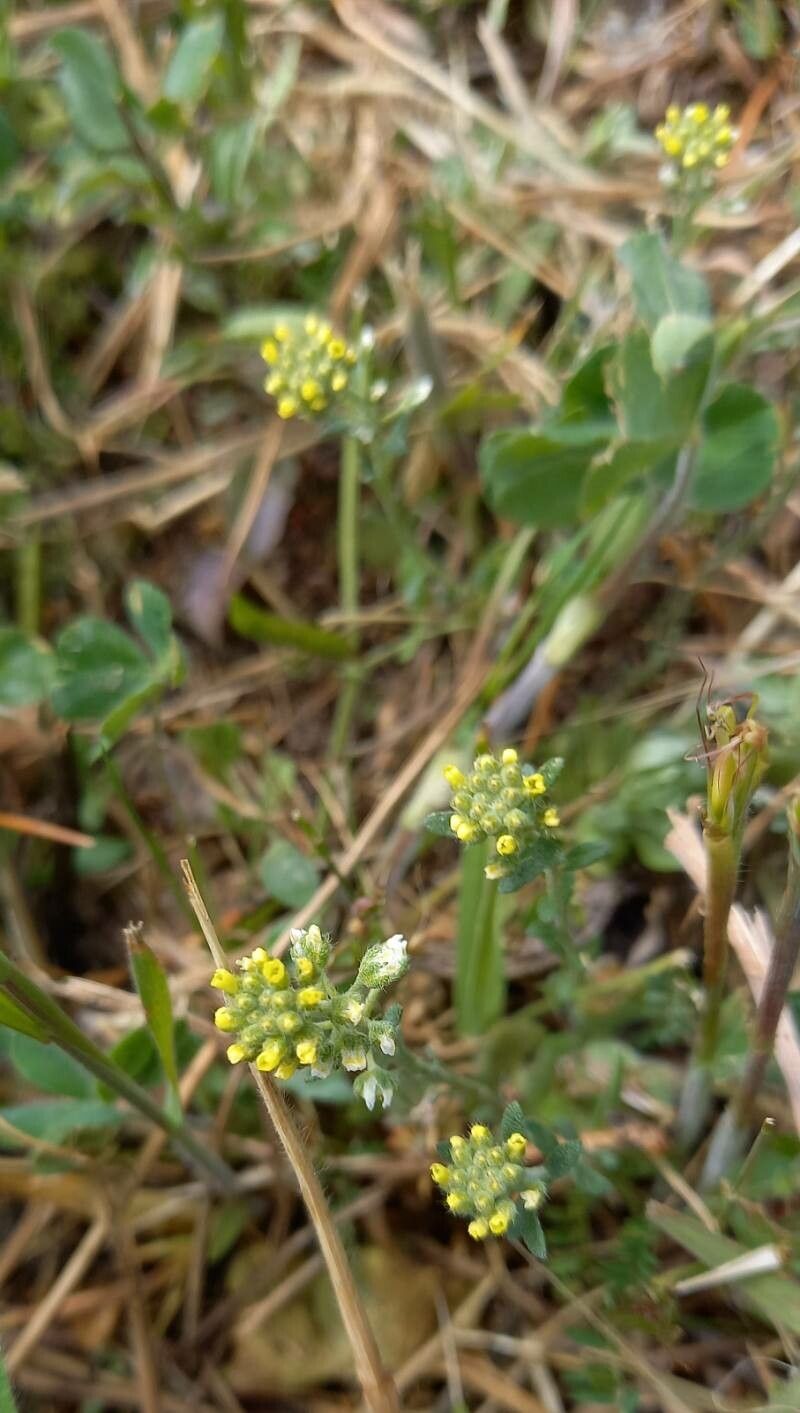
Alyssum simplex, with its delicate blooms and honey-sweet fragrance, can transform any garden into a vibrant oasis. This easy-to-grow annual, also known as Yellow Alyssum or Pale Madwort, is a favorite among gardeners for its ability to attract pollinators and provide long-lasting color. While readily available at garden centers, why not try your hand at propagating your own Alyssum simplex? It’s simpler than you might think, and the rewards of witnessing new life sprout from your efforts are immensely satisfying.
This guide will unveil two easy methods to propagate Alyssum simplex:
1. Seed Starting: A Journey from Tiny Seeds to Abundant Blooms
Starting Alyssum simplex from seed is a rewarding process that allows you to witness the plant’s entire lifecycle. Here’s how:
- Timing is Key: Aim to sow seeds indoors approximately 6-8 weeks before the last expected frost in your area. This head start allows seedlings to establish strong roots before facing the elements.
- Creating the Perfect Nursery: Use seed starting trays filled with a well-draining seed starting mix. Moisten the mix lightly before scattering seeds evenly across the surface. Gently press the seeds into the mix, but avoid burying them deep, as they need light to germinate.
- Patience and Optimal Conditions: Cover the trays with a humidity dome or plastic wrap to create a greenhouse-like environment. Place them in a warm, bright location, out of direct sunlight, with a temperature around 70-75°F.
- Germination and Growth: Within 7-14 days, you should see tiny sprouts emerge. Once seedlings have developed their first set of true leaves (beyond the initial seed leaves), thin them out, leaving the strongest seedling in each cell.
- Harden Off Before Transplanting: Gradually acclimate seedlings to outdoor conditions before transplanting them into your garden. This “hardening off” process involves slowly increasing their exposure to sunlight and wind over a week or two.
- Transplant with Care: Once the danger of frost has passed, select a sunny spot in your garden with well-drained soil. Gently remove seedlings from their trays, handling them by their leaves to avoid damaging the delicate stems. Space them about 6-12 inches apart to allow for adequate air circulation.
2. Cuttings: Creating Clones of Your Favorite Alyssum
Taking cuttings offers a quick way to multiply your existing Alyssum simplex plants:
- Choose Softwood Cuttings: In spring or early summer, select healthy, non-flowering stems for cuttings. Aim for stems that are about 3-4 inches long.
- Prepare the Cuttings: Using sharp, clean shears or a knife, make a clean cut just below a leaf node (where the leaf joins the stem). Remove the lower leaves from the cutting, leaving only a few leaves at the top.
- Encourage Root Development: Dip the cut end of the stem in rooting hormone powder (optional but helpful). Plant the cuttings in a small pot or tray filled with a well-draining potting mix. Water gently.
- Creating Humidity: Cover the pot or tray with a clear plastic bag or humidity dome to create a humid environment. Place it in a warm, bright location out of direct sunlight.
- Signs of Success: After a few weeks, gently tug on the cuttings to check for root development. If you feel resistance, roots are forming! Once the cuttings have developed a robust root system, you can transplant them into your garden or larger containers.
Whether you start your Alyssum simplex from seed or cuttings, remember to water regularly, especially during dry spells. Deadhead spent blooms to encourage continuous flowering throughout the season. With a little care and attention, you can enjoy a flourish of these charming blooms, propagated by your own hand, year after year.