Unveiling the Secrets to Propagating Alyxia stellata: A Guide to Growing Your Own Fragrant Star
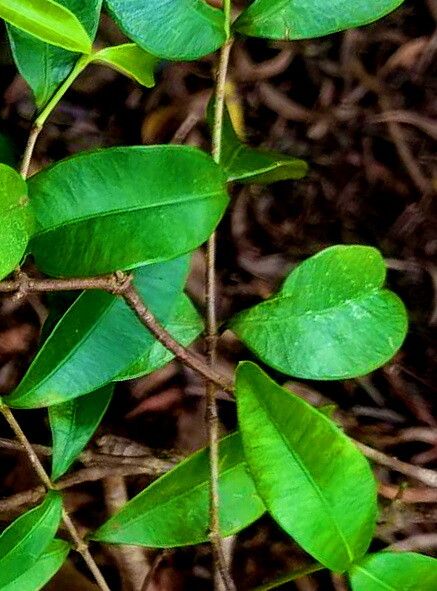
The Alyxia stellata, known for its delicate, star-shaped flowers and intoxicating fragrance, is a coveted plant by many gardeners. But how do you share this beauty with others or expand your collection? The answer lies in propagation, the art of creating new plants from existing ones.
For the Alyxia stellata, two primary methods are commonly used: seed propagation and cuttings. Both offer exciting ways to grow these lovely shrubs, each with its own advantages and considerations.
1. Seeds: A Journey From Tiny Beginnings
While seed propagation of Alyxia stellata requires patience, it’s an immensely rewarding experience.
Step 1: Harvesting the Seeds
- Pay close attention to your Alyxia stellata. The tiny, black seeds develop within fleshy red berries, and you’ll know they’re ready when the berries are fully ripe and start to soften.
- Gently pick the berries and allow them to ferment for a few days. This process helps to break down the fleshy pulp, making it easier to extract the seeds.
- Carefully separate the seeds from the pulp and rinse them thoroughly.
Step 2: Sowing the Tiny Treasures
- Choose well-draining soil rich in organic matter and fill a seed tray or small pots with it.
- Sow the seeds evenly with a little space between them, just slightly buried beneath the soil’s surface.
- Mist the soil lightly with water to keep it moist but not soggy.
- Cover the seed tray or pots with a transparent lid or plastic wrap to ensure adequate humidity.
Step 3: Patience is Key
- Place the seed tray or pots in a bright location, but avoid direct sunlight.
- Keep the soil consistently moist, but not waterlogged.
- Germination can take anywhere from a few weeks to several months. Be patient!
2. Cuttings: A Faster Path to Growth
For those looking for faster results, taking cuttings from your Alyxia stellata offers a direct way to create new plants.
Step 1: Choosing the Right Cuttings
- Select healthy, non-flowering stems that are about 6 inches long from the current season’s growth.
- Make a sharp, clean cut just below a node (where leaves grow).
Step 2: Preparing the Cuttings
- Remove the leaves from the bottom 2 inches of the stem.
- Dip the cut end in rooting hormone to encourage root development.
- Pot the cuttings shallowly into a mixture of well-draining soil and perlite or vermiculite.
Step 3: Providing Optimal Conditions
- Place the cuttings in a bright location, but out of direct sunlight.
- Maintain consistently moist soil, but avoid overwatering.
- To create a mini greenhouse and elevate humidity, place a clear plastic bag over the pot, securing it with a rubber band.
- Cuttings should root within a few weeks to a couple of months.
Beyond Propagation: Fostering Growth
Once your Alyxia stellata plants are established, whether from seeds or cuttings, they thrive in an environment that mimics their natural habitat. Here are the key factors for success:
- Full Sun to Partial Shade: Provide ample sunlight, but protect them from scorching midday sun.
- Well-Drained Soil: Ensure proper drainage to prevent soggy roots.
- Regular Watering: Keep the soil consistently moist, but avoid overwatering.
- Fertilizers: Feed your Alyxia stellata with a balanced fertilizer during the growing season.
With a little care and attention, you can enjoy the beauty and fragrance of your Alyxia stellata, sharing the wonder of this plant with others or expanding your own collection. Whether you choose the journey from seed or the shortcut with cuttings, propagation opens the door to a vibrant and fragrant world of growth.