Multiplying the Magic: Your Guide to Propagating Amelanchier Ovalis (Snowy Mespilus)
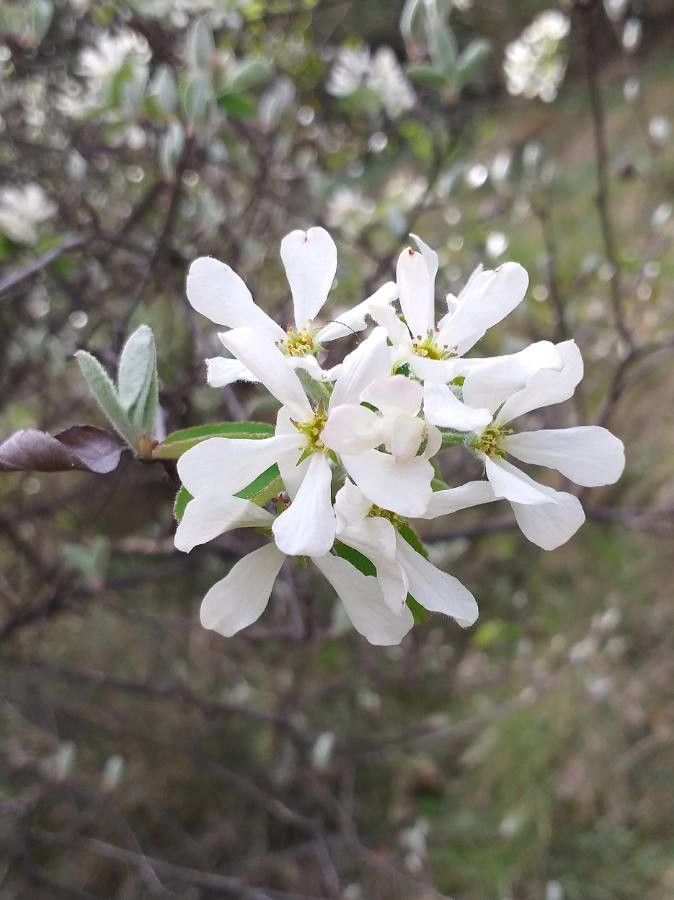
The Amelanchier ovalis, better known as the snowy mespilus, is a deciduous shrub renowned for its captivating beauty across the seasons. From its delicate spring blossoms to its vibrant autumn foliage, this hardy plant is a treasure in any garden. If you already have one gracing your space, you might be wondering how to welcome more of its charm. The good news is that propagating Amelanchier ovalis is entirely possible, even for novice gardeners!
This comprehensive guide will walk you through the most effective methods to multiply your snowy mespilus and expand its presence in your outdoor haven.
Method 1: Propagation from Seed
While slightly more time-consuming, growing Amelanchier ovalis from seed offers a rewarding experience. Here’s how:
- Seed Collection: Collect ripe berries from the shrub in late summer or early fall. The berries should be plump and a dark purplish-black.
- Seed Extraction: Gently crush the berries and soak them in water. Remove the pulp and spread the seeds on a paper towel to dry.
- Stratification: Snowy mespilus seeds need a period of cold stratification to germinate. Store them in a moistened paper towel inside a sealed plastic bag in the refrigerator for 60-90 days.
- Sowing: In spring, sow the seeds in a seed tray filled with seed starting mix, lightly covering them with soil.
- Care: Keep the soil consistently moist and place the tray in a warm, sunny location.
- Transplanting: Once the seedlings develop a strong root system and reach a few inches in height, they can be transplanted into individual pots or directly into the garden after the last frost.
Method 2: Propagation from Cuttings
For quicker results, propagating from cuttings is a reliable method. Follow these steps:
- Timing: Take semi-hardwood cuttings from healthy stems in late summer. These cuttings should be 4-6 inches long.
- Preparation: Remove leaves from the lower half of the cutting. Dip the cut end in rooting hormone to encourage root development.
- Planting: Plant the cuttings in pots filled with a well-draining potting mix.
- Environment: Cover the pots with a plastic bag to create a humid environment. Ensure the soil remains consistently moist.
- Rooting: The cuttings should develop roots in 6-8 weeks. Gently tug on the cutting – resistance indicates successful rooting.
- Transplanting: Once the roots are established, transplant the rooted cuttings into larger pots or directly into the garden.
Additional Tips for Success:
- Choosing the Right Location: Amelanchier ovalis thrives in full sun to partial shade and well-drained soil.
- Patience is Key: Remember that propagation takes time. Don’t be discouraged if you don’t see immediate results.
- Observation is Crucial: Regularly monitor your seedlings or cuttings for signs of stress like wilting or discoloration. Adjust watering and lighting as needed.
Propagating your own Amelanchier ovalis is a fulfilling endeavor that allows you to expand your garden’s beauty while deepening your connection with this remarkable plant. With a little patience and care, you can multiply the magic of the snowy mespilus and create a breathtaking landscape for years to come.