Unveiling the Secrets of Amorphophallus henryi Propagation: A Guide to Growing This Striking Plant
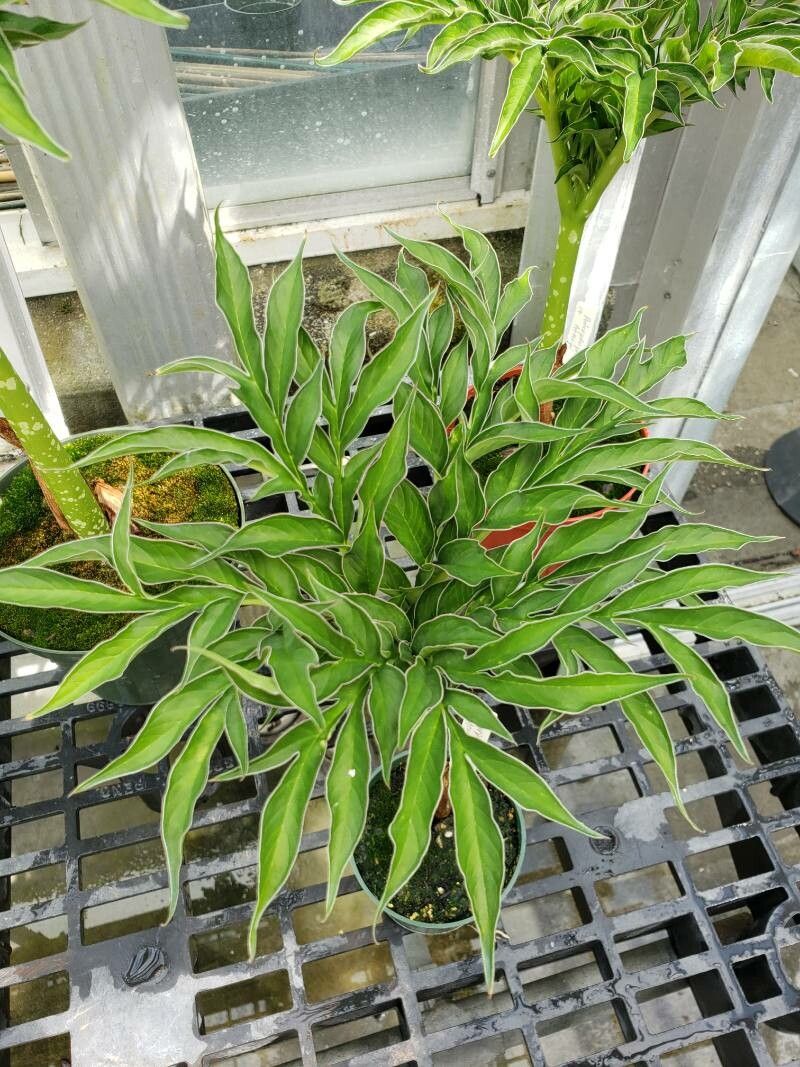
The Amorphophallus henryi, with its monstrously fascinating flower and dramatic foliage, is a captivating plant that instantly attracts attention. But how do you propagate this unique specimen to share its beauty with the world? Today, we’ll delve into the world of Amorphophallus henryi propagation, demystifying the process and empowering you to cultivate this botanical wonder.
Understanding the Basics: Asexual Propagation
Amorphophallus henryi, like many plants, is typically propagated asexually. This means we’re not relying on seeds but rather using vegetative parts of the plant itself to create new individuals. The most common methods of asexual propagation for this species are:
Division: This involves separating the plant’s corm (the underground storage organ) into smaller sections, each containing a “bud” or growing point. This method works best when the plant is already established and has multiple growing points.
- Cormel Production: Amorphophallus henryi corms naturally produce smaller “cormels” around their base. These cormels can be carefully detached and grown into new plants, though they may take longer to reach maturity.
The Division Process: Step-by-Step
Timing: The ideal time for division is during the plant’s dormant period, usually in late summer or early autumn after the leaves have withered.
Preparation: Gently dig up the corm, ensuring you don’t damage the roots. Clean the soil from the corm to reveal the growing points.
Division: Using a sharp knife, carefully divide the corm into sections, ensuring each section has at least one healthy growing point. Be sure to make clean cuts, as ragged edges can invite fungal infections.
Treatment: Treat the cut surfaces with a fungicide to discourage fungal growth. Allow the sections to air dry for a few hours, allowing the wounds to heal.
Potting: Plant each section in a pot with a well-draining potting mix. Position the growing point slightly above the soil level.
- Care: Water sparingly in the initial weeks, allowing the soil to dry slightly between waterings. Keep the pots in a warm, humid environment with bright, indirect light.
Cormel Propagation: A Patient Approach
Extraction: Identify and carefully remove the cormels from the base of the mature corm. Ensure they are firm and unblemished.
Planting: Pot the cormels individually in a well-draining potting mix, ensuring the growing point points upwards.
- Patience: Cormels may take one or two years to develop into flowering-sized plants. Provide them with consistent moisture and warm temperatures.
Tips for Success:
- Sterilize: Always sterilize your tools before dividing or handling cormels to minimize the risk of infection.
- Water Wisely: Overwatering is a common problem for Amorphophallus henryi. Allow the soil to dry out slightly between waterings.
- Provide Warmth: Amorphophallus henryi thrives in warm, humid conditions. Use a heating mat during cooler months to promote growth.
Embark on Your Propagation Journey:
Propagating Amorphophallus henryi is not a straightforward process, but the reward of sharing this fascinating plant’s captivating beauty makes it all worthwhile. With careful technique, consistent care, and a touch of patience, you can cultivate a veritable “forest” of these striking plants. So, embrace the challenge, delve into the world of propagation, and watch your Amorphophallus henryi flourish!