
Amp Up Your Garden: Mastering Ampelaster Carolinianus Propagation
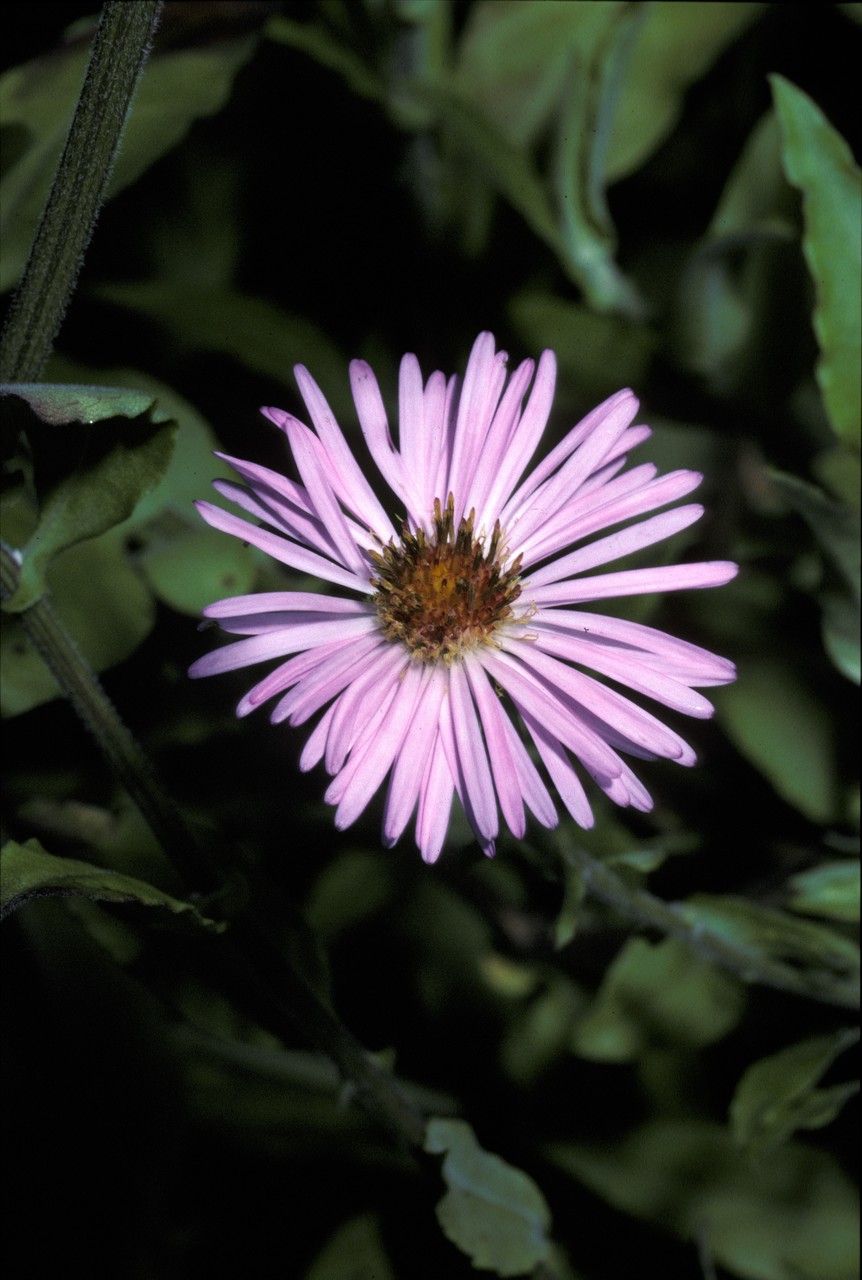
Ampelaster carolinianus, also known as the climbing aster, is a captivating vine that graces gardens with its lush foliage and charming daisy-like blooms. This native beauty, with its penchant for climbing and cascading, adds a touch of wild elegance to fences, trellises, and arbors. If you’re looking to welcome more of this enchanting climber into your outdoor sanctuary, propagation is the way to go! Let’s delve into the world of ampelaster propagation and explore the most effective techniques:
1. Seed Starting: A Rewarding Journey From Tiny Seed to Verdant Vine
While Ampelaster carolinianus can be a bit tricky to start from seed, success is entirely possible with the right approach. Here’s how:
- Timing is Key: Aim to sow your seeds indoors approximately 6-8 weeks before the last expected frost in your area.
- Light and Soil: Use a seed-starting mix that drains well and sow the seeds just below the surface. Maintain consistent moisture and provide bright, indirect light.
- Warmth Encourages Growth: A consistent temperature around 70°F (21°C) is ideal for germination, which can take anywhere from 2 to 4 weeks.
- Hardening Off: Once the danger of frost has passed, gradually acclimate your seedlings to outdoor conditions before transplanting them to their permanent location.
2. Cuttings: Clone Your Climbing Aster for Guaranteed Success
Taking cuttings is a remarkably effective way to propagate Ampelaster carolinianus and ensures you’re replicating the exact characteristics of the parent plant. Here’s a step-by-step guide:
- Timing Matters: Spring or early summer, when the plant is putting on new growth, is the prime time for taking cuttings.
- Select Healthy Stems: Choose young, healthy stems that are about 4-6 inches long and free of flowers or buds.
- Prepare the Cuttings: Make a clean cut just below a leaf node (where a leaf emerges from the stem). Remove the lower leaves, leaving 2-3 leaves at the top.
- Rooting Hormone: A Helpful Boost: While not essential, dipping the cut end in rooting hormone can significantly increase the chances of successful rooting.
- Planting Medium: Use a well-draining potting mix or a mixture of peat moss and perlite.
- Create a Humid Environment: Cover the pot with a clear plastic bag or a propagation dome to maintain high humidity, which promotes root development.
- Patience is Key: It may take several weeks for the cuttings to root. You can test for root development by gently tugging on the cutting – resistance indicates roots are forming.
3. Layering: Encouraging Roots While Still Attached to the Mother Plant
Layering is a technique that encourages roots to form on a stem while it’s still attached to the parent plant. Here’s how to do it:
- Choose a Flexible Stem: Select a healthy stem that is long enough to be bent down to the ground.
- Prepare the Stem: Gently wound the stem slightly by making a small cut or scraping off a bit of the outer layer.
- Bury the Stem: Bend the stem down to the ground and bury the wounded section under a couple of inches of soil, leaving the tip of the stem exposed.
- Keep it Moist: Maintain consistent moisture around the buried portion of the stem.
- Separation: Once roots have formed (usually in a few weeks to a month), you can sever the newly rooted stem from the parent plant and transplant it.
Final Thoughts: A Garden Adorned with Climbing Asters
Propagating Ampelaster carolinianus, whether from seed, cuttings, or layering, is a rewarding experience that allows you to multiply these charming climbers and adorn your garden with their captivating presence. With patience and a little TLC, you’ll soon have a flourishing display of these captivating native vines!