
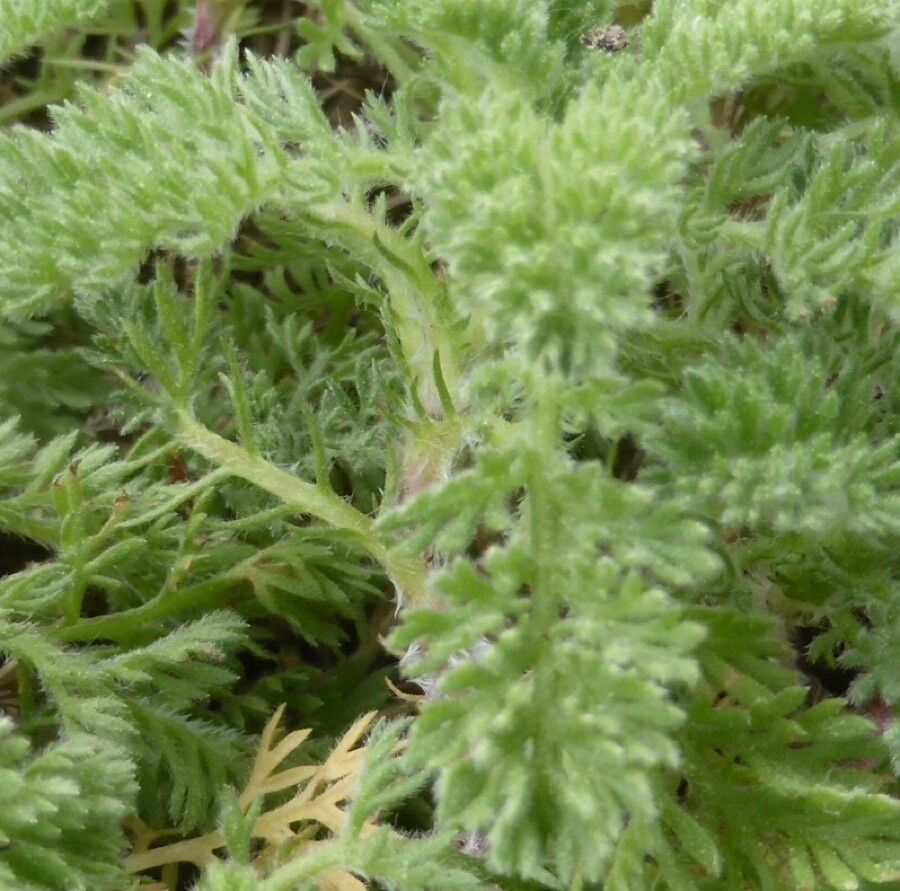
Unleash the Sun: Propagating the Cheerful Charm of Anacyclus homogamos
With its sunny disposition and low-maintenance nature, Anacyclus homogamos, also known as the Mount Atlas Daisy, has become a favorite among gardeners seeking a touch of Mediterranean charm. This compact perennial boasts a profusion of daisy-like blooms with white petals surrounding a sunny yellow center, adding a burst of vibrant color to rock gardens, borders, and containers.
If you’re enamored by this charming groundcover and want to expand its presence in your garden, propagation is the answer! Let’s dive into the methods that will help you multiply your Anacyclus homogamos with ease.
Seeds: Sowing the Seeds of Success
The most common and straightforward method for propagating Anacyclus homogamos is by seed. Here’s a step-by-step guide:
- Timing is Key: Sow seeds in early spring or late summer, allowing ample time for establishment before extreme temperatures arrive.
- Prepare the Seedbed: Use a well-draining seed starting mix or create your own by combining equal parts peat moss, perlite, and vermiculite.
- Sow with Care: Sprinkle seeds thinly over the surface of the moistened mix, gently pressing them in. Do not bury them deeply, as they require light to germinate.
- Warmth and Light: Cover the tray with a clear plastic lid or wrap to create a humid environment. Place it in a warm, bright location, avoiding direct sunlight.
- Patience, Little Seedlings: Germination can take anywhere from 1 to 3 weeks. Once seedlings emerge, remove the cover and provide ample bright, indirect light.
- Transplanting Triumph: When seedlings develop several sets of true leaves, transplant them into individual pots or directly into the garden after the last frost has passed.
- Spacing Matters: Space plants about 12-18 inches apart to allow for adequate air circulation and prevent overcrowding.
Cuttings: Sharing the Sunny Disposition
While seed propagation is the most common, Anacyclus homogamos can also be propagated from cuttings taken in late spring or early summer. Here’s how:
- Choose Wisely: Select healthy, non-flowering stems about 3-4 inches long. Look for stems that are firm and show no signs of disease.
- Prepare the Cuttings: Using a sharp, sterile knife or shears, make a clean cut just below a leaf node. Remove the lower leaves, leaving only a few at the top.
- Hormone Boost (Optional): While not absolutely necessary, dipping the cut end in rooting hormone powder can encourage faster and more successful rooting.
- Potting Up: Insert the cuttings into a well-draining potting mix, burying the bottom node.
- Root Development: Keep the potting mix consistently moist and provide bright, indirect light. It takes about 4-6 weeks for roots to develop.
- Transplanting Time: Once new growth appears, signifying successful rooting, transplant the cuttings into individual pots or directly into the garden.
Whichever propagation method you choose, providing your new Anacyclus homogamos plants with well-draining soil and ample sunlight will ensure their thriving success. Soon, you’ll have a cascade of cheerful blooms, adding a touch of sunshine to your garden for seasons to come.