Unlocking the Secrets of Anchusa Atlantica Propagation: From Seed to Stunning Blooms
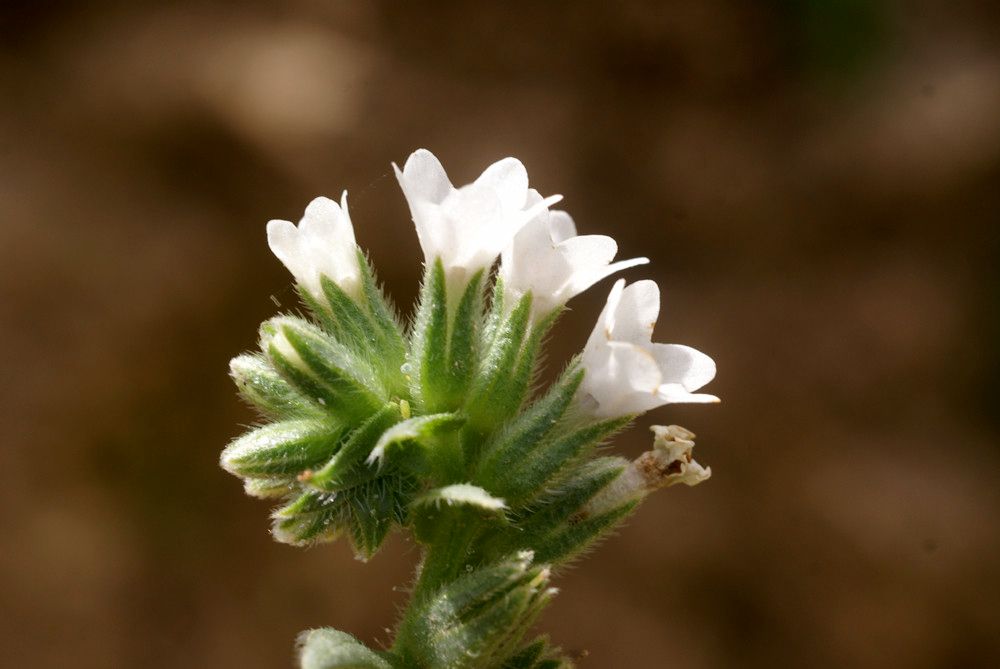
The Anchusa atlantica, with its vibrant blue star-shaped flowers and alluring charm, is a delightful addition to any garden. While often admired for its beauty, many are unaware of the ease with which this biennial plant can be propagated. Whether you’re a seasoned gardener or a curious novice, this guide will unveil the secrets of Anchusa atlantica propagation, empowering you to cultivate a flourishing display year after year.
Sowing the Seeds of Success: Seed Propagation
Anchusa atlantica readily reproduces from seed, making this method the most popular choice among gardeners. Here’s how to embark on your seed propagation journey:
Timing is Everything: Begin sowing indoors approximately 6-8 weeks before the last expected frost. This timeframe allows the seedlings ample time to develop robust root systems before being transplanted outdoors.
Creating the Perfect Nursery: Fill seed trays or pots with a well-draining seed-starting mix. Sow the seeds thinly across the surface, lightly pressing them into the soil. Remember, Anchusa atlantica seeds require light for germination, so avoid burying them too deep.
Nurturing the Seedlings: Mist the soil surface regularly, ensuring it remains consistently moist but not waterlogged. Place the seed trays in a warm, brightly lit location, ideally maintaining a temperature of around 65-75°F (18-24°C).
Transplanting with Care: Once the seedlings develop a few sets of true leaves and all danger of frost has passed, it’s time to introduce them to their outdoor home. Harden them off gradually by exposing them to increasing durations of sunlight and outdoor conditions over a week or two. Choose a sunny location in your garden with well-drained soil and space the plants about 12-18 inches apart.
Taking a Cutting Edge Approach: Propagation from Cuttings
While seed propagation reigns supreme, propagating Anchusa atlantica from cuttings is another viable option, especially if you want to replicate the characteristics of a particular plant.
The Art of Taking Cuttings: In the spring, select healthy, non-flowering shoots. Using a clean, sharp knife or pair of pruning shears, take 3-4 inch cuttings just below a leaf node. Remove the lower leaves, leaving only a few at the top.
Encouraging Root Development: Dip the cut end of each cutting in rooting hormone powder to stimulate root growth. Plant the cuttings in a well-draining potting mix and water them in thoroughly.
Creating a Humid Haven: Cover the cuttings with a clear plastic bag or humidity dome to create a warm, humid environment that promotes rooting. Place them in a bright location, out of direct sunlight.
Transplanting Rooted Cuttings: Within a few weeks, the cuttings should develop roots. Once the roots are established, gently transplant them into individual pots. Harden off the cuttings gradually before planting them outdoors, following the same guidelines as for seed-propagated plants.
Reaping the Rewards: Caring for Your Anchusa Atlantica
Anchusa atlantica is relatively low-maintenance. Provide regular watering, especially during dry periods, and fertilize every few weeks with a balanced fertilizer to promote healthy growth and abundant blooms. Deadhead spent flowers to encourage continuous blooming and prevent self-seeding, which can be prolific.
Conclusion
Propagating Anchusa atlantica is a rewarding experience that allows you to expand your garden’s beauty while deepening your connection with nature. Whether you opt for the traditional route of seed propagation or embrace the challenge of taking cuttings, the methods outlined here provide a clear path to success. So, go forth and propagate, and prepare to be captivated by the mesmerizing allure of Anchusa atlantica’s azure blooms year after year!