Unveiling the Secrets of Angraecum cilaosianum Propagation: A Guide for Orchid Enthusiasts
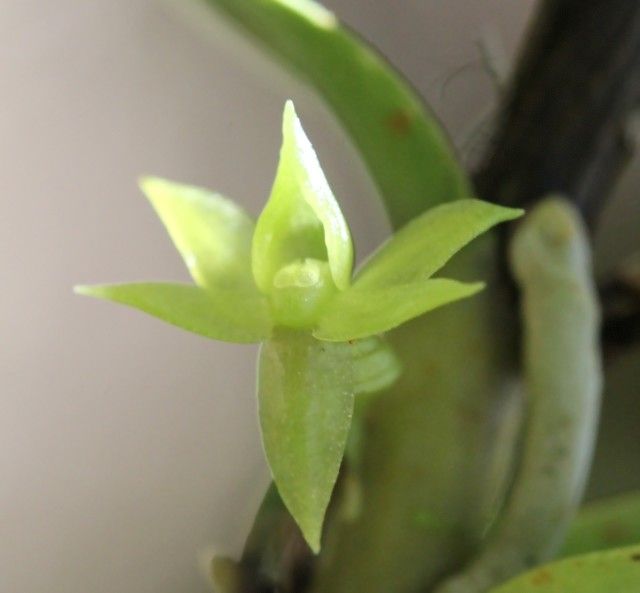
The Angraecum cilaosianum, with its star-shaped, ivory-white blooms and intoxicating nighttime fragrance, embodies the allure of rare and exotic orchids. Native to Madagascar, this epiphytic beauty can seem intimidating to propagate, but with the right knowledge and a touch of patience, even novice growers can succeed. This guide will delve into the fascinating world of Angraecum cilaosianum propagation, covering the various methods and crucial tips for success.
Understanding the Basics
Before diving into the specifics, it’s vital to understand the natural life cycle of this orchid. Angraecum cilaosianum typically reproduces in two ways:
Seed Propagation: Like most orchids, Angraecum cilaosianum produces thousands of tiny seeds within seed pods. However, these seeds lack endosperm, the nutrient-rich tissue found in most plant seeds. In the wild, they rely on a symbiotic relationship with specific fungi for germination. Replicating this in a home environment is challenging and requires specialized sterile techniques and laboratory conditions.
- Vegetative Propagation: This method involves creating new plants from divisions of a mature, healthy plant. It’s the most common and achievable technique for hobbyists.
Mastering Vegetative Propagation
Vegetative propagation for Angraecum cilaosianum focuses on divisions, specifically:
Keiki Propagation: Keikis are essentially “baby” orchids that occasionally sprout from the nodes along the flower stem of a mature plant. Once a keiki develops its own roots (at least 2-3 roots about 3 inches long), you can carefully detach it from the mother plant and pot it individually in a suitable medium.
- Division of Mature Plants: Over time, well-established Angraecum cilaosianum plants may form multiple growths or “leads.” When repotting, you can carefully divide these leads, ensuring each section has at least 3 healthy pseudobulbs attached. Plant each division into individual pots with fresh orchid mix.
Optimizing the Conditions for Success
Regardless of the propagation method, creating the right environment is crucial for the new plants to thrive:
- Potting Medium: Use a well-draining, airy orchid mix. A blend of bark chunks, perlite, and charcoal is ideal.
- Light: Provide bright, indirect light. Avoid direct sunlight, which can scorch the leaves.
- Watering: Water thoroughly when the potting mix is nearly dry. Good air circulation is critical to prevent root rot.
- Humidity: Aim for humidity levels of 60-70%. Use a humidifier or place the pots on a pebble tray filled with water.
- Temperature: Maintain daytime temperatures between 70-85°F (21-29°C) and nighttime temperatures around 60-65°F (15-18°C).
- Fertilizer: Use a diluted orchid fertilizer every other week during the growing season (spring and summer).
Patience is Key
Remember that Angraecum cilaosianum, like many orchids, takes time to establish. Don’t be discouraged if you don’t see immediate growth. With consistent care and attention to their needs, your propagated orchids will eventually reward you with their breathtaking blooms and intoxicating fragrance, adding a touch of exotic beauty to your home for years to come.