
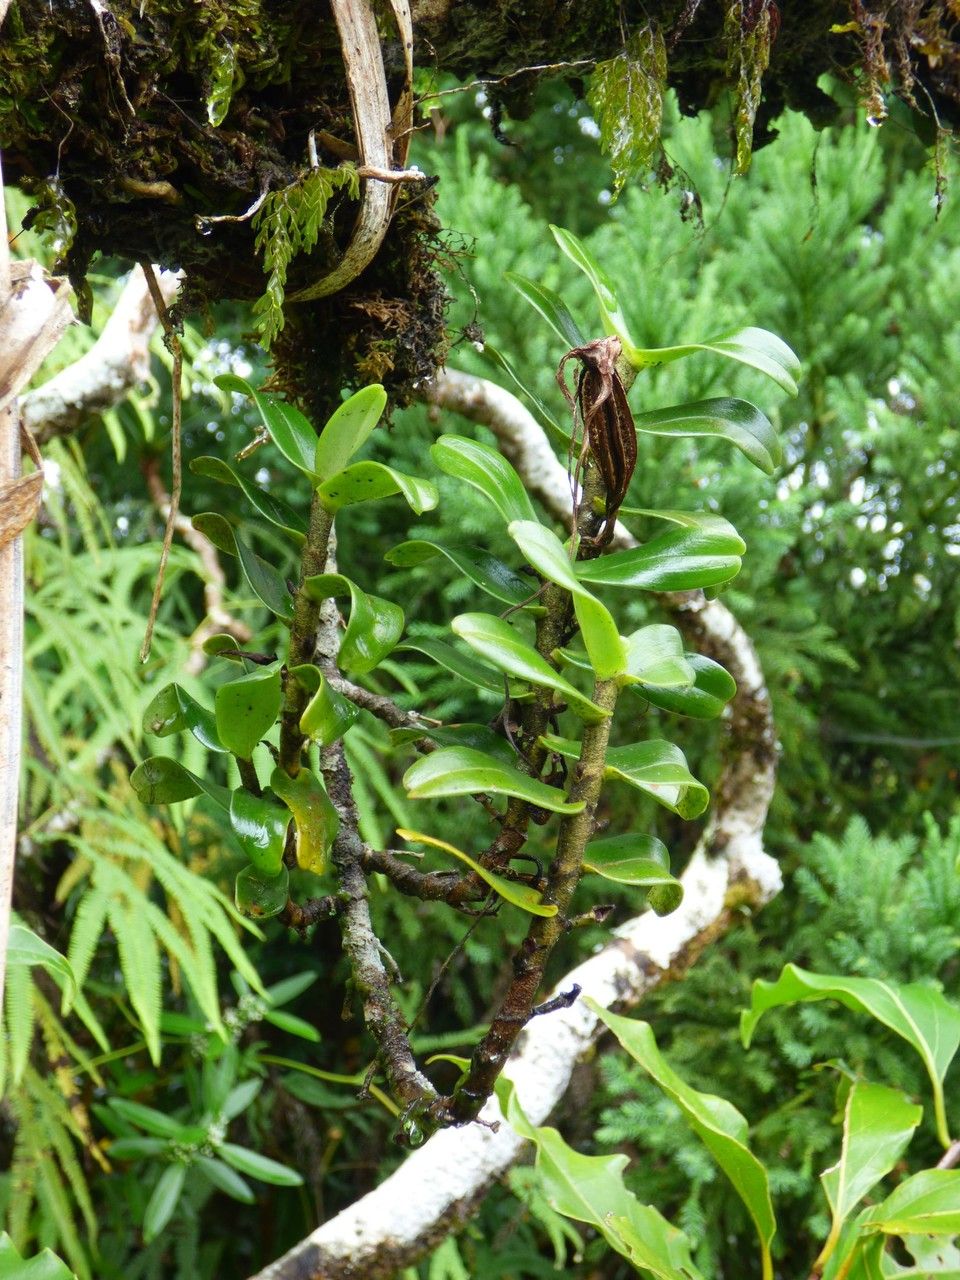
Unlocking the Secrets of Angraecum germinyanum Propagation: A Guide for Green Thumbs
The Angraecum germinyanum, with its elegant white blooms and captivating fragrance, is a true gem in the world of orchids. But like any prized possession, it’s natural to want to share this beauty with others. Luckily, propagating Angraecum germinyanum is achievable, even for beginner plant enthusiasts.
This guide will walk you through the ins and outs of propagation, offering a comprehensive approach to successfully growing new orchids from your beloved plant.
Methods of Propagation:
There are two primary methods of propagating Angraecum germinyanum:
Seed Propagation: This method involves collecting and sowing seeds, allowing them to germinate and develop into seedlings. This is a more complex and time-consuming process, often requiring specialized equipment and sterile environments. It’s best suited for experienced orchid growers.
- Division: The most common and accessible method involves separating mature clumps of Angraecum germinyanum. Each division should have its own roots and a healthy shoot, ensuring a high chance of survival.
The Division Method: A Step-by-Step Guide:
Timing: The best time to divide Angraecum germinyanum is during the active growth period, typically after flowering. This is usually late spring or early summer.
Preparation: Prioritize sterile tools to minimize the risk of infection. Disinfect sharp knives or scissors with rubbing alcohol. Choose a well-drained potting mix formulated for orchids.
Division: Carefully remove the plant from its pot and gently separate the clump into smaller divisions. Ensure each division has a healthy root system and at least one healthy shoot.
Planting: Pot each division in an orchid pot with drainage holes. Use a well-draining potting mix designed specifically for orchids. Water thoroughly after planting.
- Care: Place the newly divided plants in a bright, indirect light location and maintain consistent humidity. Ensure the potting mix remains slightly moist but not waterlogged.
Tips for Success:
Sterility: Maintaining a sterile environment is crucial. Using sterile tools and potting mix helps prevent infection and improves the survival rate of your new plants.
Watering: The most common cause of failure in propagation is overwatering. Allow the potting mix to dry out slightly between waterings, ensuring proper drainage.
- Humidity: Angraecum germinyanum thrives in humid environments. You can increase humidity by placing the plants on a pebble tray with water or using a humidifier.
Patience is Key:
Remember that propagation takes time. It can take several weeks to months for your new plants to establish themselves and begin to grow actively. Be patient and provide the necessary care, and soon you’ll have a whole new generation of Angraecum germinyanum orchids filling your home with their alluring fragrance and elegant beauty.
By following this guide and exercising patience, you can successfully propagate your Angraecum germinyanum and enjoy their captivating charm for years to come.