Multiply Your Mallows: The Essential Guide to Propagating Anisodontea Capensis
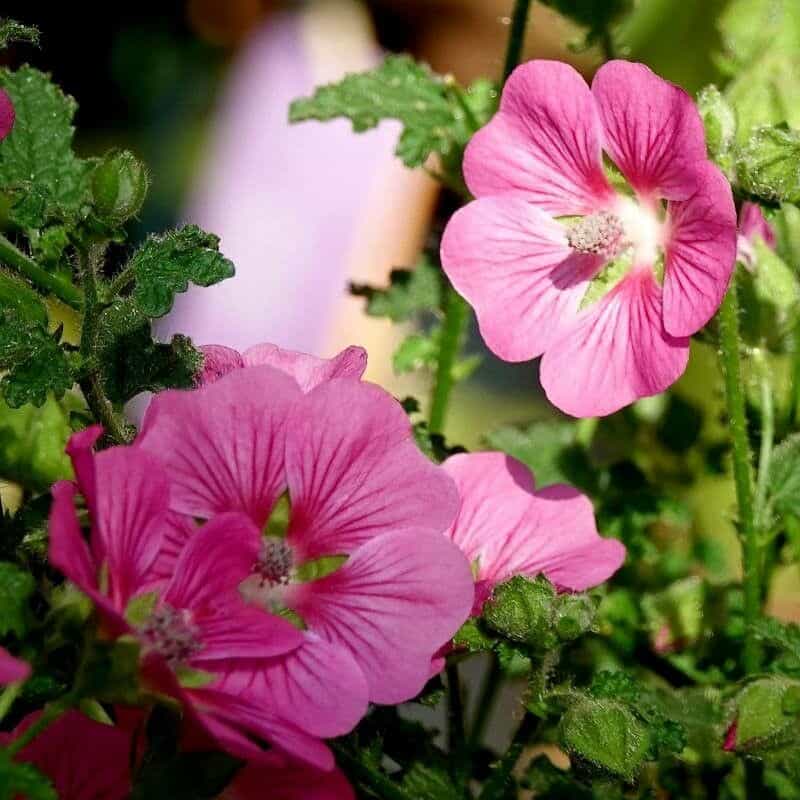
Anisodontea capensis, better known as the Cape Mallow or African Rose Mallow, is a gardener’s dream. This South African beauty boasts an abundance of vibrant, hibiscus-like blooms that dance upon delicate foliage, instantly brightening any sunny corner. But did you know this floral marvel is surprisingly easy to propagate? Whether you want to expand your own flower patch or share the joy with friends, multiplying your Anisodontea is a rewarding endeavor. Let’s explore the two most effective methods:
1. Cuttings: Your Ticket to Quick and Easy Propagation
Taking cuttings is the most popular method for propagating Anisodontea, and for good reason. It’s simple, effective, and allows you to create new plants quickly. Here’s a step-by-step guide:
- Timing is Key: Spring to early summer is the ideal time to take cuttings, as the plant is actively growing.
- Choose the Right Stems: Select healthy, non-flowering shoots that are about 4-6 inches long. Look for stems with new growth at the tips.
- Make the Cut: Use a sharp, clean knife or pruning shears to make a cut just below a leaf node (the point where a leaf emerges from the stem).
- Prepare the Cuttings: Remove the lower leaves from the cutting, leaving 2-3 leaves at the top. Dip the cut end into rooting hormone powder (optional but recommended) to encourage root development.
- Plant the Cuttings: Fill small pots or seed trays with a well-draining potting mix. Make a hole in the center of each pot and carefully insert the cutting, ensuring the bottom node is buried.
- Create a Humid Environment: Mist the cuttings and cover the pots with a clear plastic bag or a propagator lid to create a warm, humid environment.
- Patience is a Virtue: Place the cuttings in a bright location, out of direct sunlight. Keep the soil consistently moist but not soggy. Roots should develop within 4-6 weeks.
- Transplanting Success: Once roots have formed and new growth emerges, you can transplant your rooted cuttings into individual pots or directly into your garden.
2. Sow the Seeds of Success: Starting Anisodontea from Seed
While slightly less common than cuttings, starting Anisodontea from seed offers a different kind of satisfaction. This method is perfect for those who enjoy the magic of witnessing a plant’s entire life cycle.
- Gather Your Supplies: You’ll need Anisodontea seeds (available online or at some garden centers), seed-starting mix, small pots or seed trays, and a spray bottle.
- Time to Sow: Start seeds indoors 6-8 weeks before the last expected frost in your area.
- Prepare the Seed Trays: Fill your trays with seed-starting mix, moisten it evenly, and gently press the seeds onto the surface.
- Lightly Cover and Water: Lightly cover the seeds with a thin layer of the seed-starting mix and mist with water.
- Warmth is Essential: Place the trays in a warm location, ideally around 70-75°F (21-24°C). A heat mat can be helpful for maintaining consistent warmth.
- First Sprouts Appear: Germination typically takes 10-14 days, but it can vary. Keep the soil moist but not waterlogged.
- Thinning Out the Crowd: Once the seedlings develop their first true leaves, thin them out, leaving the strongest seedling in each pot or cell.
- Time to Harden Off: When the seedlings are a few inches tall and all danger of frost has passed, gradually acclimate them to outdoor conditions over a week or two.
- Transplanting Time: Once hardened off, plant the seedlings in their final location, spacing them about 12-18 inches apart.
A Few Final Tips for Propagation Success:
- Always use clean tools and pots to prevent the spread of diseases.
- Choose a well-draining potting mix for both cuttings and seeds.
- Be patient! Propagation takes time, so don’t be discouraged if you don’t see results immediately.
With a little patience and care, you’ll be able to enjoy the vibrant beauty of Anisodontea capensis for years to come. Happy propagating!