Unveiling the Secrets of Propagation: How to Multiply Your Anoectochilus geniculatus Beauty
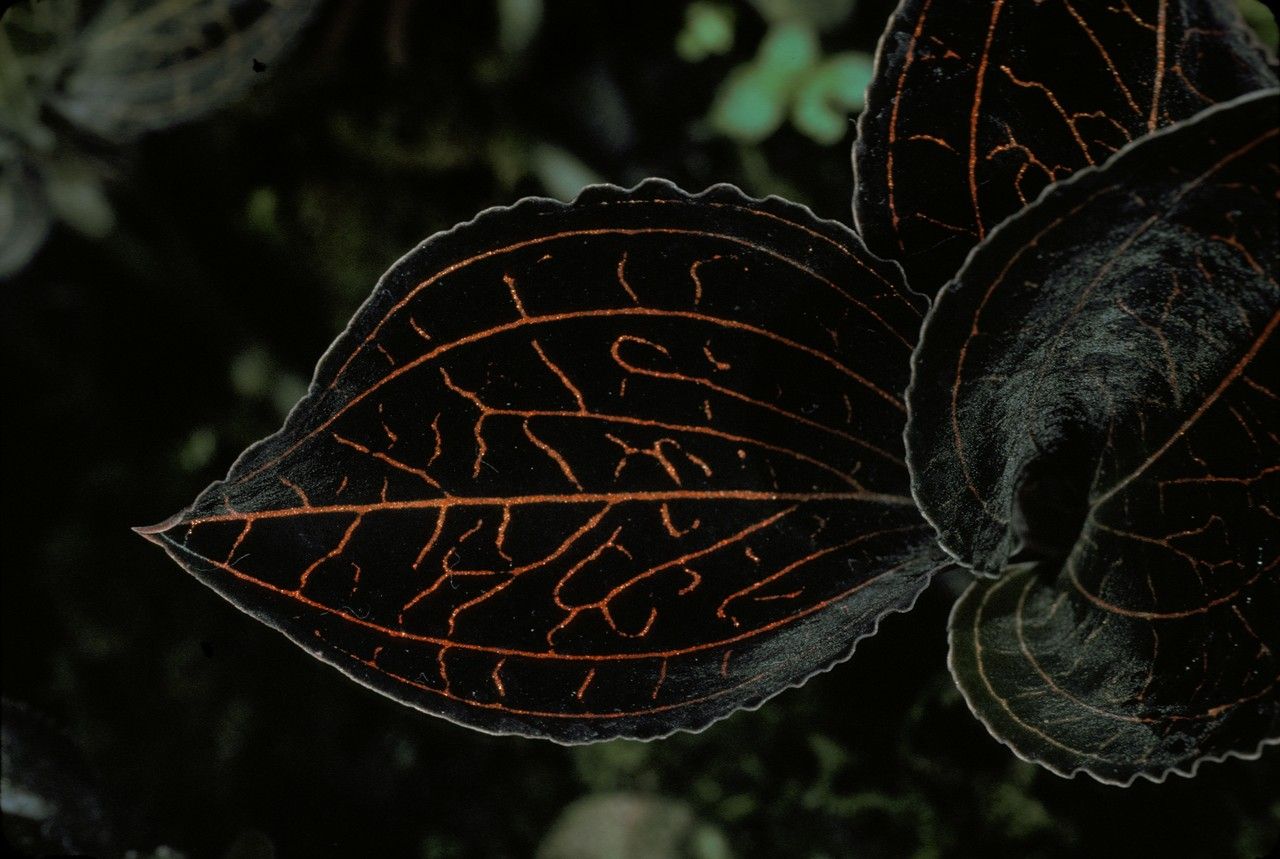
The Anoectochilus geniculatus, with its captivatingly patterned leaves and velvety texture, is a true gem among houseplants. But imagine the joy of sharing this beauty with friends or expanding your own collection! This is where propagation comes in. While it may seem daunting, propagating your Anoectochilus geniculatus can be surprisingly easy, even for novice green thumbs.
There are two primary methods for propagating this mesmerizing orchid: division and leaf cuttings. Let’s explore them in detail:
1. Division: A Simple and Effective Method
Division is most effective when your Anoectochilus geniculatus has developed multiple growth points, forming a dense clump. This is the perfect opportunity to create new plants while keeping the original thriving. Here’s how:
- Choose the Right Time: The best time to divide your plant is during the active growing season, usually spring or early summer.
- Gentle Handling: Carefully remove your plant from its pot and gently loosen the soil around the roots.
- Separate with Care: Identify distinct clumps of growth points with their own root systems. Use a sharp, sterilized knife or gardening shears to carefully separate the clumps.
- Potting Up: Plant each division in a pot slightly larger than its root ball, using a well-draining orchid mix. Make sure the base of the plant is slightly above the soil level.
- Extra TLC: Keep the divided plants in a humid environment and provide them with plenty of indirect light for optimal growth.
2. Leaf Cuttings: A More Challenging but Rewarding Approach
Leaf cuttings offer the possibility of growing new Anoectochilus geniculatus plants from a single leaf. While this method can be a bit trickier, the reward of witnessing new life emerge is deeply satisfying. Here’s what you’ll need to know:
- Selecting the Perfect Leaf: Choose healthy mature leaves with no signs of damage or disease.
- Precision Cuts: Cut the leaf into sections, ensuring each section has a portion of the leaf vein.
- Soil Preparation: Use a sterile medium like perlite or vermiculite, ensuring it’s moist but not soggy.
- Planting the Cuttings: Place the cut leaf sections onto the surface of the propagation medium and gently press them in.
- Environment and Patience: Maintain high humidity levels, provide indirect light, and be patient. New plantlets may take a few weeks or even months to appear.
Pro Tips for Successful Propagation:
- Sterilization is Key: Always sanitize your tools to prevent the spread of disease.
- Maintain Humidity: Anoectochilus geniculatus thrive in humid surroundings. Use a humidity dome or place the pot on a tray filled with pebbles and water.
- Light is Essential: Provide bright, indirect light to encourage healthy growth.
- Consistency is Key: Ensure the propagation medium remains consistently moist but avoid overwatering.
By following these simple steps, you can experience the rewarding journey of propagating your precious Anoectochilus geniculatus. Not only will you expand your collection, but you’ll also gain a deeper appreciation for the fascinating world of plant reproduction.
Remember, patience is a virtue when it comes to propagation. So relax, nurture your new starts, and enjoy the journey of watching your Anoectochilus geniculatus flourish!