From Snipping to Thriving: How to Propagate Anthocercis ilicifolia, the Holly-Leafed Anthocercis
Do you have a beautiful Anthocercis ilicifolia, commonly known as the Holly-Leafed Anthocercis, adorning your garden? Or are you longing to add this striking Australian native to your plant collection? If so, you’re in luck! This blog post will guide you through the fascinating world of propagating Anthocercis ilicifolia, allowing you to expand your plant family with ease.
The Charm of Anthocercis ilicifolia
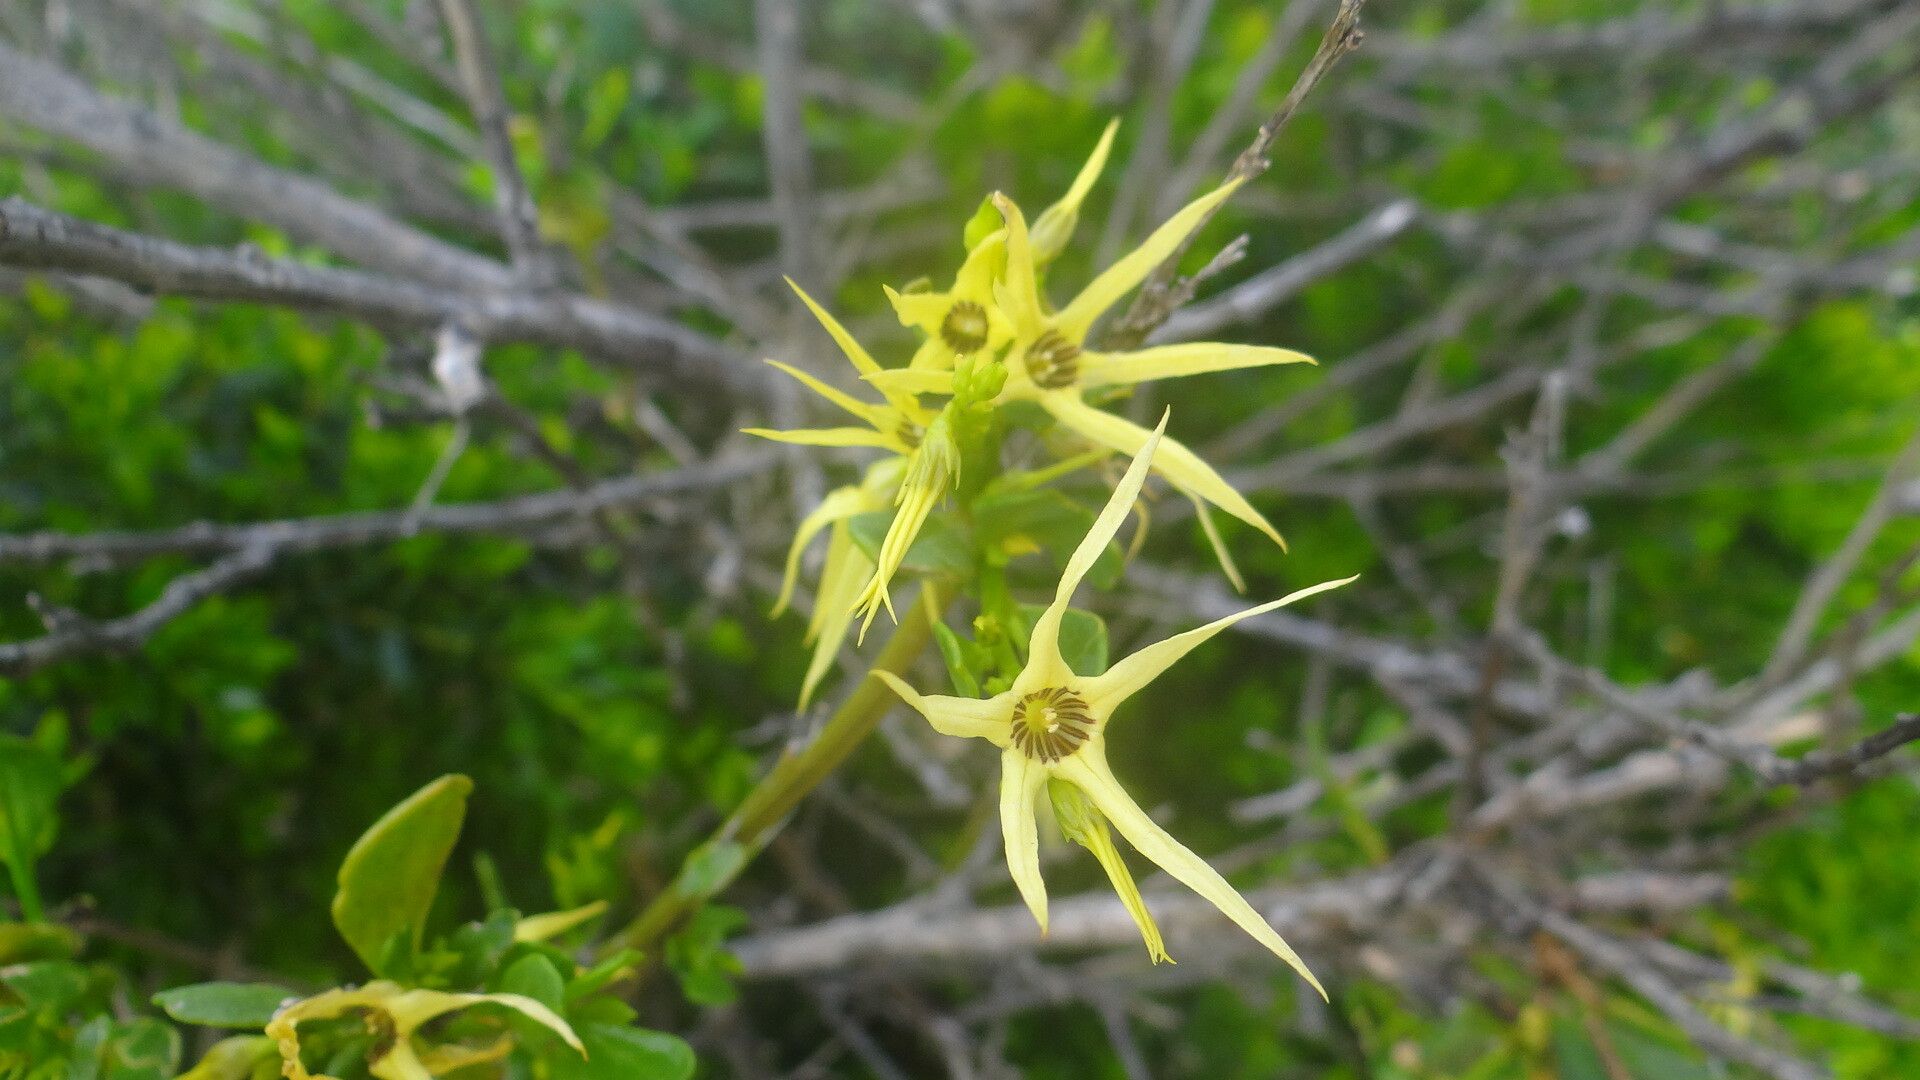
Before we dive into the propagation methods, let’s take a moment to appreciate this extraordinary shrub. Anthocercis ilicifolia captivates with its glossy, dark green leaves that resemble holly leaves, lending it its unique name. This enchanting plant bursts into life during spring and summer with an abundance of vibrant, tubular flowers in shades of yellow, orange, and red. These beauties attract an array of pollinators, adding a buzz of activity to your garden.
Your Propagation Arsenal: Seed vs. Cutting
You have two main weapons in your propagation arsenal: seeds and cuttings. Each method offers distinct advantages and requires a slightly different approach. Let’s break down the process for each:
1. Seeds:
- Gather Seeds: Once your Anthocercis ilicifolia has finished flowering, you’ll be rewarded with seedpods. These pods dry and split open, releasing tiny, dark seeds. Collect the seeds and store them in a cool, dry place until ready for planting.
- Sow Seeds: Begin by filling a shallow seed tray with a well-draining seed-starting mix. Sprinkle the seeds evenly onto the surface, lightly pressing them into the soil. Mist lightly with water and cover the tray with clear plastic wrap to create a humid environment.
- Germination Time: Keep the tray someplace warm and bright, but out of direct sunlight. Germination usually takes 1-2 weeks. Once seedlings emerge, remove the plastic wrap and provide them with adequate sunlight and water as they grow.
- Transplanting: Once your seedlings have developed a few true leaves, it’s time to transplant them into individual pots or directly into your garden. If planting outdoors, choose a location with well-drained soil and full sun to partial shade.
2. Cuttings:
- Take Cuttings: The best time to take cuttings is during the late spring or early summer when the plant is actively growing. Select healthy stems with new growth. Use a sharp, clean knife or pruning shears to make a 4-6 inch cutting just below a node (where a leaf grows). Strip the bottom leaves and make a clean cut at an angle to encourage root development.
- Root Hormone Treatment: Dip the cut end of the cutting into a rooting hormone powder or solution. This helps stimulate root growth.
- Preparation: Fill a small pot with a rooting mix that is light and airy. Make a hole in the center and insert the treated cutting. Pack the mix around the cutting, ensuring the bottom node is covered.
- Mist and Cover: Mist the cuttings lightly with water and cover the pot with a clear plastic bag or dome to create a humid environment. This will help the cuttings retain moisture and promote root development.
- Location: Place the potted cuttings in a bright location, out of direct sunlight.
- Patience: Keep the soil moist but not soggy. It can take several weeks for cuttings to root. Once roots have formed, you can gradually acclimate the cuttings to outdoor conditions and transplant them into your garden.
Tips for Success
- Use Fresh Cuttings: The fresher the cuttings, the better their chances of rooting.
- Water Regularly: Keep the cuttings moist but avoid overwatering to prevent root rot.
- Provide Ventilation: Ensure adequate air circulation around the cuttings, especially when using plastic covering.
- Patience is Key: Propagation, especially with cuttings, takes time. Be patient and enjoy the process. You’ll be rewarded with healthy, thriving plants in no time!
With its striking appearance and easy propagation methods, Anthocercis ilicifolia is a fantastic addition to any garden. Whether you choose the seed or cutting method, the journey from snipping to thriving is both rewarding and enjoyable. So, grab your gardening gear, and let’s get propagating!