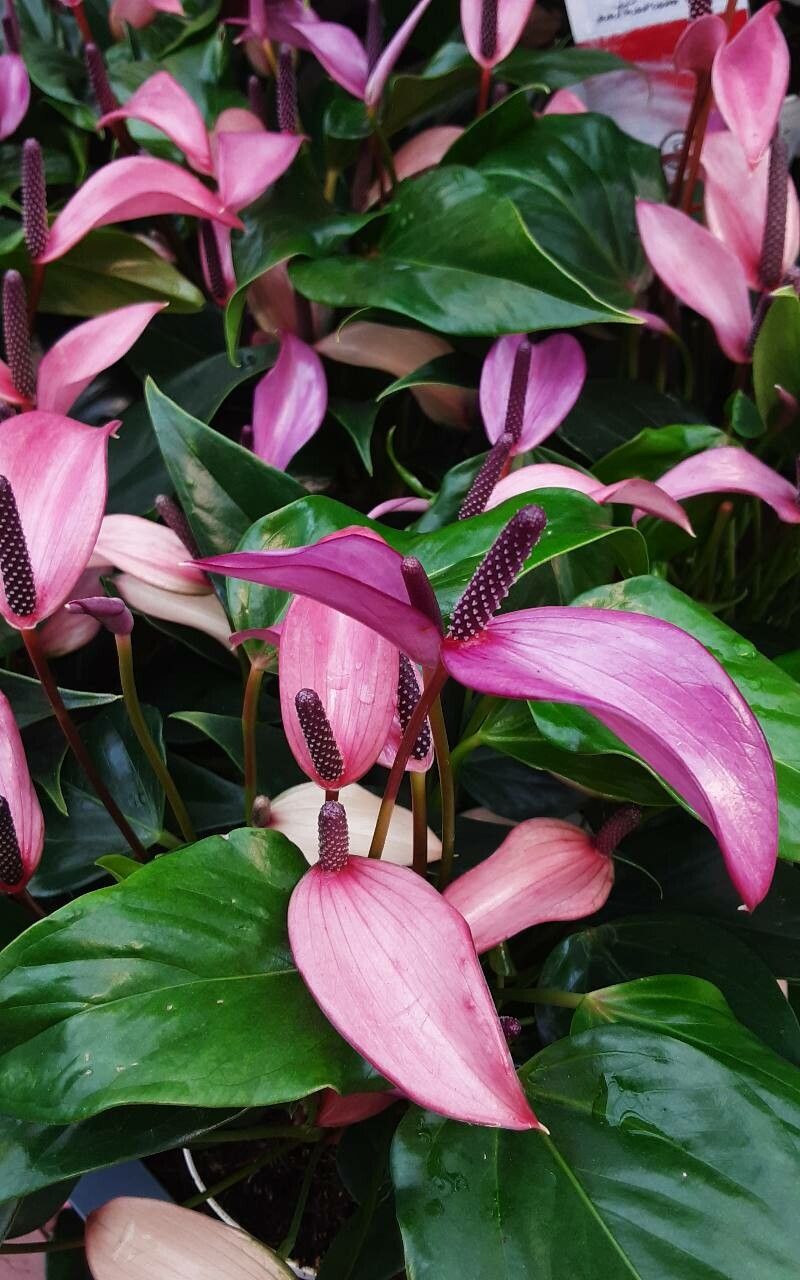
Unlocking the Secrets of Anthurium amnicola Propagation: From Snip to Sprout
The Anthurium amnicola, with its vibrant green leaves and bold red spathes, adds a touch of tropical elegance to any home. But beyond its beauty lies a fascinating secret; propagating this stunning plant is surprisingly easy! This guide will equip you with the knowledge to successfully propagate your own Anthurium amnicola plants, expanding your collection or sharing the joy with fellow plant enthusiasts.
The Power of Division
The Anthurium amnicola is a perfect candidate for propagation by division. This method involves separating a mature plant into smaller, independent units, each capable of growing into a new plant. Here’s how:
- Choose a Healthy Plant: Select a well-established Anthurium amnicola with multiple growth points, indicating it’s ready for division.
- Prepare the Plant: Gently loosen the plant from its container and remove any excess soil.
- Locate the Divisions: Observe the plant for natural divisions, where the root system branches into distinct groups.
- Divide with Care: Using a clean, sharp knife, carefully separate the divisions, ensuring each section has a root system and at least one growth point.
- Repotting Time: Pot each division in fresh, well-draining potting mix, ensuring the roots are well-covered. Water thoroughly and place in a warm, bright location.
Harnessing the Magic of Cuttings
For a more controlled propagation approach, try rooting cuttings of your Anthurium amnicola. This method involves taking a piece of stem and coaxing it to develop roots. Follow these steps:
- Selecting the Cutting: Choose a healthy stem with at least two nodes, the points on the stem where leaves emerge.
- Prepare the Cutting: Make a clean cut just below a node using a sharp, sterilized knife.
- Root Hormone Magic: Dip the cut end of the stem into rooting hormone powder for enhanced root development.
- Time for Rooting Medium: Place the cutting in a well-draining rooting medium like perlite, vermiculite, or a mixture of both. Secure the cutting with a toothpick or other support.
- Maintain Moisture: Keep the rooting medium consistently moist but not soggy.
- Patience is Key: Root development can take several weeks. A warm, humid environment with indirect light helps speed up the process.
- Signs of Success: Once roots emerge, you can carefully repot the cutting into a small pot filled with well-draining potting mix.
Essential Propagation Tips:
- Sterilize your tools: Clean your knives or pruning shears with rubbing alcohol to prevent the spread of diseases to your plants.
- Promote Root Growth: A warm, humid environment encourages root development. A propagator dome or a plastic bag can provide the ideal conditions.
- Keep it Moist: Water the rooting medium regularly but avoid overwatering, which can lead to root rot.
- Patience is a Virtue: Propagation takes time. Be patient and observe your cuttings closely for signs of root growth.
Sharing the Joy of Propagation
Propagating your Anthurium amnicola is a rewarding experience, allowing you to multiply your plant collection and share your green passion with others. Whether you choose division or cuttings, following these tips will help you unlock the secrets of successful propagation and create new life from your favorite plant. Enjoy the process of nurturing new plants and witness the magical transformation from snip to sprout!