
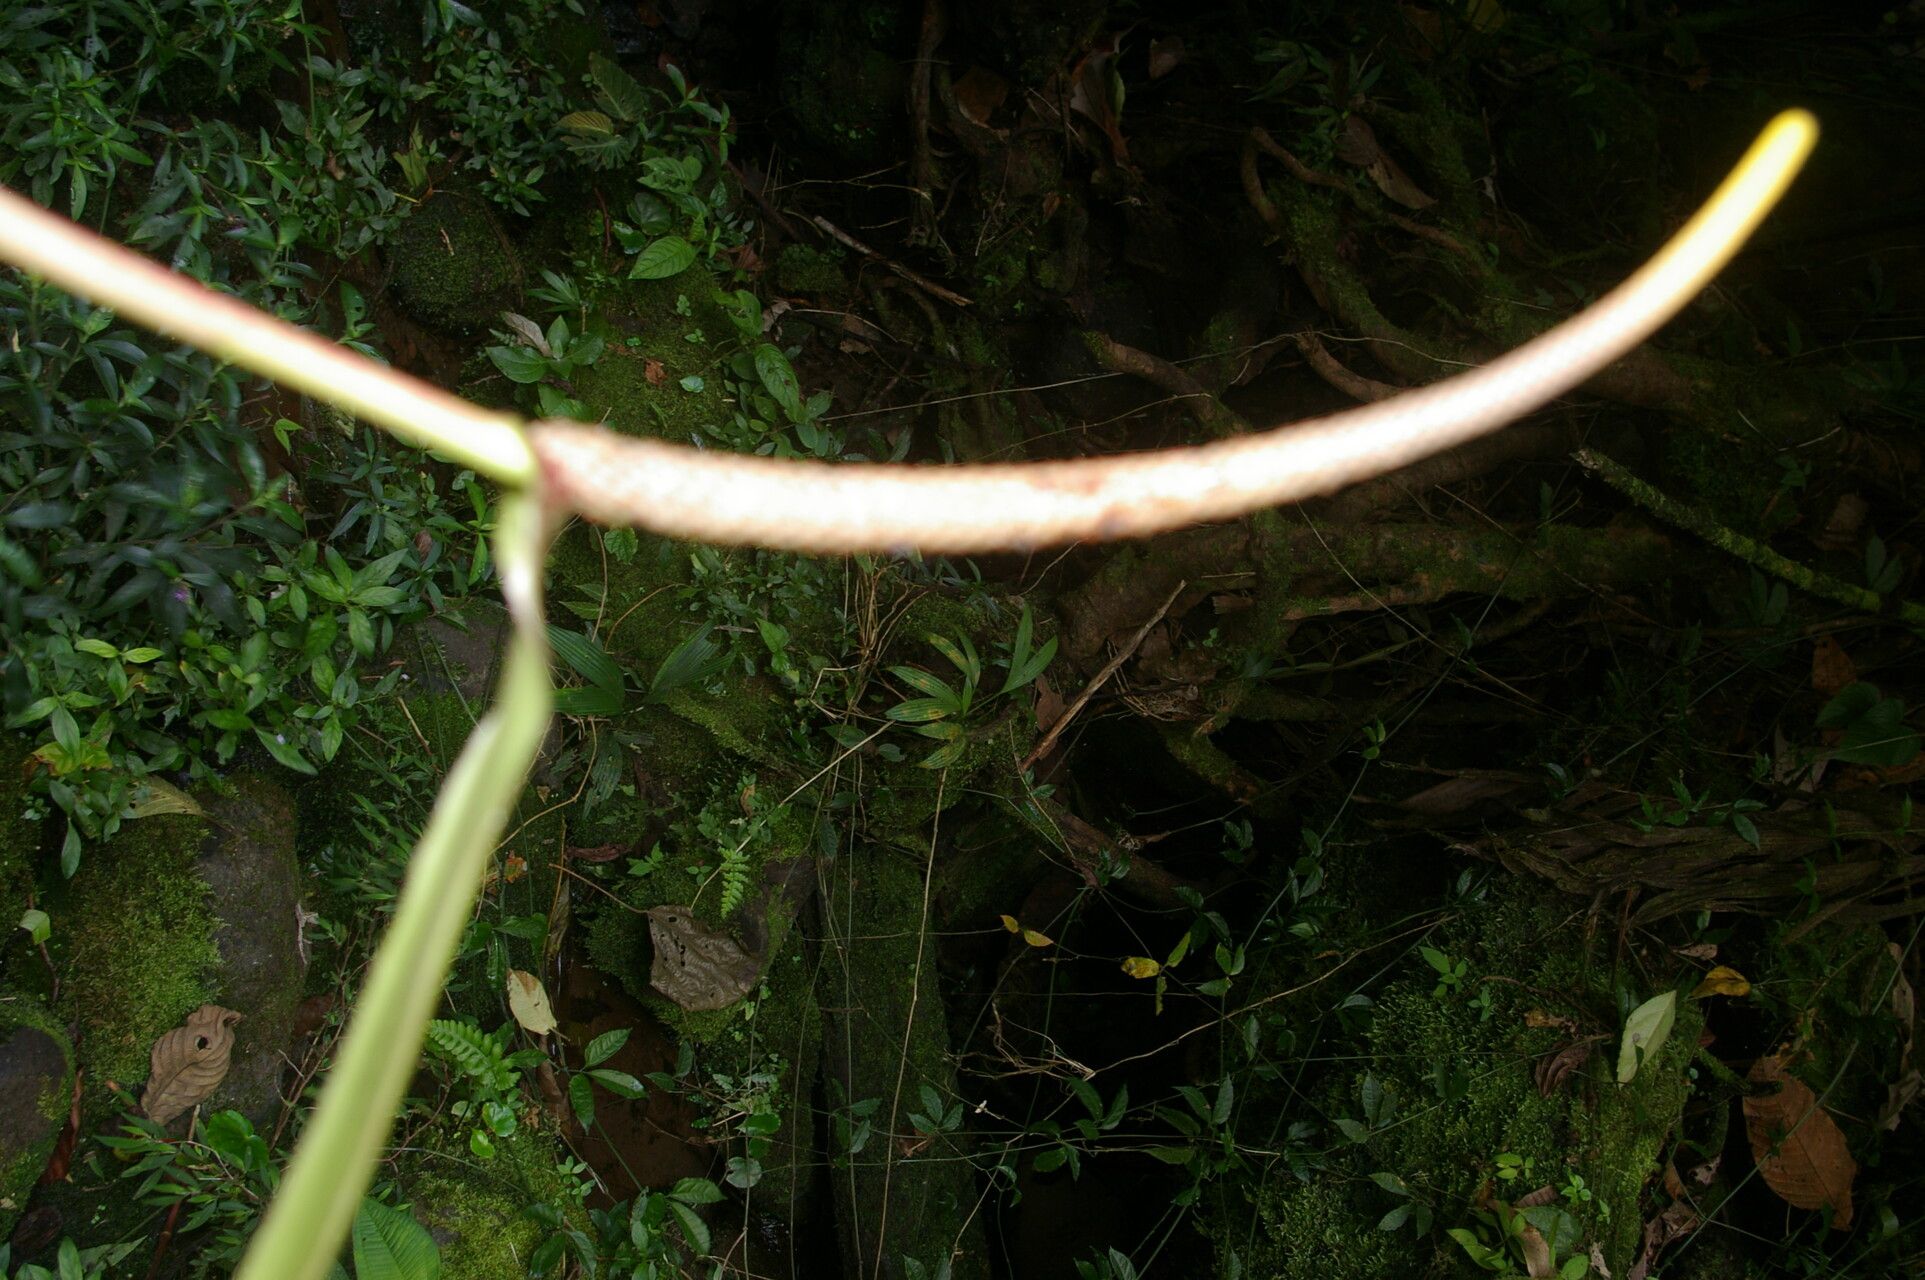
Unlocking the Secrets of Anthurium Cuspidatum Propagation: A Step-by-Step Guide
The Anthurium Cuspidatum, with its elegantly drooping leaves and striking red berries, is a captivating addition to any plant lover’s collection. But did you know that propagating this beauty isn’t as daunting as it seems? With a little patience and the right techniques, you can easily multiply your Anthurium Cuspidatum and share the joy with others.
Understanding the Basics
Before diving in, it’s important to know that Anthurium Cuspidatum can be propagated in two main ways:
- Seed Propagation: While possible, this method is less reliable and significantly slower. Anthurium seeds have a short viability period and require specific conditions to germinate successfully.
- Vegetative Propagation: This method involves using parts of the parent plant to create new ones and is generally preferred for its higher success rate and faster results.
This guide will focus on the more accessible and effective vegetative propagation methods for your Anthurium Cuspidatum.
Method 1: Division
The easiest way to propagate your Anthurium Cuspidatum is through division, ideally done during spring or early summer when the plant is actively growing:
- Prepare your tools: You’ll need a clean, sharp knife or pair of gardening shears, a pot with drainage holes, and fresh, well-draining potting mix.
- Gently remove the plant: Carefully lift your Anthurium Cuspidatum from its pot, loosening the soil around the roots.
- Identify offshoots: Look for smaller plants growing at the base of the mother plant. These are your divisions.
- Separate the divisions: Using your clean knife or shears, carefully separate the offshoots from the main plant, ensuring each division has a good amount of roots attached.
- Pot your divisions: Plant each division in its own pot with the well-draining potting mix, burying the roots at the same depth they were previously.
- Water thoroughly: Give each newly potted division a good watering and place them in a warm, humid location with bright, indirect light.
Method 2: Stem Cuttings
Another effective method is propagating through stem cuttings, best done during the growing season:
- Select a healthy stem: Choose a stem that is firm, healthy, and has at least two nodes (small bumps on the stem where leaves emerge).
- Make the cut: Using your clean, sharp tool, cut a section of stem about 4-6 inches long, making the cut just below a node.
- Prepare the cutting: Remove any leaves from the bottom node of the cutting. You can dip the cut end in rooting hormone (optional but encourages faster rooting).
- Plant the cutting: Insert the cut end of the stem into a pot filled with a well-draining, moist potting mix.
- Provide humidity: Cover the pot with a clear plastic bag or humidity dome to create a humid environment for the cutting.
- Place in indirect light: Keep the pot in a warm location with bright, indirect light, ensuring the soil remains consistently moist.
Caring for Your New Propagations
With both methods, patience is key. It may take several weeks for roots to establish and new growth to appear. Ensure you provide:
- Consistent moisture: Keep the soil evenly moist but not soggy.
- Warmth and humidity: Mimic the Anthurium Cuspidatum’s natural environment.
- Indirect light: Avoid direct sunlight, which can scorch the delicate new growth.
Enjoy the Rewards
Propagating your Anthurium Cuspidatum is not only a rewarding experience but also allows you to expand your plant family or share this unique beauty with fellow plant enthusiasts. So, roll up your sleeves, try these methods, and watch your Anthurium Cuspidatum family flourish!