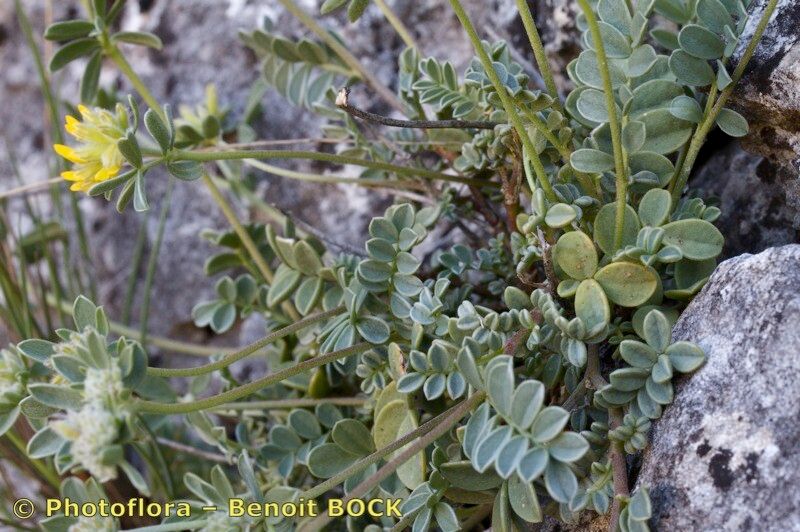
From Seed to Success: Propagating the Charming Anthyllis ramburei
Anthyllis ramburei, with its delicate silver-green foliage and charming yellow blooms, is a plant that effortlessly captures the heart of any gardener. But how do you introduce this beauty to your own garden? You could always buy a plant, but the joy of propagation lies in creating a new life from a single cutting or seed. This blog post will guide you through the fascinating world of Anthyllis ramburei propagation, enabling you to expand your collection and share this enchanting plant with friends.
Seeds of Hope: Starting from Scratch
While Anthyllis ramburei can be propagated through cuttings, starting from seed is a rewarding experience. Seeds are readily available online and can be sown directly into the garden or in seed trays.
- Direct Sowing: Prepare a well-drained bed in a sunny location. Sow the tiny seeds on the surface, gently pressing them into the soil. Keep the soil consistently moist but not waterlogged. Germination typically takes 1-3 weeks.
- Seed Trays: Fill seed trays with seed-starting mix. Sow the seeds thinly and cover them with a fine layer of compost. Mist regularly to keep the mix moist. Use clear plastic wrap to create a mini greenhouse environment that promotes germination. Once seedlings have a few true leaves, transplant them into individual pots, gradually hardening them off before transferring them to the garden.
Cutting Edge: Vegetative Propagation
Propagation through cuttings is a faster method that replicates the parent plant’s characteristics accurately. The best time to take cuttings is during the spring or summer.
- Selecting Cuttings: Choose healthy, non-flowering shoots with at least 4-5 nodes. Cut them just below a node, making a clean, angled cut.
- Rooting Process: Remove the lower leaves and dip the cut end in rooting hormone. Prepare a pot filled with a rooting mix. Insert the cuttings into the rooting mix, making sure at least 2 nodes are buried. Keep the soil consistently moist and maintain a warm temperature (around 70 degrees Fahrenheit) by using a propagation mat or covering the pot with a plastic dome.
- Root Development: Regularly check the cuttings for signs of root growth, which usually takes 4-6 weeks. Once roots are established, you can gradually acclimate them to outdoor conditions by removing the dome for longer durations each day. Eventually, you can transplant your cuttings to their permanent location in the garden.
Essential Care for Your New Anthyllis ramburei Plants
Regardless of the propagation method you choose, providing optimal care will ensure your new Anthyllis ramburei thrive. Here are some essential tips:
- Sunlight: Anthyllis ramburei loves full sun. Choose a spot in your garden that receives at least 6 hours of direct sunlight every day.
- Well-Drained Soil: This plant prefers well-drained soil. Sandy or gravelly loam is ideal.
- Watering: Water regularly, especially during dry periods. Allow the soil to dry slightly between waterings to avoid root rot.
- Fertilization: A light application of balanced fertilizer in spring can encourage healthy growth.
Conclusion
Propagating Anthyllis ramburei is an exciting journey that allows you to appreciate the intricate life cycle of this delightful flowering plant. It provides a rewarding way to expand your garden and share the beauty of these charming plants with others. Whether you choose to sow seeds or take cuttings, remember to provide optimal care for your new Anthyllis ramburei, and watch them flourish in your garden, creating a captivating landscape of silver-green and golden yellow.