Unlocking the Secrets of Propagation: How to Grow More Anthyllis tejedensis
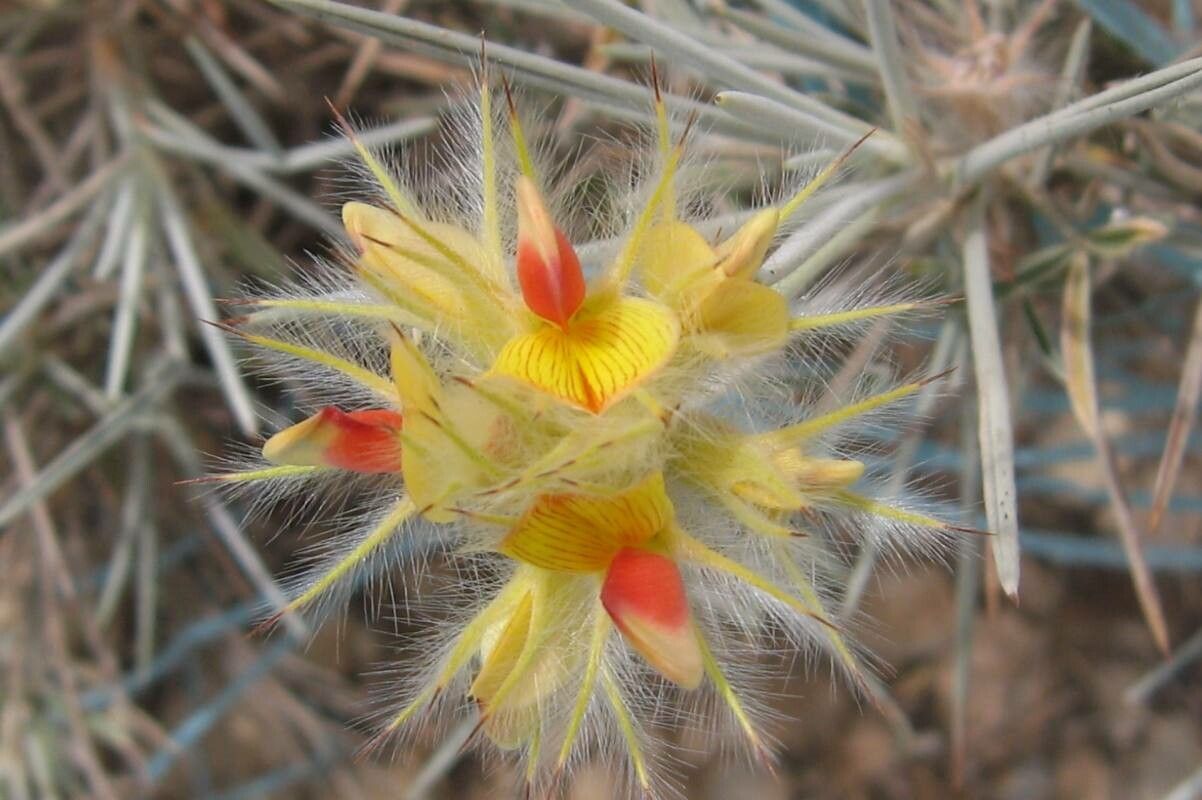
Ever heard of Anthyllis tejedensis? This stunning, silvery-leaved shrub, native to the Canary Islands, is a true eye-catcher with its delicate, fragrant flowers. But what if you could share this beauty? What if you could unlock the secrets of propagation and grow your own Anthyllis tejedensis?
This blog post will guide you through the fascinating world of propagating Anthyllis tejedensis. We’ll cover the most effective methods, from seeds to cuttings, so you can confidently expand your garden or share this special plant with friends.
From Seed to Seedling
Anthyllis tejedensis can be propagated by seeds, although this method requires a little patience. Here’s how to get started:
- Harvesting Seeds: Collect seeds from mature seed pods. The pods will turn brown and dry, and the seeds inside will be hard and dark.
- Sowing: Sow the seeds in a well-draining seed-starting mix, lightly covering them with soil. Keep the soil moist and warm.
- Germination: Expect seeds to germinate in about 10 to 20 days. You can provide bottom heat for quicker germination.
- Transplanting: Once seedlings have developed a few true leaves, you can transplant them into individual pots with a well-draining potting mix.
The Art of Cutting Propagation
For quicker results and a guaranteed match to the parent plant, propagation by cuttings is often preferred. Here’s a step-by-step guide:
- Choosing Cuttings: Take softwood cuttings from healthy, new growth in spring or early summer. Ideal cuttings are 4-6 inches long with several nodes (leaf joints).
- Preparing Cuttings: Remove the lower leaves from the cutting, leaving only a few leaves at the top. Dip the base of the cutting into rooting hormone for better rooting success.
- Planting Cuttings: Insert the cutting into a moistened rooting mix consisting of equal parts peat moss, perlite, and vermiculite. Ensure the nodes are buried in the mix.
- Providing Ideal Conditions: Place the cuttings in a warm, humid environment with indirect light. A mini greenhouse or propagation dome is a great choice.
- Rooting Success: Roots should develop within 4 to 6 weeks. Once the cuttings show healthy, new growth, they are ready for transplanting into individual pots.
Nurturing Your New Anthyllis tejedensis
Once your Anthyllis tejedensis is thriving, keep these essential points in mind:
- Sun and Soil: Anthyllis tejedensis loves a sunny spot with well-draining soil. It can withstand dry conditions once established.
- Watering: Water regularly, especially during the first few weeks after planting. As the plant matures, you can reduce the frequency.
- Pruning: Anthyllis tejedensis benefits from occasional pruning to maintain its shape and encourage bushy growth.
Sharing the Beauty:
Now that you’ve unlocked the secrets of propagation, you can share your Anthyllis tejedensis with the world! Gift your friends and family a unique and beautiful plant, and watch as their gardens bloom with this captivating addition.
Whether you choose to start from seed or take on the challenge of cuttings, propagating Anthyllis tejedensis is a rewarding journey. So get your hands dirty and discover the magic of bringing this stunning shrub to life in your garden and beyond!