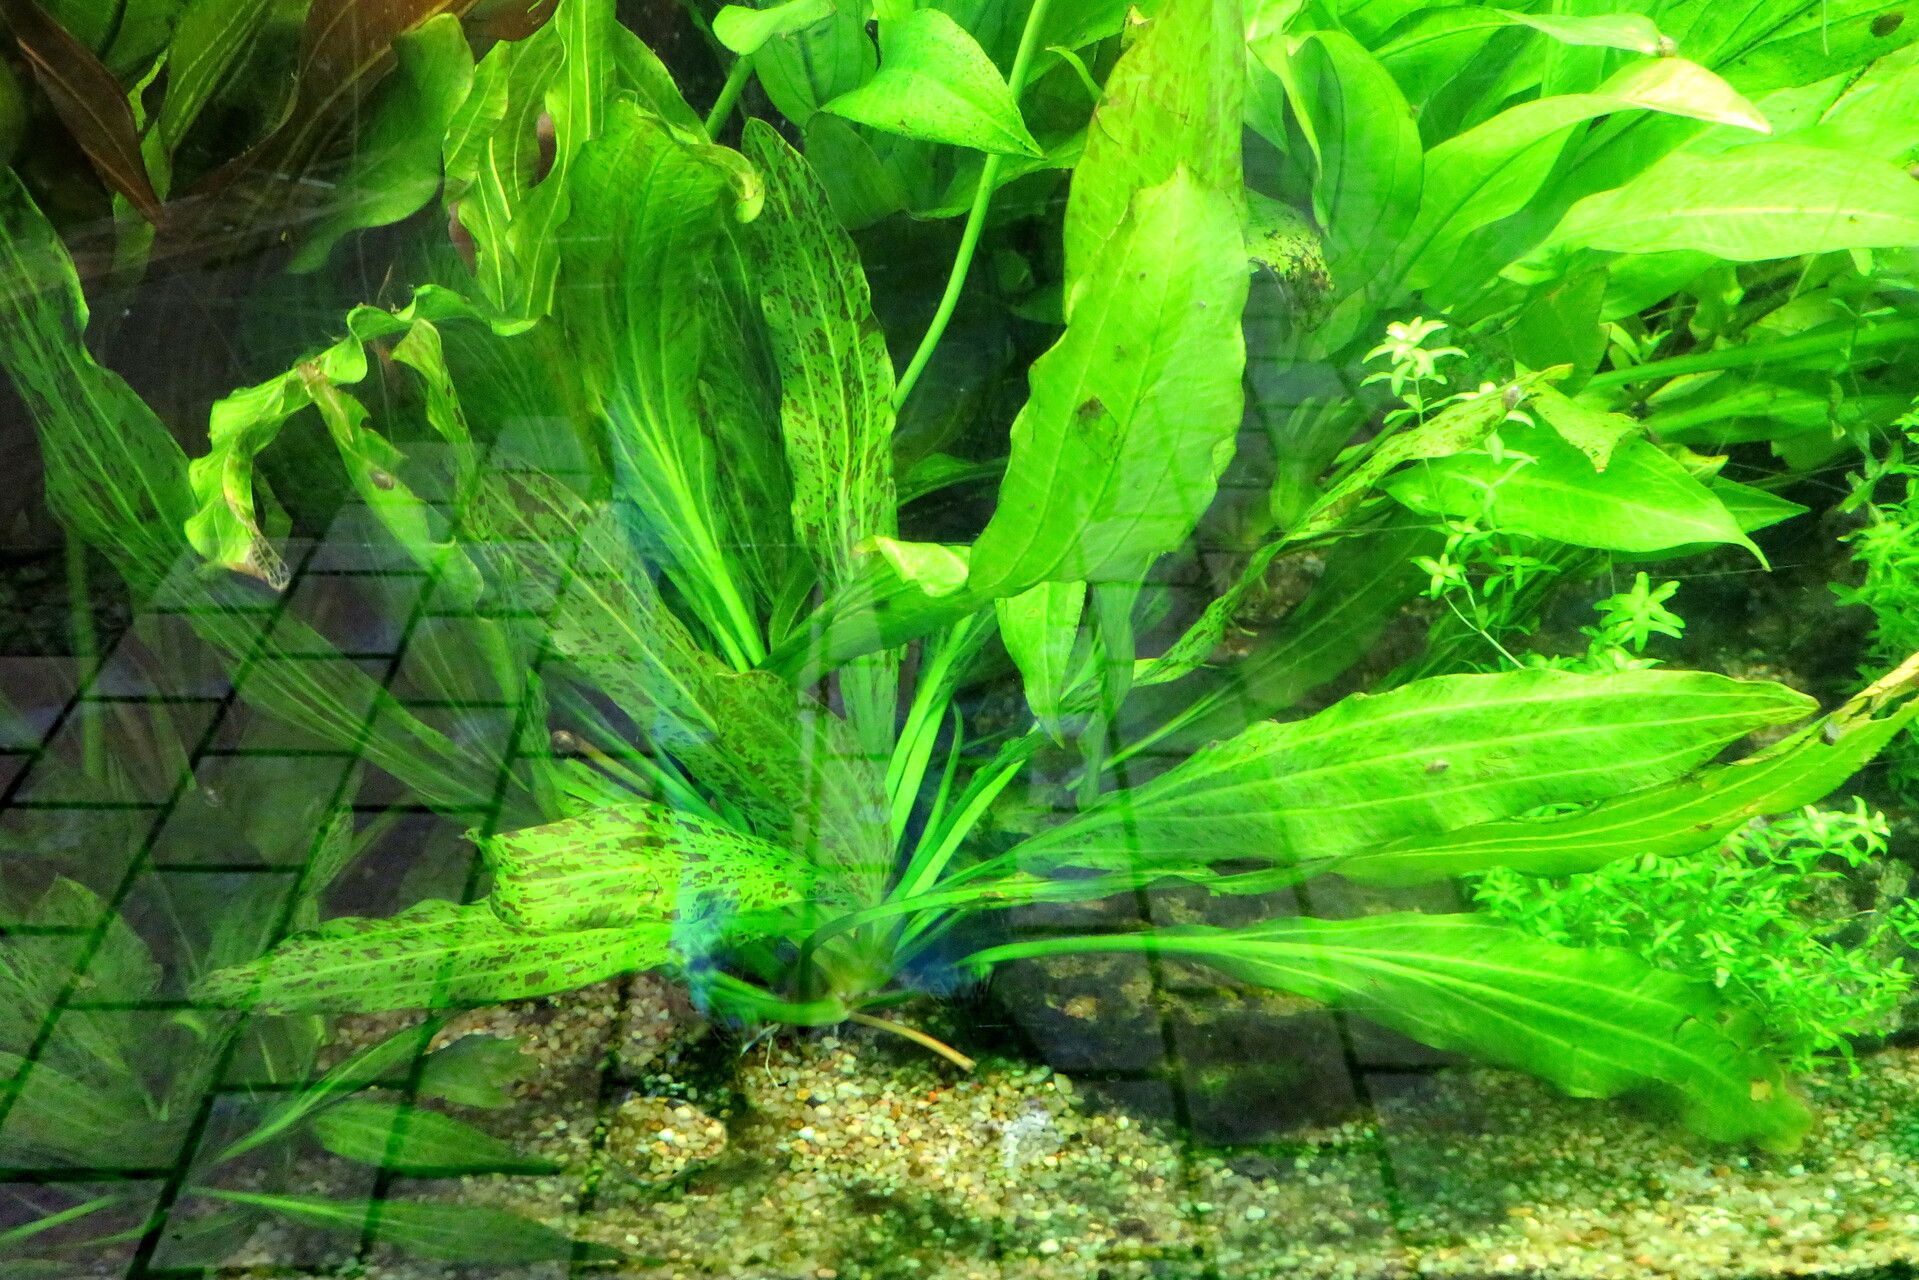
Unlocking the Secrets of Aquarius grisebachii: A Guide to Propagation
Aquarius grisebachii, with its captivating beauty and unique characteristics, has become a sought-after addition to many plant enthusiasts’ collections. But for those wanting to expand their own Aquarius grisebachii family, understanding the intricacies of propagation is essential.
This article serves as a comprehensive guide, delving into the world of Aquarius grisebachii propagation, providing you with the knowledge and techniques to successfully cultivate new plants from cuttings or seeds.
The Power of Cuttings:
One of the most common and effective ways to propagate Aquarius grisebachii is through stem cuttings. This technique involves taking a healthy stem section and encouraging it to develop roots.
Here’s a step-by-step guide:
- Choose the Right Cutting: Select a non-flowering stem that is at least 4 inches long and has at least two nodes (the bumps where leaves grow).
- Make the Cut: Use a sharp, clean knife or pair of shears to make a clean, angled cut just below a node. Remove any leaves below the cutting point to avoid rotting.
- Prepare the Cutting: Dip the cut end in rooting hormone powder to encourage root development.
- Plant the Cutting: Pot the cutting in a well-draining soil mix, ensuring that the nodes are buried beneath the soil.
- Provide Optimal Conditions: Maintain a consistently humid environment, either by covering the cutting with a plastic bag or dome, or using a propagation mat. A temperature range of 65-75 degrees Fahrenheit is ideal for root development.
- Patience is Key: It can take several weeks to a few months for root formation. Regularly check the soil moisture, keeping in mind that consistent moisture, but not waterlogged conditions, is crucial for root growth.
Cultivating from Seed:
Though less common, propagating Aquarius grisebachii from seed is an option for those willing to embark on a longer journey.
Here’s a breakdown of the steps involved:
- Acquire Seeds: Obtain fresh Aquarius grisebachii seeds from a reputable source, as germination rates decrease over time.
- Prepare the Soil: Use a seed starting mix that drains well and is rich in nutrients.
- Sow Seeds: Scatter the seeds thinly on the surface of the soil and lightly cover them with soil. Moistening the soil gently after sowing is important.
- Maintain Ideal Conditions: Provide a consistently warm environment, between 65-75 degrees Fahrenheit, and a humid atmosphere. A clear plastic dome or a propagator cover can help.
- Light is Crucial: Exposure to indirect sunlight is vital for seed germination.
- Thinning as Needed: When seedlings develop true leaves, thin them out leaving the strongest ones to ensure optimal growth.
Key Considerations:
Regardless of the chosen propagation method, it is important to maintain the following key factors:
- Well-Draining Soil: Aquarius grisebachii prefers soil that allows for good drainage, preventing root rot.
- Consistent Moisture: The soil should be consistently moist but not waterlogged.
- Proper Humidity: Maintaining higher humidity levels, especially during the rooting phase of cuttings, is critical for successful propagation.
- Indirect Sunlight: Provide bright indirect sunlight to promote healthy growth.
The Rewards of Propagation:
Successfully propagating Aquarius grisebachii is a rewarding experience, allowing you to expand your collection, share plants with others, or simply enjoy the satisfaction of nurturing new life.
By following the steps outlined in this guide and applying a bit of patience, you can unlock the fascinating world of Aquarius grisebachii propagation and create a thriving collection of these captivating beauties.