Unleashing the Sunshine: Propagating Your Very Own Arctotis stoechadifolia
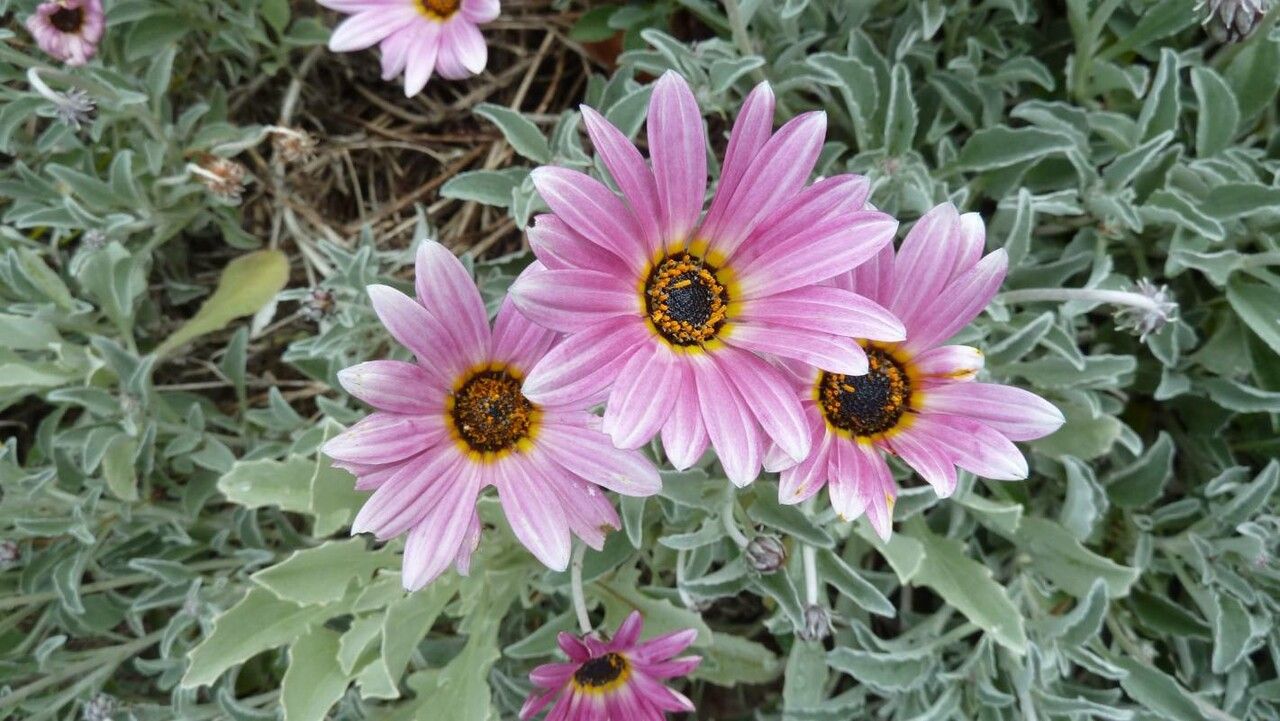
The Arctotis stoechadifolia, better known as the African Daisy or Blue-eyed Daisy, is a South African beauty that brings vibrant splashes of color to gardens worldwide. With its captivating daisy-like blooms in hues of white, cream, yellow, and orange with steely blue centers, it’s no wonder gardeners want to multiply their stock. Luckily, propagating these sun-loving plants is easier than you might think!
Let’s explore the two most effective methods:
1. Seed Propagation: Sowing a Rainbow of Blooms
Starting Arctotis stoechadifolia from seed is a rewarding experience, giving you the chance to cultivate a diverse selection of these stunning flowers. Here’s how:
- Timing is Key: Sow seeds indoors 6-8 weeks before your last expected frost. For warmer climates, direct sowing after the last frost is also successful.
- Prepare Your Seedbed: Use a well-draining seed starting mix and moisten it evenly.
- Sunlight is Their Friend: Sprinkle seeds on the surface and lightly press them in – these seeds need light to germinate.
- Warmth Encourages Growth: Maintain a temperature of 70-75°F (21-24°C). A seedling heat mat can be helpful.
- Patience is a Virtue: Germination typically takes 10-21 days. Once seedlings have at least two sets of true leaves, they can be carefully transplanted into individual pots.
- Hardening Off: Before planting outdoors, gradually acclimate your seedlings to outdoor conditions over a week or two.
2. Cuttings: Cloning Your Favorite Blooms
If you have a particular Arctotis stoechadifolia with desirable traits like a unique color or sturdy growth, taking cuttings allows you to create an exact replica!
- Choosing the Right Cuttings: Select healthy, non-flowering shoots in the spring or early summer.
- Making the Cut: Using a sharp, clean knife or pruners, take cuttings about 3-4 inches long, making the cut just below a leaf node.
- Preparing the Cutting: Remove the lower leaves from the cutting, leaving 2-3 leaves at the top.
- Encouraging Rooting: Dip the cut end in rooting hormone (optional but beneficial) and place the cutting in a pot with well-draining potting mix.
- Maintaining Moisture: Ensure the soil remains consistently moist but not waterlogged. A humidity dome or plastic bag placed over the pot can help create a warm, humid environment.
- Signs of Success: After 4-6 weeks, gently tug on the cutting – resistance indicates roots have formed. Once rooted, cuttings can be transplanted into individual pots.
Caring for Your New Arctotis stoechadifolia
Regardless of the propagation method, these plants thrive in similar conditions:
- Sunlight: Provide at least 6 hours of direct sunlight daily for optimal flowering.
- Well-Drained Soil: Use a light, well-draining potting mix or amend heavy clay soil with compost or perlite.
- Watering: Water deeply when the soil is dry to the touch, but avoid overwatering, which can lead to root rot.
- Deadheading: Regularly remove spent blooms to encourage continuous flowering throughout the growing season.
By following these simple steps, you’ll be rewarded with a bounty of vibrant Arctotis stoechadifolia, brightening your garden and bringing joy for seasons to come!