Unleashing the Beauty of Ardisia guianensis: A Propagation Guide
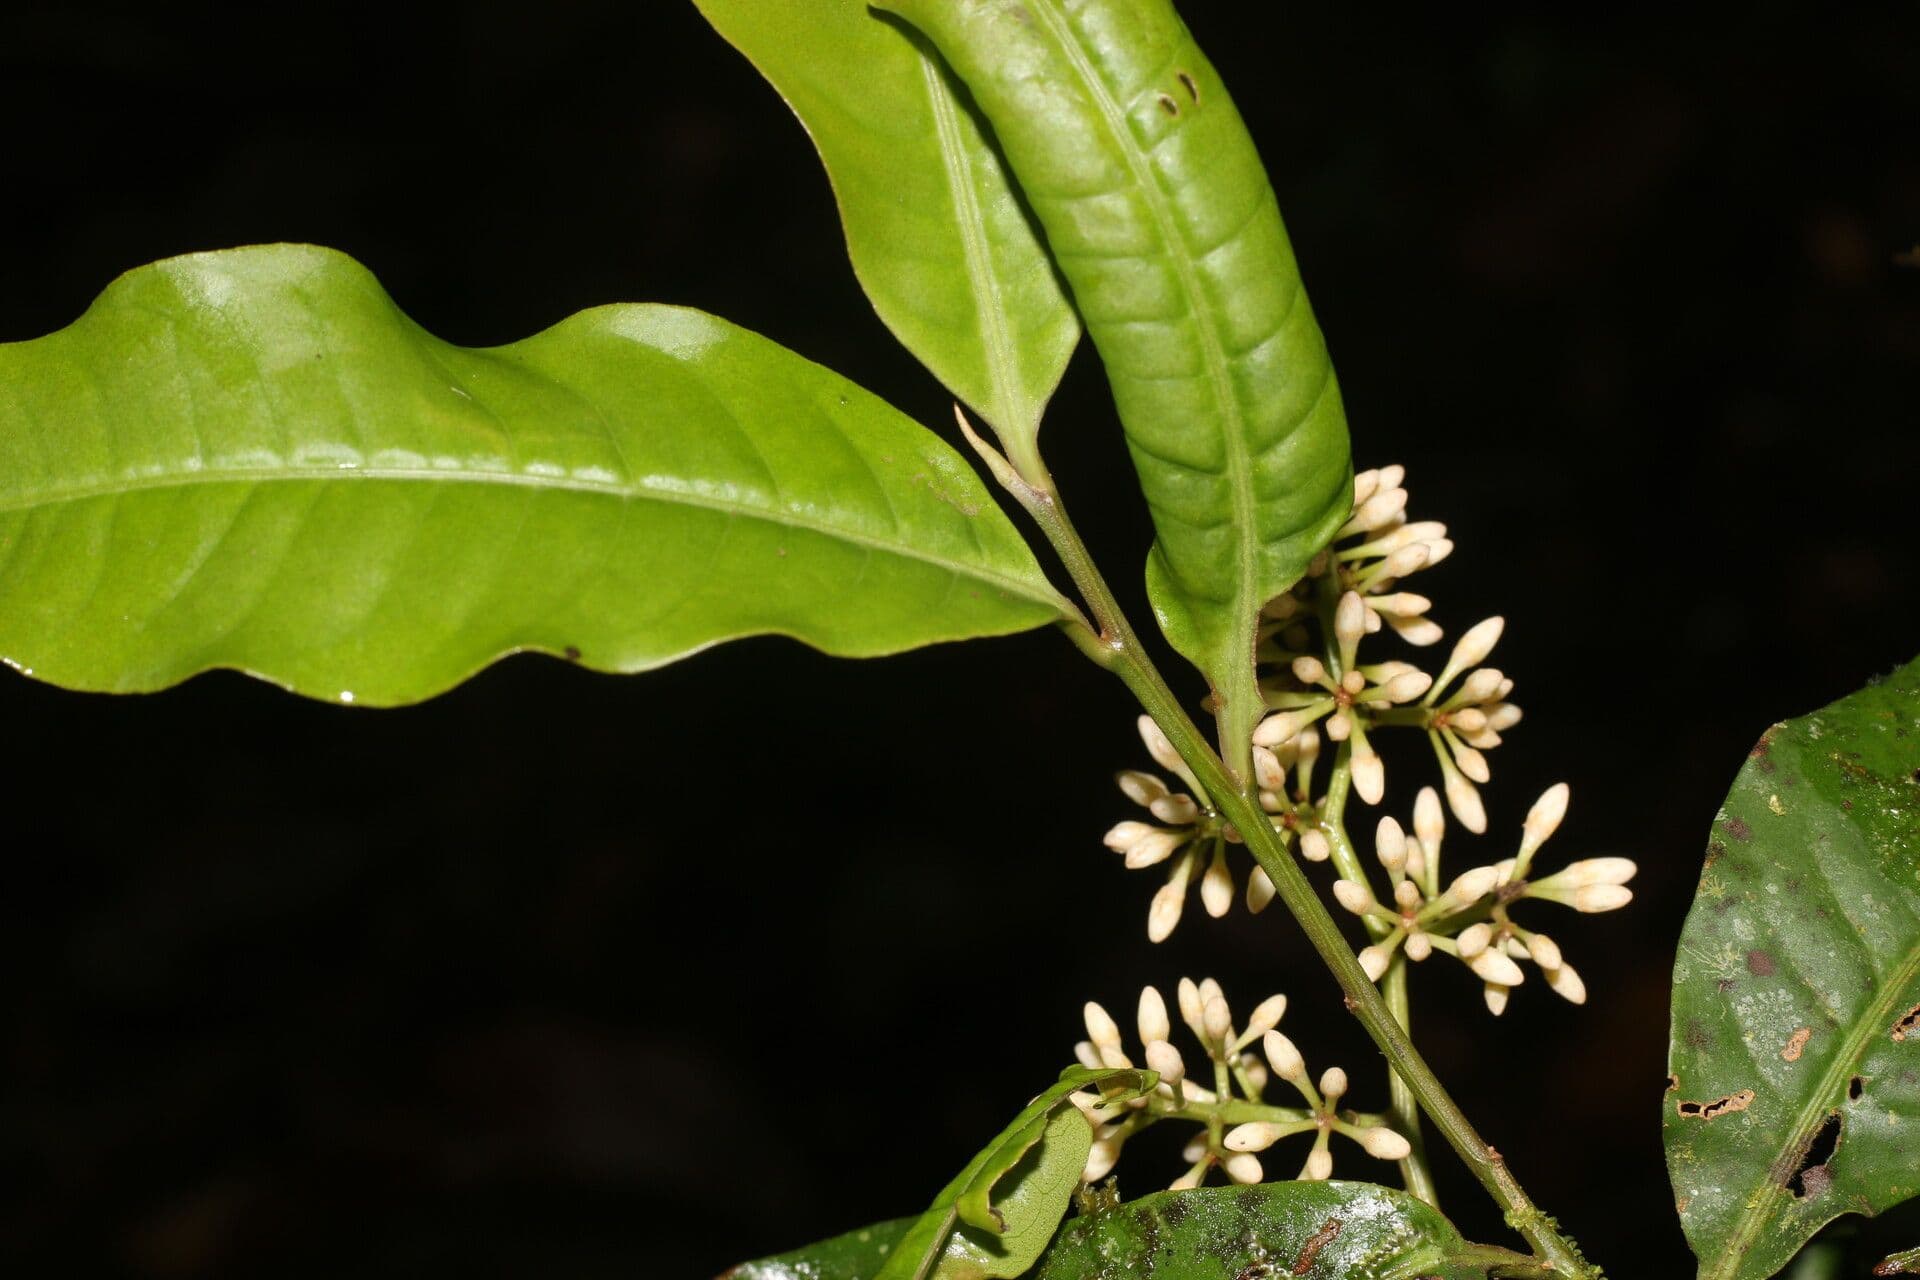
The Ardisia guianensis, often overshadowed by its vibrant cousin, the Coral Ardisia (Ardisia crenata), is a hidden gem waiting to be discovered. This tropical shrub, with its glossy evergreen foliage and delicate pink to white blooms, can add a touch of understated elegance to your indoor or outdoor space. And the best part? Propagating Ardisia guianensis is a rewarding journey, allowing you to multiply your plant collection and share its beauty with others.
Let’s explore the two primary methods for propagating these lovely shrubs:
1. Seed Propagation: A Journey of Patience and Reward
Why Choose Seeds?
Propagating from seeds allows you to experience the full lifecycle of the plant, starting from a tiny seed to a flourishing shrub.
When to Collect Seeds:
Ardisia guianensis produces small, fleshy fruits that turn a deep purplish-black when ripe. These berries contain the seeds. Collect ripe berries in the fall and extract the seeds by gently crushing the fruits.
Steps for Success:
- Prepare the Seeds: Clean the seeds by removing any remaining fruit pulp and allow them to dry thoroughly.
- Sow the Seeds: Fill seed trays or small pots with a well-draining seed starting mix. Sow the seeds about ¼ inch deep and lightly cover them with soil.
- Water Consistently: Keep the soil consistently moist but not soggy.
- Provide Warmth and Light: Place the seed trays in a warm location (around 70-75°F) with indirect sunlight.
- Be Patient: Germination can take anywhere from a few weeks to several months.
- Transplanting: Once seedlings develop a few sets of true leaves, transplant them into individual pots with regular potting mix.
Important Tip: Seed-grown Ardisia guianensis might take a few years to flower and fruit.
2. Semi-Hardwood Cuttings: A Faster Route to Success
Why Choose Cuttings?
Taking cuttings allows you to quickly create a new plant that is genetically identical to the parent plant.
When to Take Cuttings:
The ideal time is late spring or early summer, during the plant’s active growing season.
Steps for Success:
- Select Healthy Stems: Choose healthy, non-flowering stems that are around 4-6 inches long.
- Prepare the Cuttings: Make a clean cut just below a leaf node using sharp, sterilized shears. Remove the lower leaves, leaving 2-3 leaves at the top.
- Hormone Boost (Optional): Dip the cut end in rooting hormone powder to encourage faster root development.
- Plant the Cuttings: Insert the cuttings into a pot filled with a well-draining potting mix, burying at least two nodes below the surface.
- Create a Humid Environment: Cover the pot with a plastic bag or use a humidity dome to retain moisture.
- Provide Indirect Light: Place the cuttings in a location with bright, indirect light.
- Check for Roots: After 4-6 weeks, gently tug on the cuttings to check for resistance, which indicates rooting.
- Transplanting: Once the cuttings have developed a robust root system, transplant them into individual pots.
Important Tip: Provide consistent moisture throughout the rooting process but avoid overwatering.
Propagating Ardisia guianensis: A Rewarding Experience
Whether you choose the slow and steady path of seeds or the quicker route of cuttings, propagating Ardisia guianensis is a fulfilling endeavor. With a bit of patience and care, you’ll soon have multiple plants gracing your home with their understated beauty. So, why not embark on this rewarding journey and experience the joy of growing your very own Ardisia guianensis?