Horseradish: Unleash the Fiery Flavor with Simple Propagation Techniques
Horseradish, that pungent root that brings tears to your eyes and a kick to your sauces, isn’t just found on grocery store shelves. With a little know-how, you can cultivate your own potent patch of Armoracia rusticana right in your backyard! This easy-to-grow perennial is a welcome addition to any garden, offering both culinary delight and a touch of wild beauty.
While starting horseradish from seed can be a bit tricky, propagating from root cuttings is surprisingly simple and guarantees a continuous supply of this fiery flavor bomb.
The Power of the Root: Horseradish Propagation
Here’s how to harness the power of the horseradish root for successful propagation:
When to Propagate:
- Fall (after frost): This is the ideal time for most regions. The plant is dormant, and the root cuttings have the entire winter to establish themselves before spring growth.
- Early spring: If you miss the fall window, early spring is also a viable option in colder climates.
What You’ll Need:
- Parent Horseradish Plant: Dig up an established plant, or source fresh horseradish roots from a farmers’ market.
- Sharp Knife or Pruning Shears: Essential for clean, healthy cuts.
- Garden bed or containers: Choose a spot with well-drained soil and at least 6 hours of sunlight.
Let’s Get Propagating:
- Root Selection: Select healthy, finger-thick side roots from the main horseradish root. These are known as “sets” and are key to successful propagation. Each set should be approximately 6-8 inches long.
- Cut and Label: Using your sharp knife or shears, make a straight cut at the top end of the root cutting and an angled cut at the bottom end. This helps you remember which end is up when planting (straight cut goes up).
- Optional: Wound Healing: For added protection against rot, allow the root cuttings to dry and callus over for a day or two before planting.
- Planting Time: Dig holes about 12 inches deep and 12-18 inches apart. Place the root cuttings vertically in the holes with the straight cut end facing up.
- Backfill and Water: Fill the holes with soil, gently firming it around the cuttings. Water thoroughly, and then mulch around the planting area to retain moisture and suppress weeds.
- Patience is Key: Horseradish needs time to establish itself. You can expect to harvest your first roots approximately 12-18 months after planting.
Harvesting Your Fiery Reward:
When harvesting, loosen the soil around the plants and carefully lift the roots. Remember, you can leave a portion of the root system intact to ensure a continuous supply for years to come.
Beyond the Plate:
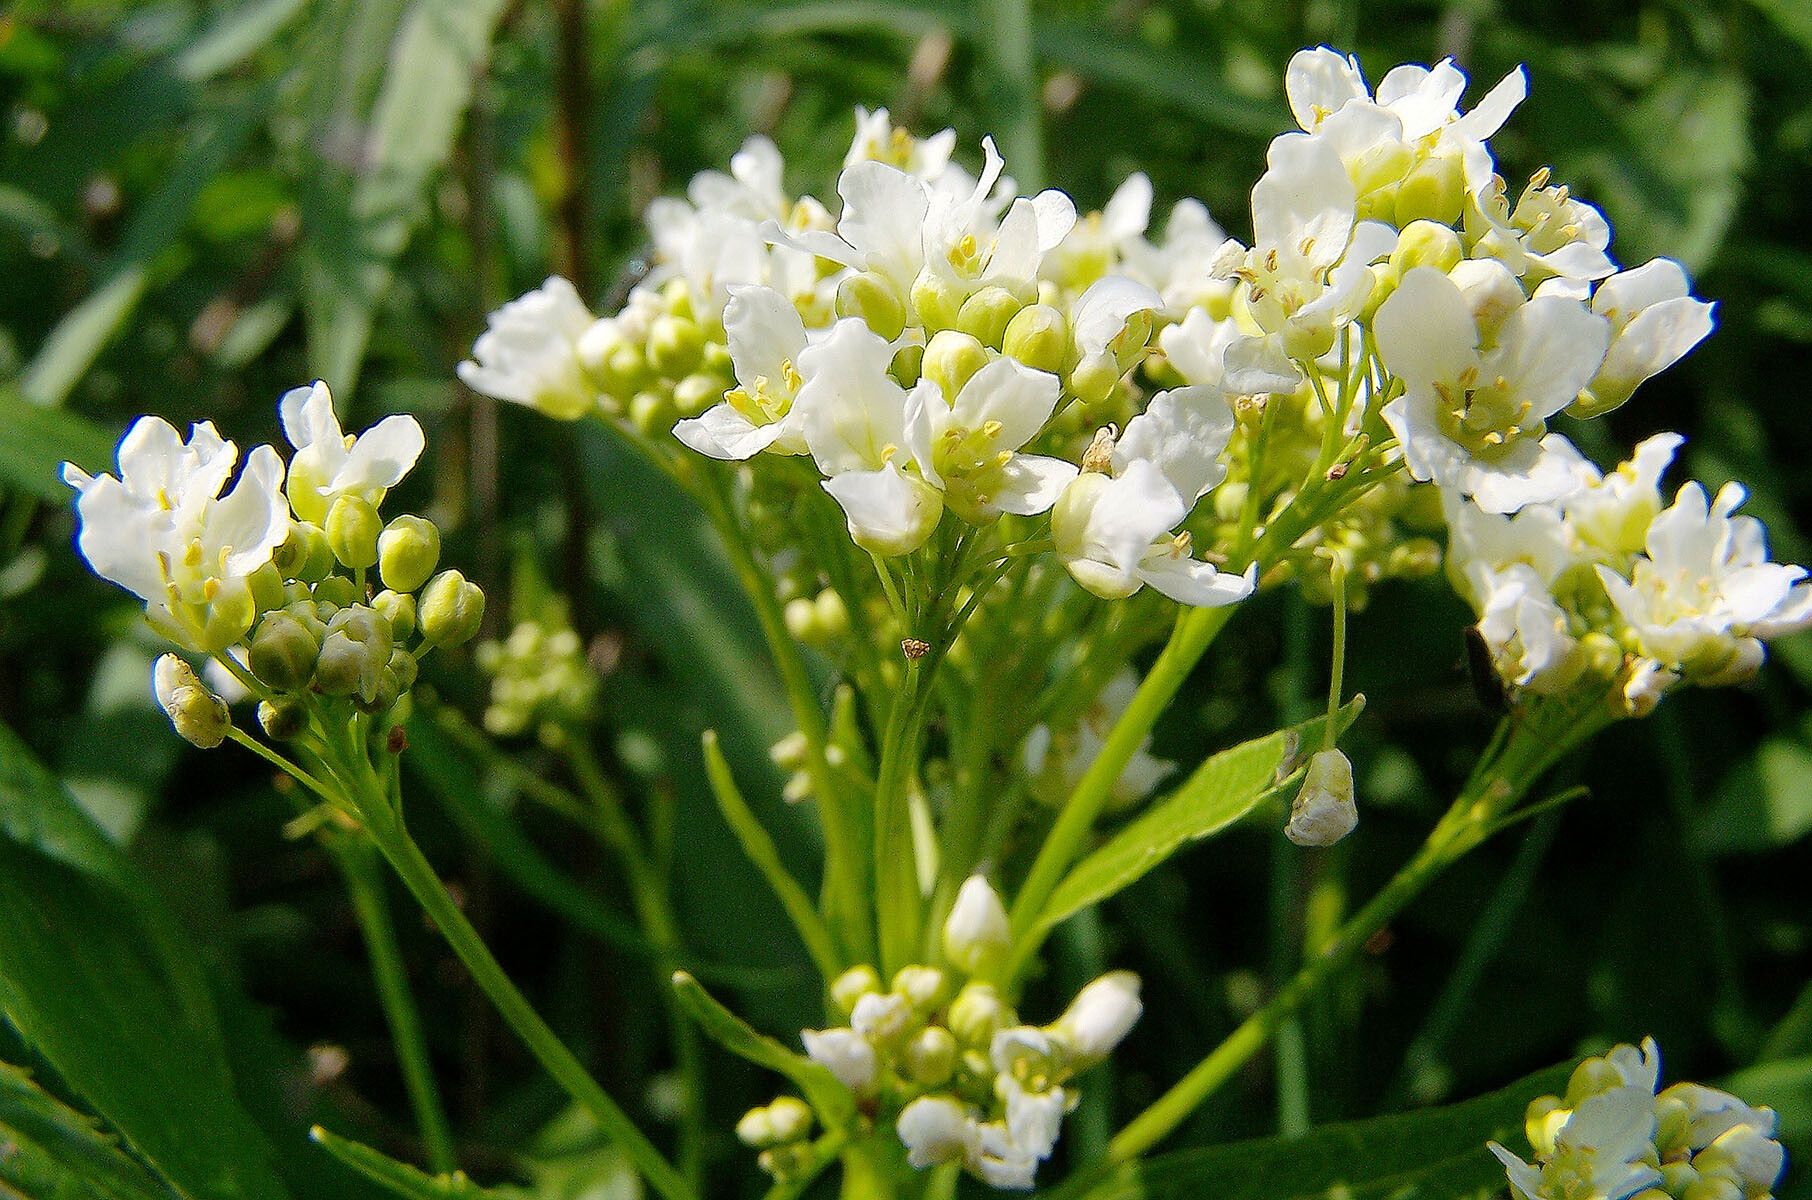
Don’t limit yourself to just culinary uses! Horseradish leaves can be added to salads for a peppery bite, and the plant itself, with its attractive white flower spikes, can add a touch of wild charm to your garden borders.
With a bit of effort and these simple propagation techniques, you’ll be enjoying the potent flavor and rewarding experience of homegrown horseradish for years to come. Just be prepared for that signature, eye-watering kick!