Unlocking the Secrets of Arnica Rydbergii: A Guide to Propagation
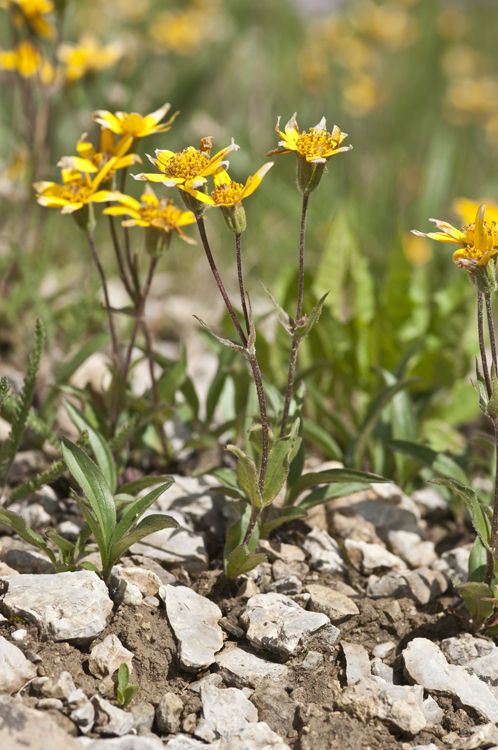
Arnica rydbergii, a vibrant wildflower native to the Rocky Mountains, is known for its bright yellow blooms and potent medicinal properties. This plant, also called “Mountain Tobacco” or “Rydberg’s Arnica,” is becoming increasingly popular among gardeners seeking unique and hardy additions to their landscapes. But how do you bring this stunning flower into your own garden? The answer lies in the art of propagation.
Beyond Seeds: Exploring Arnica Rydbergii Propagation Methods
While arnica rydbergii can be grown from seed, this method can be challenging and time-consuming. Here’s a breakdown of the most effective propagation techniques:
1. Division: A Simple and Effective Choice
Division is the preferred method for propagating arnica rydbergii. It involves gently separating established plants into smaller, independent units. This can be done in early spring or fall when the plant is dormant.
- Timing is Key: Choose a cool, cloudy day for dividing your arnica rydbergii. The soil should be moist but not waterlogged.
- The Division Process: Carefully dig around the plant, taking care not to damage the roots. Use a sharp knife or spade to separate the clump into smaller divisions, each with healthy roots and foliage.
- Replanting: Prepare planting holes that are slightly wider and deeper than the root ball. Place the divisions gently in the holes, ensuring the crown (where the roots meet the stem) is slightly above soil level. Firmly pack the soil around each division and water thoroughly.
2. Seed Propagation: A Challenging Adventure
Growing arnica rydbergii from seed requires patience and understanding. It’s a slower process that demands specific conditions for success.
- Seed Sourcing: Purchase seeds from reputable sources that specialize in native plants.
- Stratification: Arnica rydbergii seeds require cold stratification, a period of chilling to mimic winter conditions. Place seeds in a damp paper towel or vermiculite and store them in a refrigerator for 6-8 weeks.
- Sowing: After stratification, sow the seeds in a seed tray filled with a well-draining potting mix. Keep the soil moist and provide bright, indirect light.
- Transplanting: Once seedlings are established, transplant them to a larger pot or directly into the garden, mimicking the conditions of their natural habitat.
3. Stem Cuttings: A Less Common Approach
While less common than the other methods, arnica rydbergii can be propagated from stem cuttings. However, this requires more expertise and patience.
- Timing: Late spring or early summer is the ideal time to take stem cuttings.
- Cutting Technique: Choose healthy, non-flowering stems and cut them just below a leaf node.
- Hormone Application: Dip the base of the cutting in a rooting hormone to encourage root formation.
- Planting: Plant the cuttings in a well-draining mix and place them in a warm, humid environment. Provide indirect sunlight and mist regularly to maintain moisture.
Beyond Propagation: Cultivating Success
Once you’ve successfully propagated your arnica rydbergii, it’s crucial to ensure proper care for healthy growth.
- Sunlight: These plants prefer full sun to partial shade.
- Soil: A well-drained soil with a slightly acidic pH is ideal.
- Water: Arnica rydbergii needs consistent moisture, especially during the first year of establishment.
- Wildlife: Attractive to butterflies and beneficial insects, it’s best to avoid using pesticides or herbicides.
Conclusion: Bringing Arnica Rydbergii to Life
Propagating arnica rydbergii is a fulfilling journey for any gardener. Whether you choose division, seeds, or even stem cuttings, understanding the plant’s needs and employing proper techniques will pave the way for a thriving and vibrant arnica rydbergii in your garden. So, roll up your sleeves, embrace the process, and enjoy the rewards of bringing this remarkable wildflower to life.