Unlocking the Secrets of Glacial Beauty: Propagating Artemisia glacialis
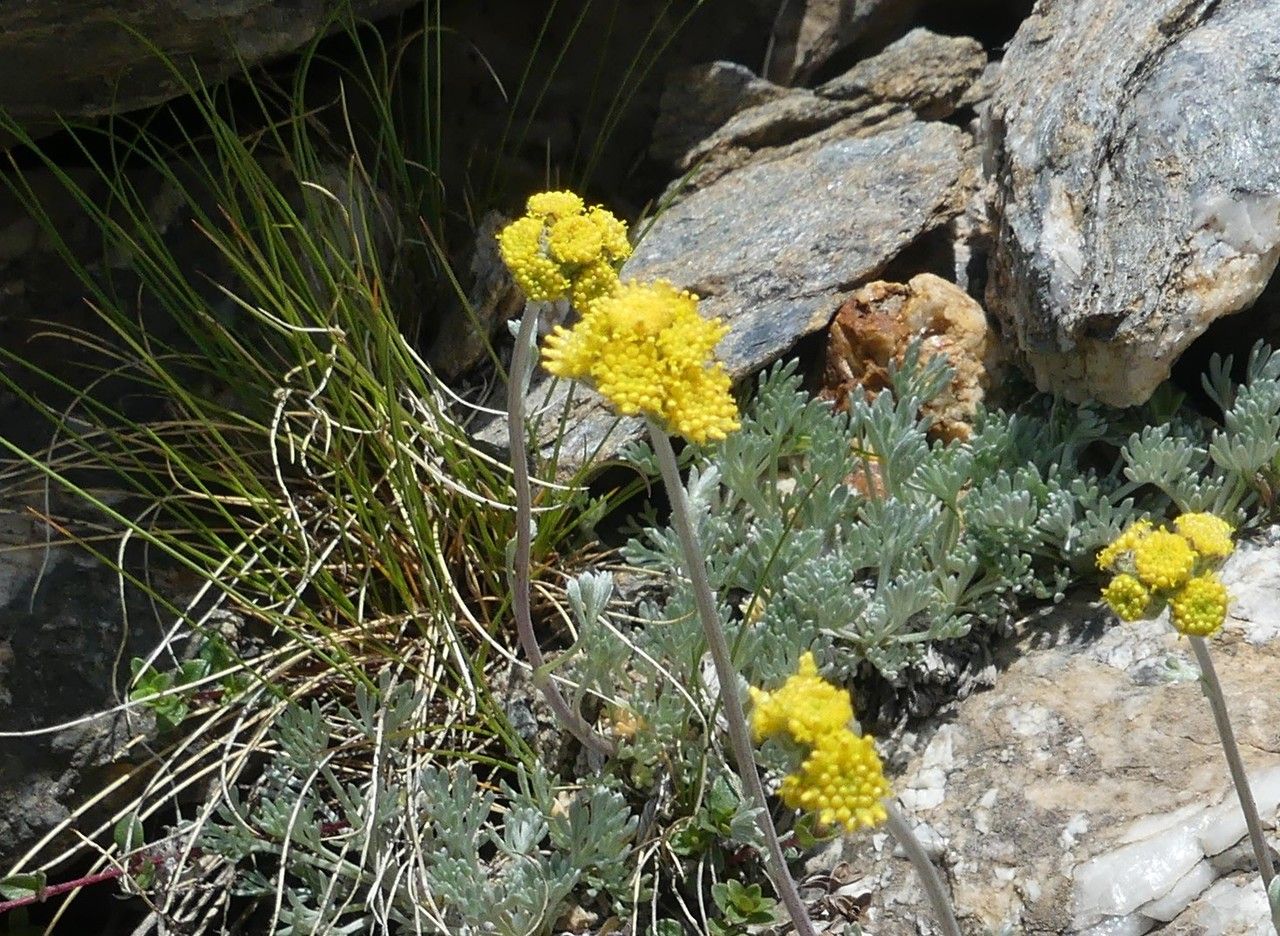
Artemisia glacialis, also known as the alpine wormwood or glacier wormwood, captivates with its silvery foliage and delicate, fragrant blooms. This alpine treasure, native to the high mountains of Europe, might seem like a challenging plant to propagate, but with a little understanding, even novice gardeners can invite its glacial beauty into their gardens.
Why Propagation is Key:
While you can purchase Artemisia glacialis from specialist nurseries, propagating your own plants offers numerous benefits. Firstly, it’s a cost-effective way to expand your collection or share this unique species with friends. Secondly, propagation empowers you to maintain the genetic diversity and vigor of this alpine treasure.
Let’s explore the two most effective methods for propagating Artemisia glacialis:
1. Seed Propagation: A Rewarding Challenge
Though slightly more demanding, growing Artemisia glacialis from seed is incredibly rewarding. Here’s a step-by-step guide:
- Seed Collection: Harvest mature seeds in late summer or early autumn. Look for dry, brown seed heads.
- Cold Stratification: To mimic the natural winter conditions this alpine plant needs to germinate, mix the seeds with damp sand or vermiculite and store them in a refrigerator for 4-6 weeks.
- Sowing: In early spring, sow the stratified seeds in seed trays filled with well-draining seed starting mix. Lightly cover the seeds and keep the soil consistently moist but not waterlogged.
- Light and Warmth: Place the seed trays in a bright location, but out of direct sunlight. Maintain a temperature of around 18-21°C (65-70°F).
- Transplanting: Once the seedlings have developed a couple of true leaves, carefully transplant them into individual pots filled with well-draining potting mix.
2. Cutting Propagation: A Quicker Route
Taking cuttings is a faster method, especially if you want to preserve the characteristics of a specific plant. Here’s how to ensure success:
- Timing: The best time for taking cuttings is in late spring or early summer, when the plant is actively growing.
- Taking the Cutting: Using clean, sharp shears, take 5-8 cm (2-3 inch) cuttings from healthy, non-flowering stems. Remove the lower leaves and lightly wound the base of the cutting to encourage root formation.
- Rooting Hormone (Optional): Dipping the base of the cutting in rooting hormone can increase success rates.
- Planting: Plant the cuttings in a well-draining potting mix, ensuring the lower nodes (where the leaves were removed) are buried.
- Humidity and Light: Cover the cuttings with a plastic bag or humidity dome to maintain moisture. Place them in a bright location, out of direct sunlight.
- Transplanting: After 4-6 weeks, gently tug on the cuttings to check for root development. Once rooted, transplant them into individual pots or your garden.
Tips for Success:
- Well-draining Soil: Artemisia glacialis thrives in well-drained soil. Avoid overwatering, as this can lead to root rot.
- Sunlight Needs: Provide your plants with at least 6 hours of direct sunlight for optimal growth and silver foliage coloration.
- Pests and Diseases: This hardy alpine is generally pest and disease resistant.
Propagating Artemisia glacialis requires a touch of patience and understanding of the plant’s alpine origins. However, the reward of cultivating your own collection of these silvery beauties is well worth the effort. With a little care and attention, you can unlock the secrets of propagating this glacial marvel and enjoy its captivating presence in your garden for years to come.