Unlocking the Secrets of Arum hygrophilum: A Propagation Guide for Stunning Foliage
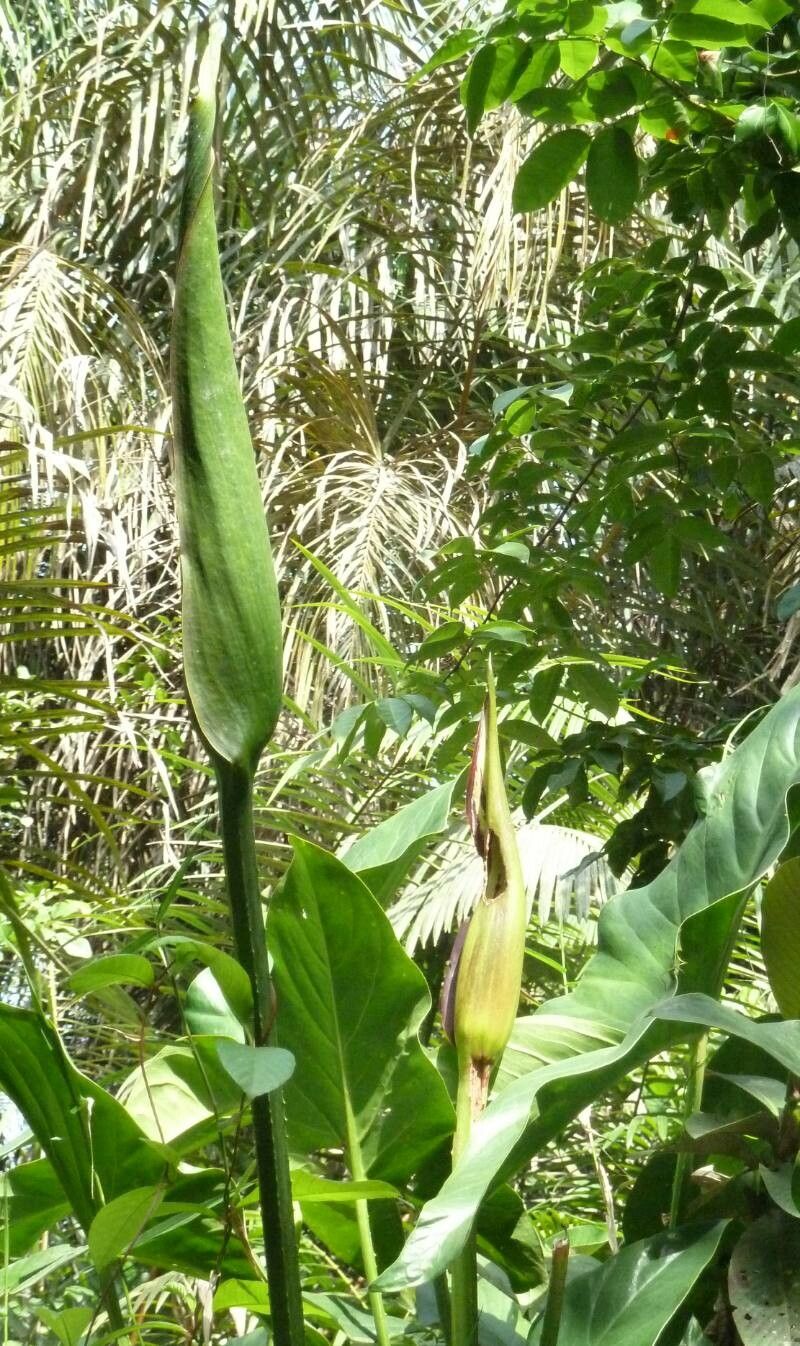
The Arum hygrophilum, also known as the Water-loving Arum, is a captivating plant prized for its dramatic, arrowhead-shaped leaves adorned with striking silver veins. This exotic beauty, native to the Eastern Mediterranean, brings a touch of the rainforest to your home with its lush foliage. While admiring its elegance is a treat, propagating your own Arum hygrophilum can be an incredibly rewarding experience.
This comprehensive guide will walk you through the two most effective methods of propagating Arum hygrophilum:
1. Division:
This method involves separating the naturally occurring offsets or “pups” from the mother plant. It’s the easiest and quickest way to propagate Arum hygrophilum, ensuring a high success rate.
- Timing is Key: The ideal time for division is during the plant’s active growing season, which typically falls during spring or early summer.
- Gentle Separation: Carefully remove the plant from its pot and locate healthy offsets emerging from the base of the mother plant.
- Sharp and Clean: Using a clean, sharp knife or pair of pruning shears, carefully sever the offsets from the mother plant, ensuring each division has its own roots attached.
- Potting Up: Prepare small pots with a well-draining potting mix rich in organic matter. Plant each division in its own pot, ensuring the top of the rhizome (the thick, root-like structure) sits slightly above the soil line.
- Nurturing Growth: Place the newly potted divisions in a warm, humid location with indirect sunlight. Water consistently, keeping the soil evenly moist but not waterlogged.
While more challenging and time-consuming than division, propagating Arum hygrophilum from seed offers a unique sense of accomplishment.
- Source your Seeds: Acquire fresh Arum hygrophilum seeds from a reputable supplier or collect them from your own plant if you have one that has flowered and produced seed pods.
- Preparing for Sowing: Soak the seeds in lukewarm water for 24 hours to improve germination rates.
- Sowing the Seeds: Plant the seeds in a seed tray or small pots filled with a well-draining seed starting mix. Sow the seeds shallowly, about 1/4 inch deep, and mist them gently with water.
- Creating a Humid Environment: Cover the tray or pots with a plastic dome or wrap to create a warm, humid environment conducive to germination. Place them in a brightly lit location out of direct sunlight.
- Patience is a Virtue: Seed germination for Arum hygrophilum can take anywhere from a few weeks to several months. Ensure the soil remains consistently moist but not soggy.
- Transplanting Success: Once the seedlings have developed a few sets of true leaves and are large enough to handle, transplant them carefully into individual pots filled with a well-draining potting mix.
A Few Tips for Success:
- Arum hygrophilum thrives in a humid environment. Consider placing a humidifier nearby or placing the pots on a tray filled with pebbles and water.
- These plants prefer bright, indirect light. Avoid exposing them to harsh, direct sunlight, which can scorch their leaves.
- Regular fertilization during the growing season with a balanced liquid fertilizer will promote healthy growth.
Propagating Arum hygrophilum is a rewarding experience that allows you to expand your plant collection while deepening your connection with this fascinating species. Whether you choose division or the more adventurous route of seed propagation, follow these steps and enjoy the journey of nurturing new life into your home.