Unlocking the Secrets of Bridal Veil Plant Propagation: Grow Your Own Flowing Greenery
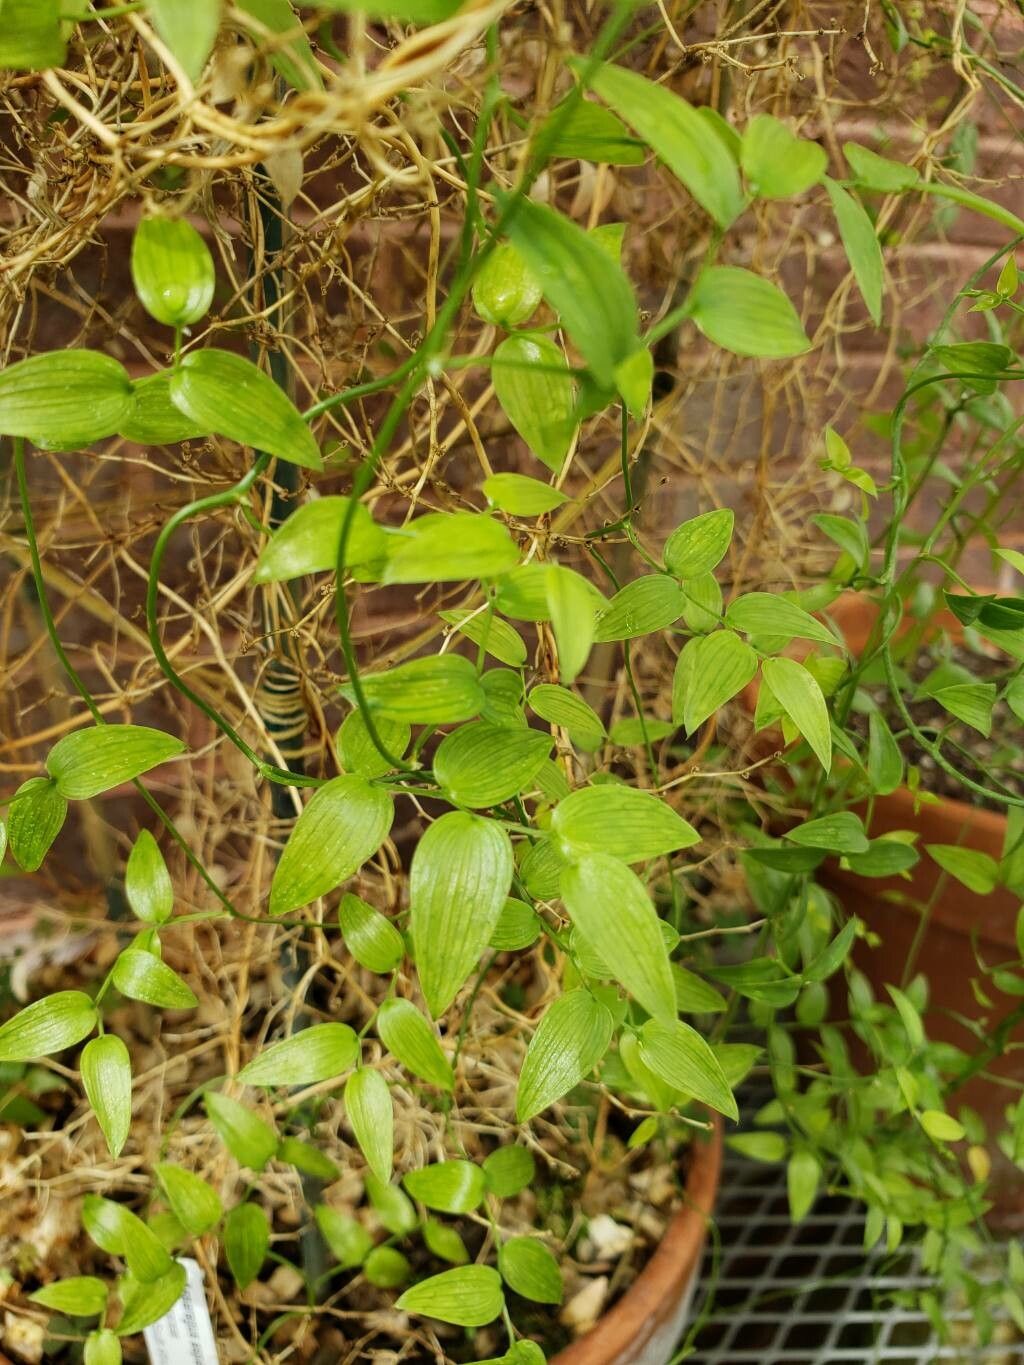
The Bridal Veil plant (Asparagus asparagoides), with its cascading stems of delicate, fern-like foliage, is a favorite among indoor and outdoor gardeners alike. This graceful climber, also known as Smilax asparagus or Asparagus fern (though not a true fern!), adds a touch of Victorian romance to any space. While caring for an established Bridal Veil is relatively straightforward, many wonder about the best ways to propagate this beauty and multiply their leafy haven. Fear not, propagating your Asparagus asparagoides is achievable and rewarding! Let’s explore the two primary methods:
1. Division: Splitting for Success
Division is the easiest and fastest way to propagate your Bridal Veil plant, offering nearly instant gratification. Here’s how:
- Timing is key: The optimal time for division is during early spring when the plant is actively growing.
- Gently remove the plant: Carefully lift the plant from its pot, loosening the soil around the edges to minimize root disturbance.
- Identify natural divisions: Look for clumps of healthy growth emerging from the tuberous roots. These clumps will become your new plants.
- Divide with care: Using a clean, sharp knife or pair of gardening shears, carefully separate the chosen sections, ensuring each division has a good amount of roots and shoots attached.
- Repot and nurture: Plant each division in a well-draining potting mix and water thoroughly. Place the newly potted plants in a warm, bright location, but out of direct sunlight.
2. Seeds: Patience Yields Rewards
Propagating Bridal Veil from seed takes more time and patience, but allows you to witness the miracle of plant life from its very beginning.
- Harvesting seeds: In late summer or fall, your mature Bridal Veil plant might produce small, berry-like fruits. These berries, once ripened to a deep red or black, contain the seeds.
- Preparing the seeds: Extract the seeds from the berries and allow them to dry for a day or two. You can store them in a cool, dry place until ready to sow.
- Sowing the seeds: Plant the seeds in seed-starting mix, covering them lightly with soil. Water gently and maintain a consistently moist environment.
- Patience is key: Seed germination can take anywhere from a few weeks to a couple of months. Be patient and provide warmth and indirect light.
Transplanting seedlings: Once the seedlings have developed a few sets of true leaves, you can transplant them into individual pots.
Bonus Tips for Successful Propagation:
- Well-draining soil: Bridal Veil plants thrive in well-draining soil to prevent root rot. A mix formulated for cacti or succulents works well.
- Bright, indirect light: Choose a location that receives plenty of bright, indirect light. Avoid direct sunlight, as it can scorch the delicate foliage.
- Moderate watering: Water your Bridal Veil plant thoroughly when the top inch of soil feels dry. Overwatering can lead to root rot, so allow the soil to dry out slightly between waterings.
Propagating your own Bridal Veil plant allows you to expand your plant family and share this charming climber with friends and loved ones. Whether you choose the quick reward of division or the rewarding journey of starting from seed, the process is a testament to the enduring beauty and resilience of nature. So, roll up your sleeves, channel your inner gardener, and let the enchanting cascade of Bridal Veil plants grace your home!