The Secret Life of Aspidosperma sandwithianum: A Guide to Propagation
Aspidosperma sandwithianum, a captivating tree native to the Amazon rainforest, boasts stunning foliage and a fascinating history. But did you know you can bring a piece of this wonder into your own home? In this post, we’ll delve into the secrets of propagating Aspidosperma sandwithianum, unlocking its potential for both seasoned gardeners and curious beginners.
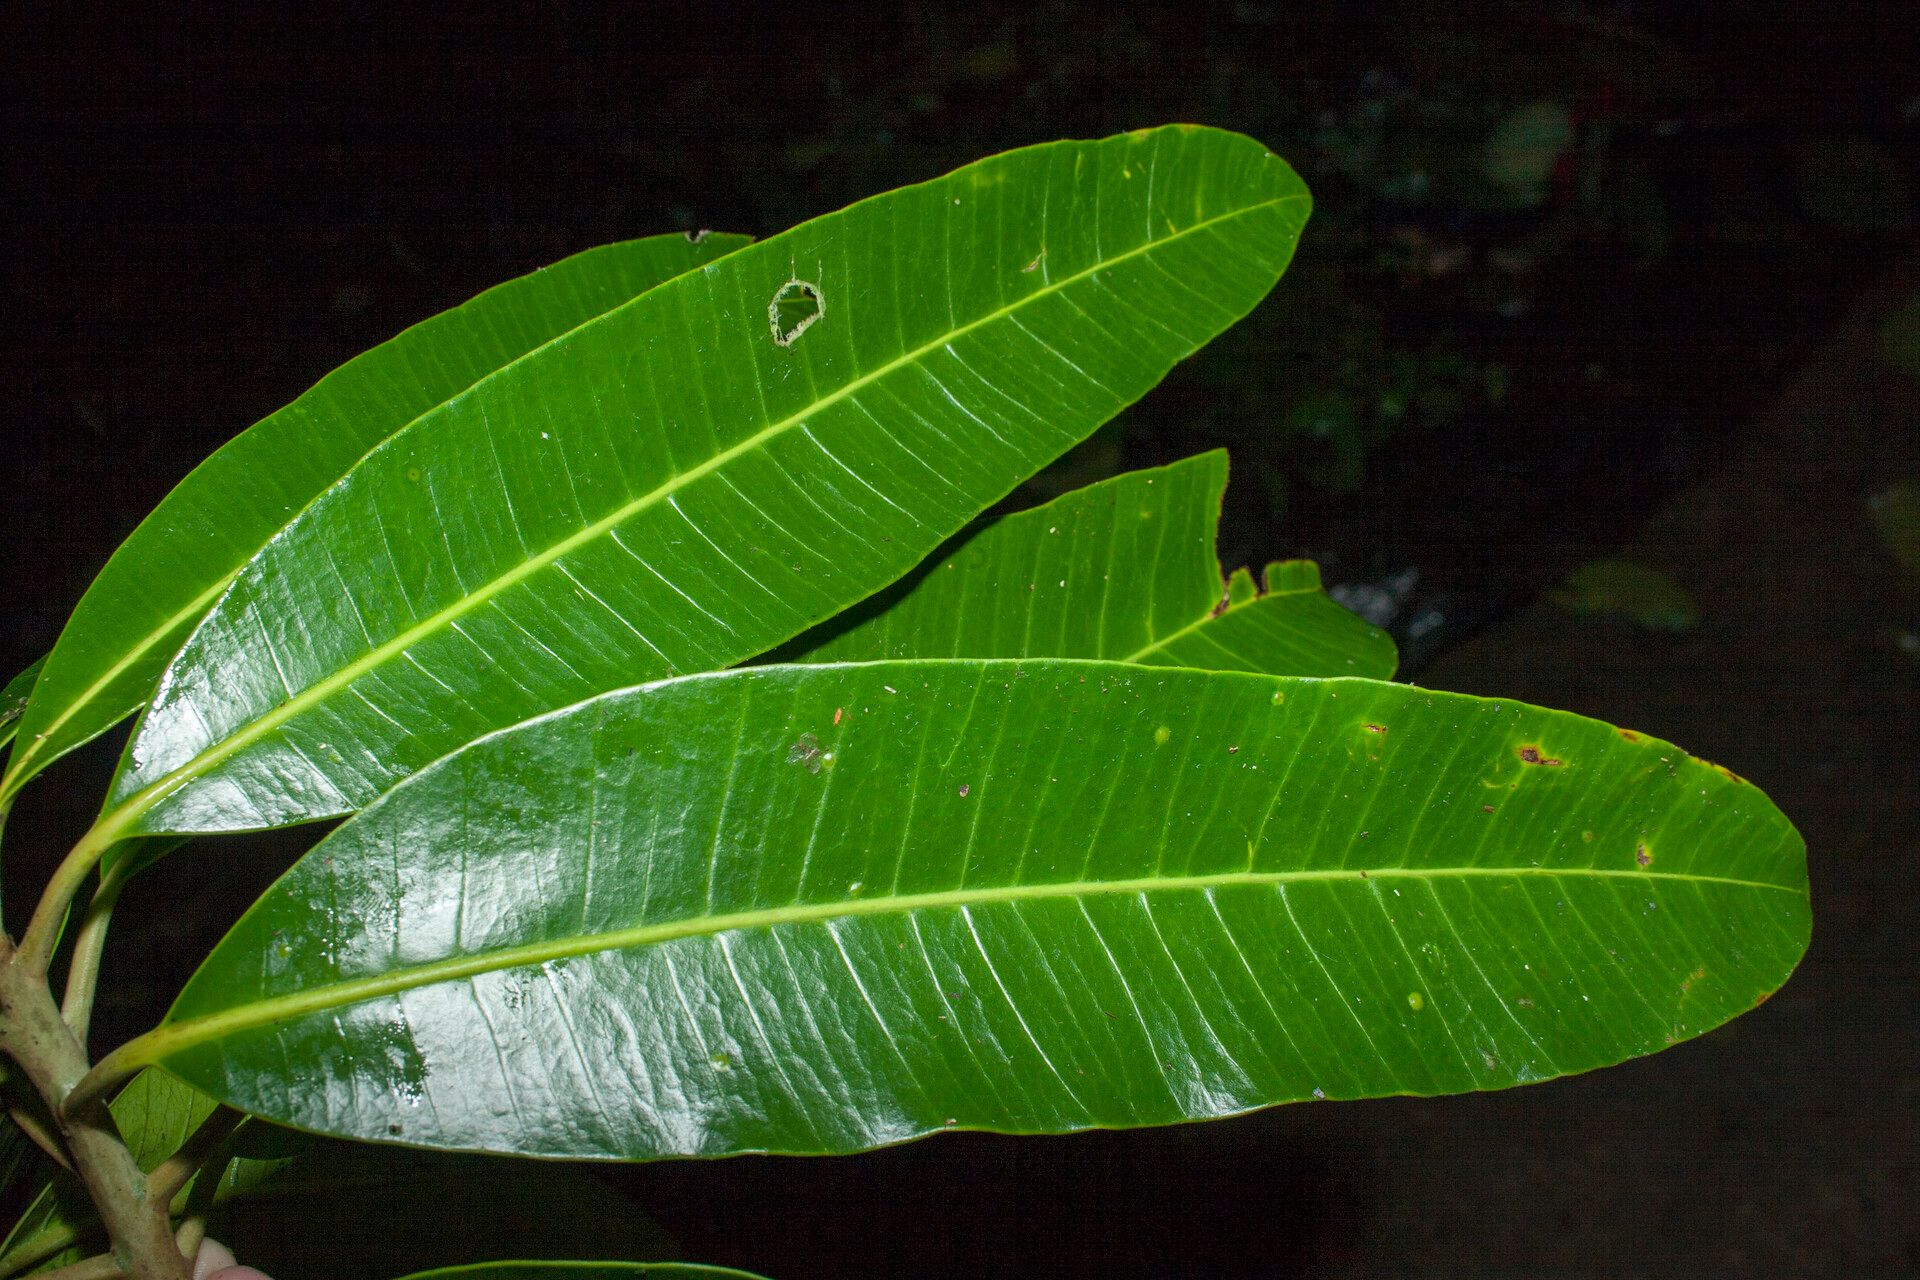
A Glimpse into Aspidosperma sandwithianum’s Realm:
Before we embark on the journey of propagation, let’s appreciate the beauty and uniqueness of this tree:
- Striking Foliage: Aspidosperma sandwithianum is renowned for its large, glossy, dark green leaves. These leaves, often compared to those of a fig tree, add a touch of tropical elegance to any space.
- Resilience and Adaptability: Native to the humid Amazon, this tree thrives in warm, tropical climates. However, its adaptability allows it to flourish in various settings, making it suitable for both indoor and outdoor cultivation.
- A Rare Gem: Aspidosperma sandwithianum is considered relatively rare, making it a prized addition to any plant collection.
Propagation Methods: Unveiling the Possibilities:
While Aspidosperma sandwithianum can be grown from seed, the most effective and efficient method for propagation lies in taking cuttings. Let’s break down the steps involved in this exciting journey:
1. Timing is Key: The optimal time for taking cuttings is during the spring or early summer, when the tree is actively growing. This ensures the cuttings have sufficient energy to develop roots.
2. Selecting the Right Cuttings: Choose healthy, mature stems that are approximately 6-8 inches long. Look for stems that are semi-woody or already showing signs of wood hardening.
3. Making the Cut: Use sharp, clean clippers or a knife to cut the stem at a 45-degree angle just below a node. The node is a small bump on the stem where a leaf or branch grew.
4. Prepare the Cutting: Remove any leaves below the soil level, as these will rot and introduce disease. Dip the cut end into a rooting hormone powder, which encourages root development.
5. Choosing the Right Medium: Aspidosperma sandwithianum cuttings thrive in a well-draining, airy potting mix. A mix of peat moss, perlite, and vermiculite is a good option.
6. Planting the Cuttings: Plant the cuttings in individual pots or trays filled with the potting mix, making sure the cut end is buried about 2 inches deep. Ensure the soil is moist and maintain a consistent temperature of around 70°F.
7. Patience is Paramount: It can take several weeks for the cuttings to root, so patience is key. Keep the cuttings in a warm, humid environment, ideally with a high humidity dome or plastic covering.
8. The Joy of Seeing Roots: When the cuttings have developed roots, you’ll notice new growth emerging. Gradually introduce the plants to more sunlight and air circulation, acclimating them to their outdoor environment.
Tips for Success:
- Sunlight: Provide bright, indirect light for your cuttings, avoiding direct sunlight which can scorch the leaves.
- Water Wisely: Keep the soil moist, but not waterlogged. Allow the top inch of soil to dry before watering again.
- Fertilize Regularly: Dilute a balanced liquid fertilizer and apply it every few weeks during the growing season to promote healthy growth.
Aspidosperma sandwithianum’s Legacy:
Beyond its captivating beauty, Aspidosperma sandwithianum holds cultural and medicinal significance in its native habitat. As you embark on your propagation journey, remember that you are not simply growing a plant, but also cultivating a piece of its rich heritage.
With careful attention and patience, you can nurture and bring to life the enchanting Aspidosperma sandwithianum, adding a touch of the Amazon rainforest to your home. Let this experience inspire you to explore the fascinating world of plant propagation and discover the wonders nature has to offer.