Unlocking the Secrets of Aspilia foliosa: A Propagation Guide
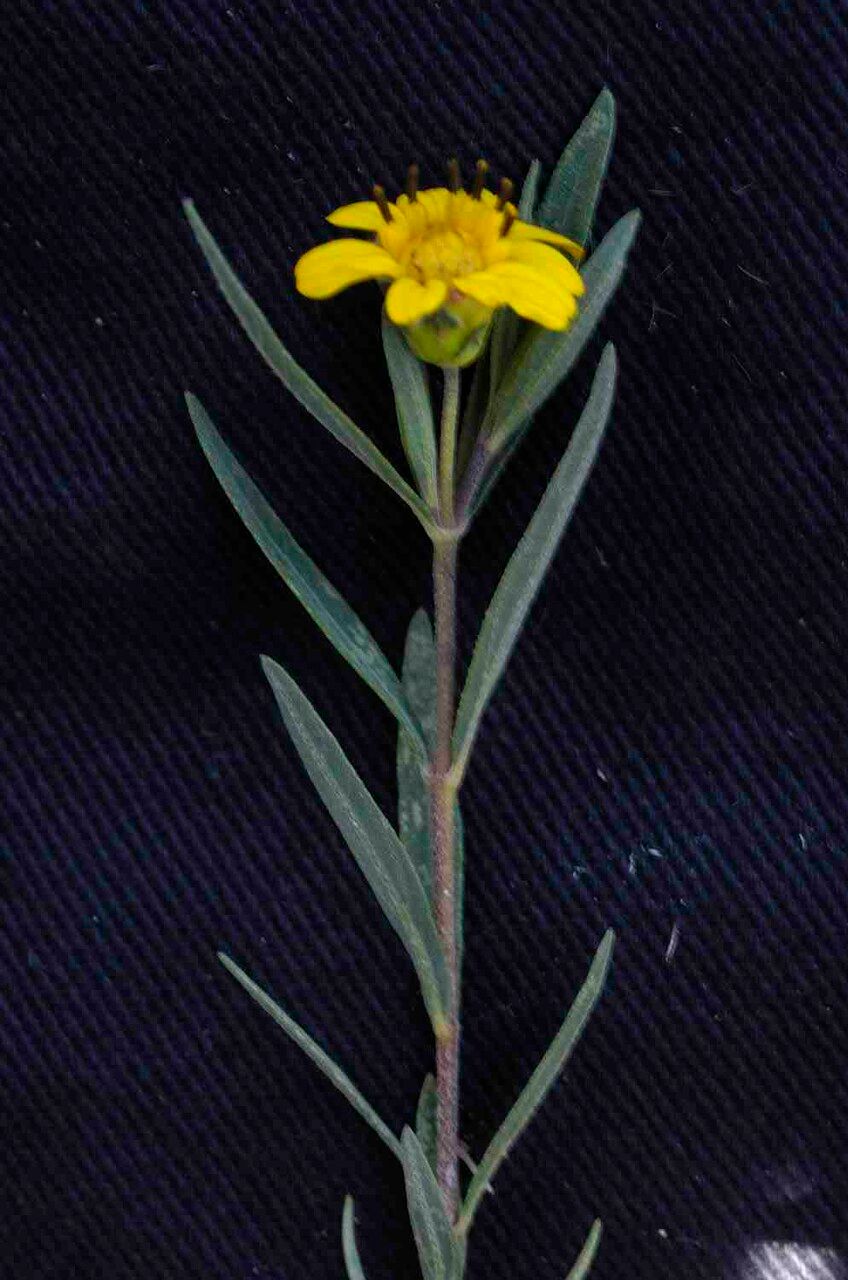
Aspilia foliosa, with its vibrant yellow flowers and lush green foliage, can be a charming addition to any garden. This easy-to-grow plant, native to Africa, is not only aesthetically pleasing but also boasts medicinal properties, traditionally used for wound healing and other ailments. If you’re eager to welcome this versatile plant into your own space, you’re in luck! Propagating Aspilia foliosa is surprisingly simple, and this guide will equip you with the knowledge to do just that.
Two Paths to Propagation: Seeds vs. Cuttings
Aspilia foliosa offers two main methods of propagation:
1. Seeds:
Starting from seed is an adventure in patience and observation. Here’s how to sow the seeds of success:
- Source your seeds: Purchase seeds from a reputable supplier or collect them from a mature Aspilia foliosa plant after flowering. Mature seeds are typically small, dark, and slightly elongated.
- Prepare your seedbed: Use a well-draining seed starting mix or create your own using a blend of peat moss, perlite, and vermiculite. Moisten the mix, ensuring it’s damp but not waterlogged.
- Sow the seeds: Scatter the seeds sparsely over the surface of the mix and lightly press them down. It’s not necessary to bury them deeply.
- Provide warmth and light: Place the seed tray in a warm, brightly lit location, but out of direct sunlight. A temperature around 70-75°F (21-24°C) is ideal for germination.
- Keep it consistently moist: Mist the soil surface regularly, being careful not to dislodge the seeds.
- Be patient: Germination typically takes 10-21 days. Once the seedlings have a few sets of true leaves, they can be carefully transplanted into individual pots or directly into the garden.
2. Stem Cuttings:
This method is faster and usually results in a mature plant more quickly.
- Choose healthy stems: Select vigorous, non-flowering stems from a healthy Aspilia foliosa plant. The ideal cutting should be about 4-6 inches long.
- Prepare the cuttings: Using a sharp, sterilized knife or shears, make a clean cut just below a leaf node. Remove the lower leaves, leaving only a few at the top.
- Encourage rooting: Dip the cut end of the stem in rooting hormone powder (optional but recommended). Then, plant the cutting in a pot filled with a well-draining potting mix, burying at least one leaf node.
- Provide a humid environment: Cover the pot with a clear plastic bag or use a propagation dome to create a humid environment.
- Monitor and water: Keep the soil consistently moist but not soggy. Within a few weeks, you should start to see new growth, indicating that the cutting has successfully rooted. Once the cutting shows signs of robust growth, it’s ready to be transplanted into a larger pot or a permanent spot in your garden.
Thriving Tips for Your Aspilia Foliosa:
- Sunlight: This sun-loving plant thrives in full sun but can tolerate partial shade.
- Soil: Well-drained soil is crucial to prevent root rot.
- Watering: Water regularly, especially during dry spells, allowing the soil to dry out slightly between waterings.
- Fertilizing: Feed your Aspilia foliosa with a balanced fertilizer every 4-6 weeks during the growing season.
Propagating Aspilia foliosa is a rewarding experience, allowing you to expand your garden with minimal effort and enjoy the beauty and benefits of this remarkable plant. Whether you choose to sow seeds or take cuttings, follow these tips, and you’ll be well on your way to cultivating a flourishing Aspilia foliosa haven. Happy gardening!