From One Fern to Many: The Easy Guide to Propagating Asplenium aethiopicum
Asplenium aethiopicum, also known as the Bird’s Nest Fern, is a stunning, low-maintenance indoor plant. Its lush, deep green fronds cascade gracefully and bring an elegant touch to any space. But there’s an even better secret to this botanical beauty: it’s incredibly easy to propagate! That’s right, you can create a whole jungle of these ferns from just a couple of cuttings.
Ready to become a fern propagation whiz? Let’s explore the simplest and most effective methods.
1. Division: The Quickest Way to New Ferns
Division is the method of choice for seasoned plant parents. It’s quick, straightforward, and often the most successful method for Asplenium aethiopicum.
Here’s what you’ll need:
- A healthy Bird’s Nest Fern that’s been potted for at least a year.
- Sharp, sterile knife or shears.
- Fresh potting mix.
- Several small pots.
Steps
- Gently Remove the Plant: Carefully remove the fern from its pot, being mindful of the delicate fronds.
- Divide the Roots: Using your sterile knife, carefully separate the fern’s root ball into two or more sections. Make sure each section has healthy roots and a good number of fronds.
- Repot the Divisions: Plant each section in its own pot with fresh potting mix, ensuring the crown (the point where the fronds emerge) is at or slightly above the soil line.
- Water Thoroughly: Water the newly potted divisions generously to settle the soil and help them establish roots.
2. Spore Propagation: A Long-Term Challenge
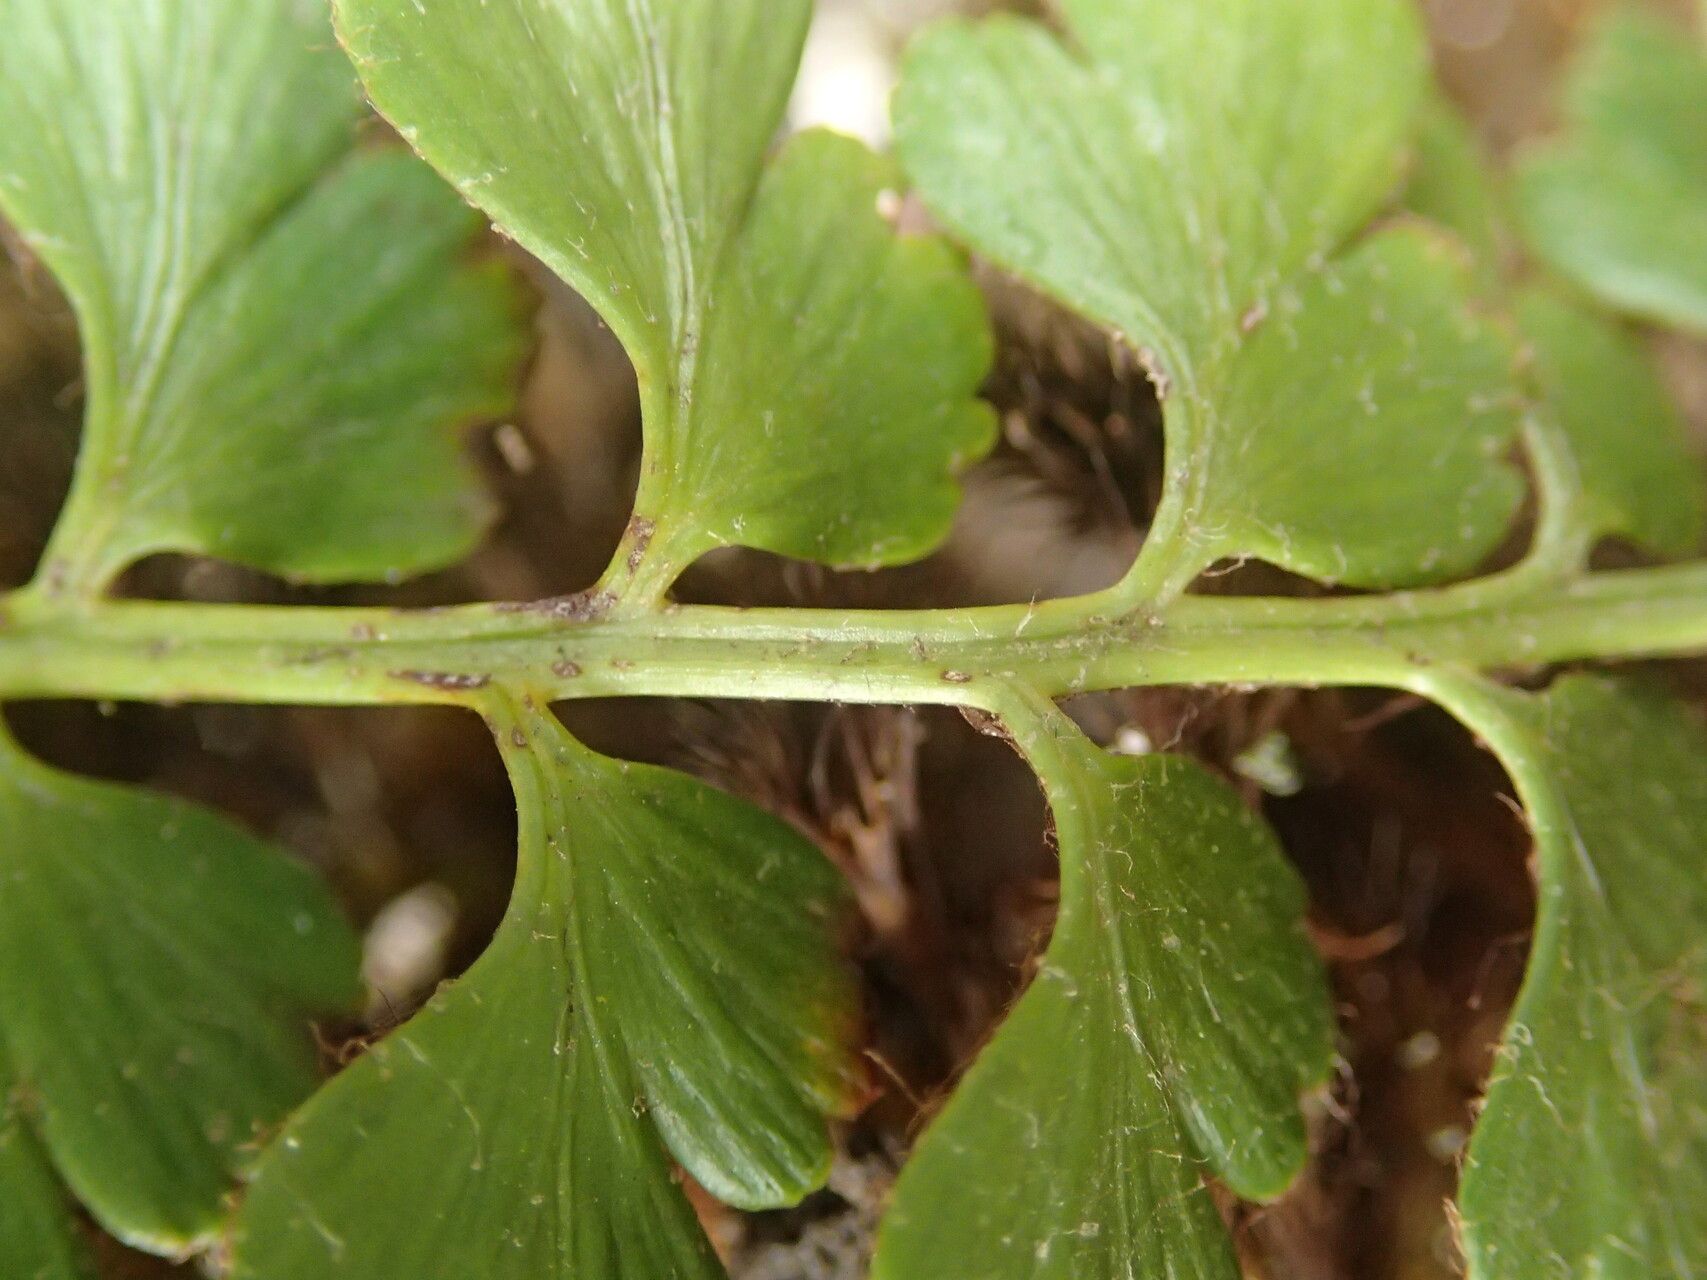
If you’re feeling adventurous, you can try propagating your Bird’s Nest Fern from spores, the tiny reproductive structures found on the underside of the fronds. This method is much slower than division, but it is rewarding.
Here’s what you’ll need:
- A mature Asplenium aethiopicum with spores on the underside of its fronds.
- A small, shallow container.
- Fine potting mix or peat moss.
- A spray bottle.
- A clear plastic container or bag.
Steps
- Collect the Spores: Scrape the brown spore patches from the undersides of the fronds.
- Prepare the Container: Fill the container with the chosen potting mix or peat moss, making sure it’s evenly moist.
- Scatter the Spores: Gently scatter the collected spores over the surface of the soil.
- Create a Moist Environment: Place the container in a clear bag or container to trap humidity.
- Maintain Consistent Moisture: Keep the soil slightly damp but not soggy.
- Patience is Key: The spores can take several weeks or even months to germinate, so be patient!
Important Tips for Success
- Location: Both divisions and spore propagation thrive in warm, humid environments. Choose a bright, indirect-light spot away from direct sunlight and drafts.
- Watering: Maintain consistent moisture, but avoid overwatering, which can lead to root rot. Let the top layer of soil dry slightly between waterings.
- Humidity: Asplenium aethiopicum loves high humidity. Misting daily with water or placing the pot on a pebble tray filled with water can help maintain humidity levels.
- Fertilizing: Feed your new ferns every few weeks with a balanced liquid fertilizer diluted to half strength.
Enjoy the Growth
Once your new Bird’s Nest Fern propagations have established themselves, you’ll have a lush, green addition to your home. These easy-to-care-for and easily propagated ferns will bring a touch of nature’s elegance to your space while satisfying your plant propagating desires. Go ahead, get your hands dirty, nurture new life, and enjoy the joy of watching your Bird’s Nest Ferns flourish!