Unlocking the Secrets of Bird’s Nest Fern Propagation: Grow Your Own Lush Oasis
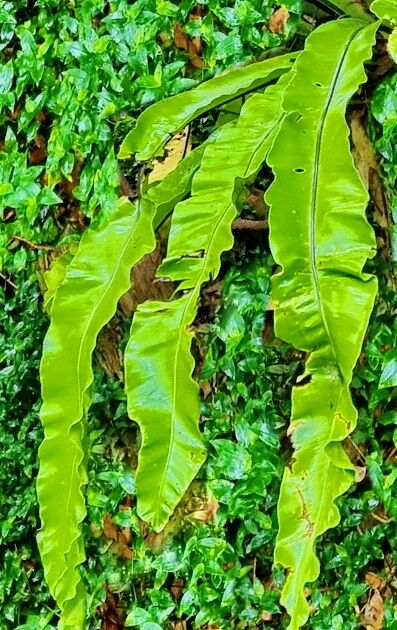
The Bird’s Nest Fern (Asplenium australasicum) is a sight to behold. With its vibrant green fronds unfurling from a central rosette, it brings a touch of the tropics to any home. But did you know that propagating this beauty is easier than you think? Whether you’re a seasoned plant parent or just starting your green journey, this guide will equip you with the knowledge to multiply your Bird’s Nest Fern and share its charm.
Understanding the Basics:
Before diving into the methods, let’s understand the life cycle of Asplenium australasicum. Unlike many plants that reproduce through flowers and seeds, this fern propagates through spores, tiny dust-like particles found on the undersides of mature fronds. It’s a fascinating process that’s both rewarding and surprisingly simple.
Method 1: Spore Propagation (For the Adventurous Gardener):
This method requires patience, but witnessing the magic of a fern sprouting from a microscopic spore is incredibly rewarding.
What you’ll need:
- Mature frond with spores: Look for dark brown, linear clusters called “sori” underneath the frond.
- Sterile container and lid: Cleanliness is key to avoid contamination.
- Peat moss or specialized fern potting mix: Provides the ideal moist and airy environment for spore germination.
Steps:
- Collect Spores: Gently scrape the mature spores from the frond onto a clean piece of paper.
- Prepare the Container: Fill your container with moistened peat moss or potting mix.
- Sow the Spores: Sprinkle the spores evenly over the surface. Don’t bury them!
- Create a Humid Environment: Cover the container with the lid to trap moisture.
- Patience is Key: Place the container in a warm, indirectly lit location and wait. Germination can take anywhere from a few weeks to a couple of months.
- Transplanting: Once the tiny ferns develop several fronds, you can carefully transplant them into individual pots.
Method 2: Division (For Quicker Results):
This method is perfect for those who want a faster and slightly less involved approach.
What You’ll Need:
- A mature, healthy Bird’s Nest Fern: Look for a plant with multiple offshoots or “pups” emerging from the base.
- Sharp, sterilized knife or pruning shears: Essential for making clean cuts and minimizing stress to the plant.
- Pots with drainage holes and well-draining potting mix: Choose a size appropriate for your divisions.
Steps:
- Prepare the Plant: Water your fern thoroughly a day before dividing to minimize stress.
- Divide Carefully: Gently remove the plant from its pot and locate the offshoots. Use your knife or shears to separate the pups, ensuring each has a good amount of roots.
- Potting the Divisions: Plant each division in a separate pot with fresh potting mix.
- Provide Optimal Conditions: Water thoroughly and place in a warm, humid location with bright, indirect light.
Caring for Your New Bird’s Nest Ferns:
Regardless of your chosen propagation method, your new ferns will thrive in a humid environment with dappled light and well-draining soil. Regular watering is vital, but be careful not to overwater, as this can lead to root rot.
Propagating your Asplenium australasicum is a rewarding experience that allows you to expand your plant family and share the joy of these lush ferns. So go ahead, delve into the world of fern propagation, and watch in awe as you create new life from spores or divisions. Your home will soon be an oasis overflowing with verdant beauty.