
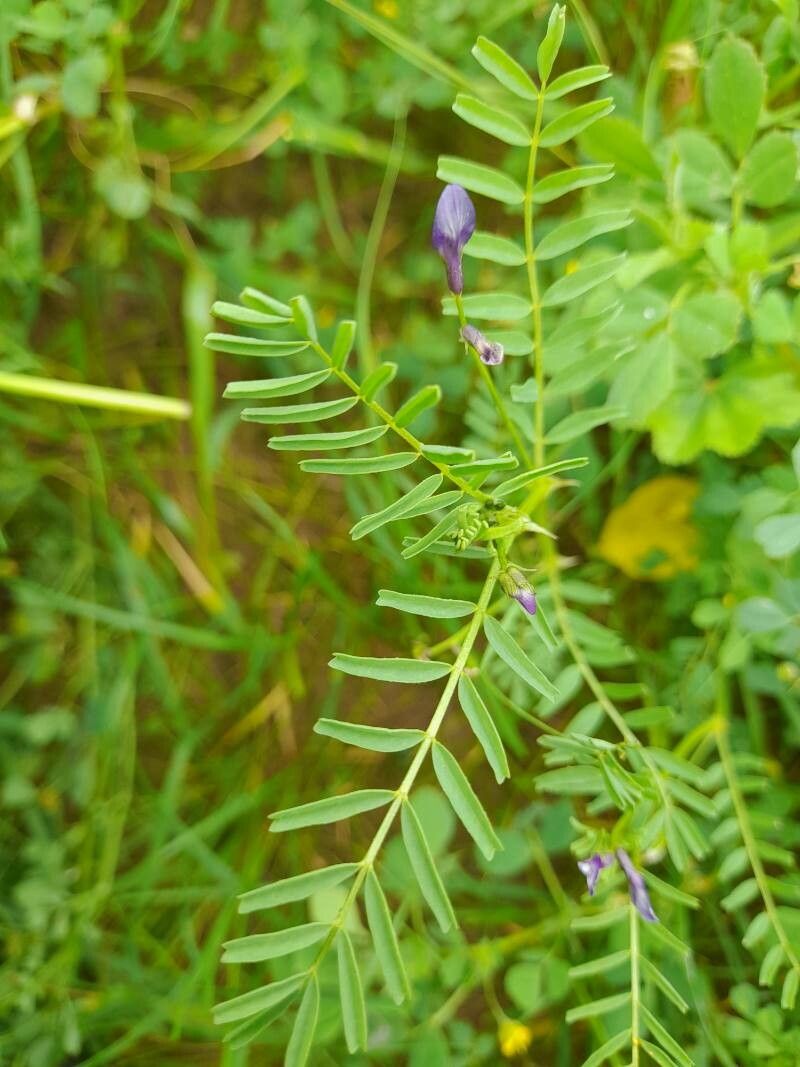
Multiply Your Magic: Propagating the Beautiful Astragalus Crenatus
Astragalus crenatus, with its charming clusters of vibrant purple flowers, is a delightful addition to any garden. But what if you could share the beauty of this plant with others, or simply create more of its mesmerizing presence in your own landscape? The answer lies in propagation – the art of creating new plants from existing ones. Let’s dive into the world of Astragalus crenatus propagation and empower you to multiply your magic!
Seeds of Hope: Starting from Scratch
The most common and often simplest way to propagate Astragalus crenatus is through seeds. These seeds are notoriously slow to germinate, so patience is key. Here’s a step-by-step guide:
- Scarify the Seeds: Astragalus crenatus seeds have a tough seed coat that hinders germination. A process called scarification, which involves nicking or abrading the seed coat, helps overcome this hurdle. Gentle scratching with sandpaper or a nail file will do the trick.
- Stratification: Then, mimic nature’s winter chill by undergoing a cold stratification process. Place the seeds in a moist paper towel or vermiculite in a sealed container and store them in the refrigerator for 4 to 6 weeks. This simulates the winter conditions they would naturally experience.
- Sow the Seeds: After stratification, sow the seeds in well-draining soil in a seed tray or pot. Cover them lightly with soil, keeping the soil consistently moist but not soggy.
- Patience and Light: Germination can take weeks, even months. Maintain a warm, sunny environment for optimal germination success.
A New Life from Cuttings:
For those who prefer a quicker route, propagation from cuttings is another viable option. Here’s how:
- Choose the Right Cuttings: During the spring or early summer, select healthy, non-flowering stems from your Astragalus crenatus plant. Cuttings should be around 4-6 inches long and have at least two sets of leaves.
- Prepare the Cuttings: Remove the leaves from the bottom inch of the cutting and make a clean, angled cut just below a leaf node.
- Root Hormone (Optional): Dipping the cut end in rooting hormone can encourage root development.
- Potting Mix: Plant the prepared cuttings in a pot filled with a well-draining potting mix. Ensure the cut end is buried deeply enough to encourage root growth.
- Keep it Moist: Mist the cuttings regularly and keep the soil consistently moist. They will benefit from a warm, humid environment.
- Patience and Success: With proper care, cuttings will develop roots within a few weeks.
Dividing Clumps: A Multiplicative Approach
If you’re fortunate to have robust Astragalus crenatus plants that form dense clumps, you can opt for division. This method involves gently separating parts of the existing plant, each with its own share of roots, to form new individual plants:
- Timing is Key: Dive into division during the spring or fall, when the plant is actively growing.
- Prepare the Divide: Using a sharp, clean shovel or garden fork, carefully loosen and gently separate parts of the existing plant. Each division should have healthy roots and stems.
- New Homes: Plant the individual divisions in well-prepared areas with well-draining soil. Water them thoroughly and keep the soil moist.
Enjoying the Rewards of Propagation
With a little effort, you can successfully propagate Astragalus crenatus and enjoy the beauty of its flowers even more. Whether you start from seed, use cuttings, or divide existing plants, propagate and share your passion for this delightful addition to your garden, or simply enjoy the satisfaction of multiplying your own personal stash of Astragalus crenatus magic!