Unlocking the Secrets of Astropanax abyssinicus Propagation: From Seed to Success
Astropanax abyssinicus, with its striking architectural form and unique foliage, is a highly sought-after plant for its captivating beauty. But obtaining this captivating specimen can be a challenge – that is, unless you know the secrets of propagation!
This blog post will guide you through the fascinating world of cultivating Astropanax abyssinicus, empowering you to successfully grow your own from seeds or cuttings.
Understanding the Basics: Astropanax abyssinicus Propagation Methods
Astropanax abyssinicus can be propagated through two primary methods:
- Seed Propagation: This method offers the chance to grow a plant from scratch, allowing you to witness its complete life cycle. However, it’s a more time-consuming process as seed germination can be slow and unpredictable.
- Cuttings: This method is generally considered faster and more reliable, and it allows you to replicate the unique characteristics of your favorite plant.
Step-by-Step Guide to Propagation
1. Seed Propagation:
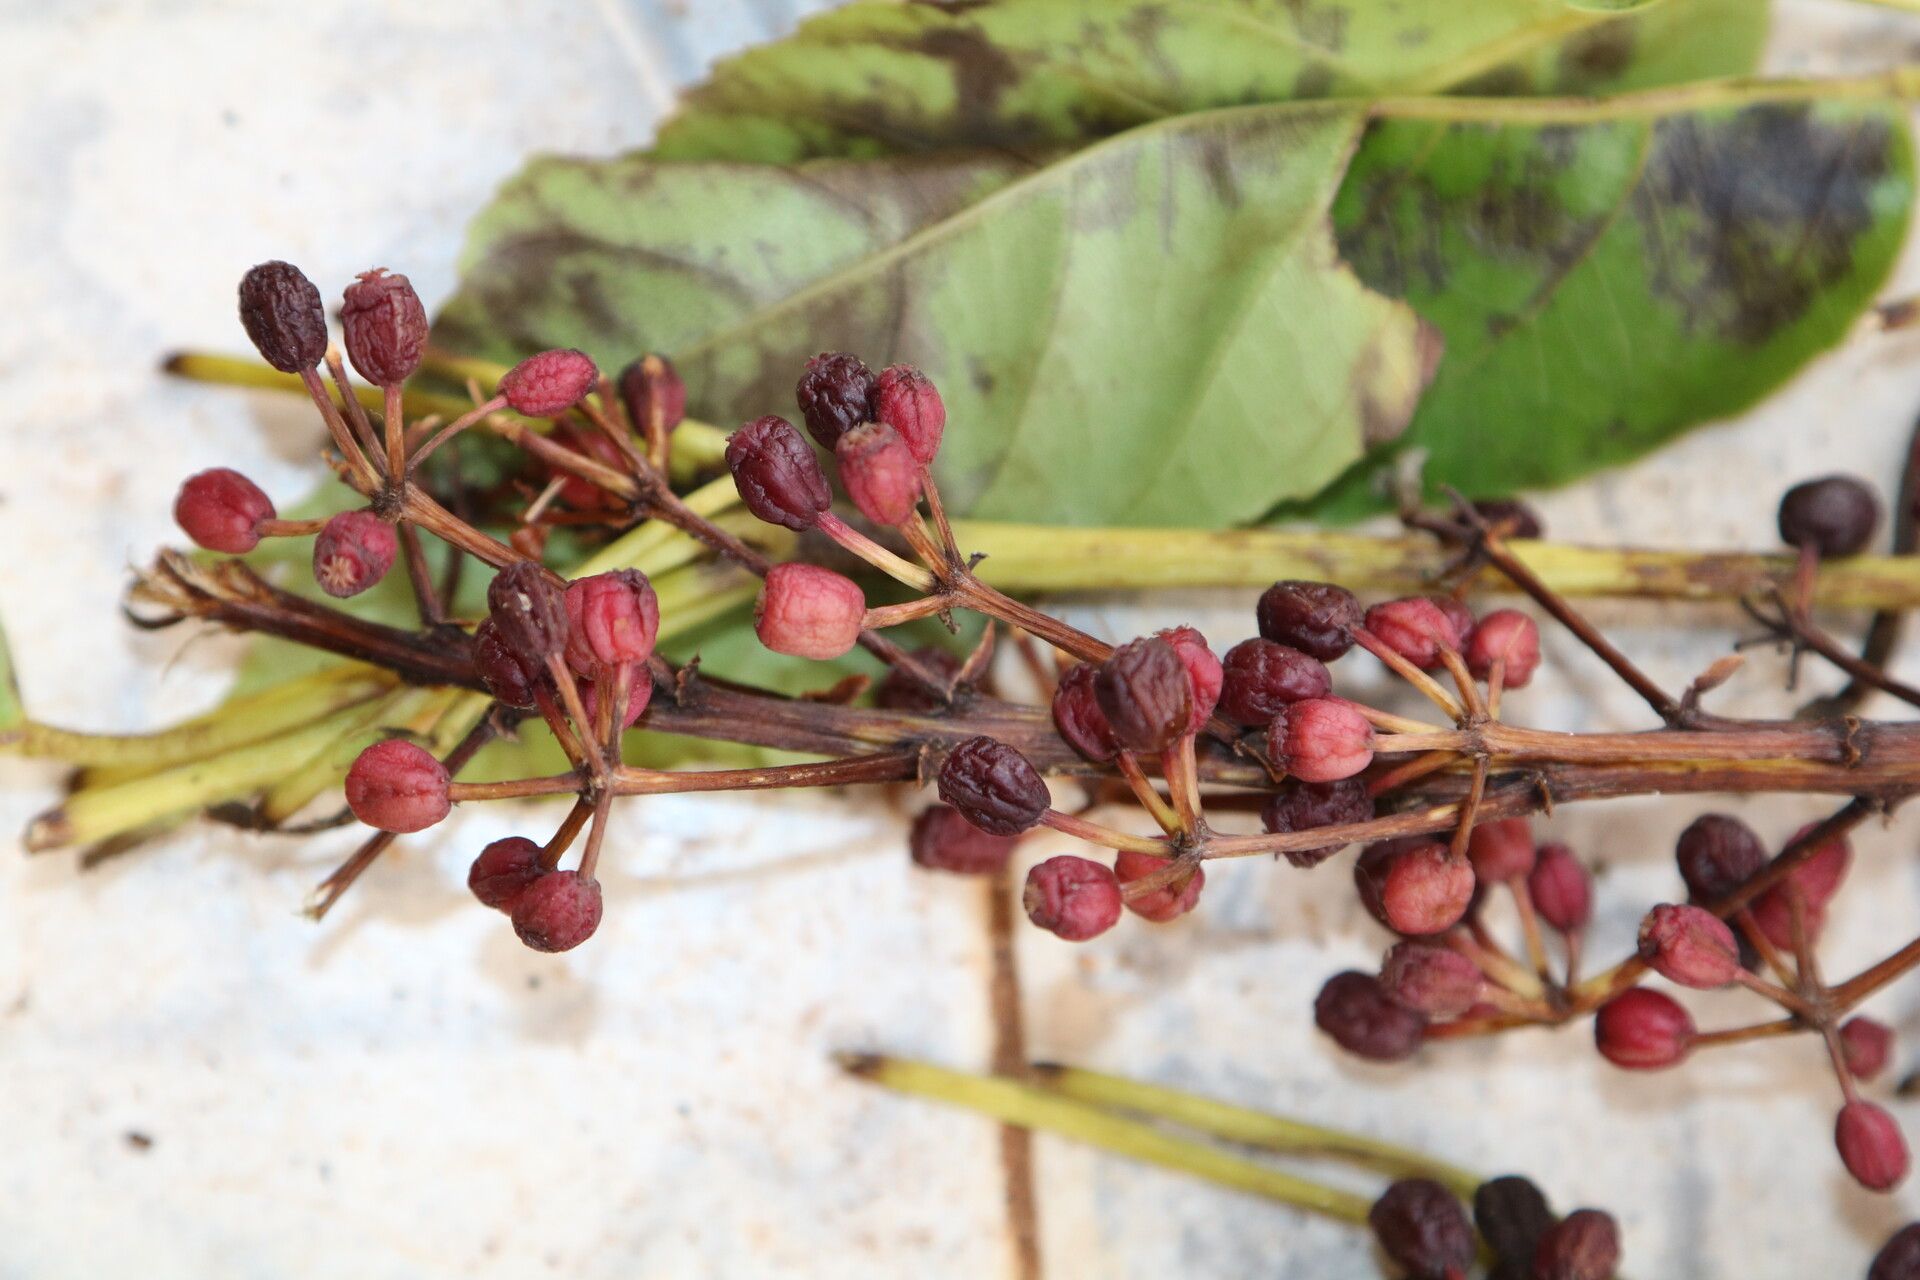
- Source Seeds: Obtain fresh, viable seeds from a reputable source or collect them from a mature Astropanax abyssinicus plant.
- Stratification: Seeds of this species often benefit from a cold stratification period, mimicking the natural winter dormancy. This involves storing seeds in a moist environment at temperatures between 33°F and 41°F for 4 to 6 weeks.
- Sowing: Fill a seed tray with a well-draining seed-starting mix. Sow the seeds shallowly, about ¼ inch deep, and maintain a consistently moist environment.
- Germination: Astropanax abyssinicus seeds can take several weeks to germinate, so be patient. Provide bright, indirect light and keep the soil consistently moist.
- Transplantation: Once seedlings have developed a few true leaves, gently relocate them into individual pots filled with a well-draining potting mix.
2. Cutting Propagation:
- Choose Cuttings: Select healthy stem cuttings with at least 4-6 inches of growth from a mature Astropanax abyssinicus plant. Ensure the cutting has at least two to three nodes, which are the points where leaves or branches emerge.
- Prepare Cuttings: Make a clean cut just below a node using a sharp knife or pruning shears. Remove any lower leaves that would be submerged in the rooting medium.
- Rooting Hormone: Dip the cut end of the cutting in a rooting hormone powder or solution. This optional step can significantly enhance the success rate of rooting.
- Rooting Medium: Fill a container with a lightweight, moisture-retentive rooting mix. Insert the cuttings, ensuring they are deeply enough to provide stability but not so deep that the nodes are submerged.
- High Humidity: Maintain a high humidity environment to encourage root development. Mist the cuttings regularly or cover them with a clear plastic dome or bag.
- Root Development: It can take several weeks for roots to develop. Maintain consistent moisture and ensure the rooting medium is not overly wet.
- Transplantation: Once roots have formed, you can gently pot your new plant into a larger container with a suitable potting mix.
Tips for Success:
- Location: Select a bright, indirect light location for your Astropanax abyssinicus. Avoid direct sunlight, which can scorch the delicate foliage.
- Watering: Water consistently, allowing the soil to dry slightly between waterings. Avoid overwatering, as this can lead to root rot.
- Fertilization: Feed your plant with a balanced liquid fertilizer during the growing season to promote healthy growth.
- Pruning: Prune your Astropanax abyssinicus as needed to maintain its desired shape.
Conclusion
Propagation is a rewarding journey that allows you to connect with the natural world and cultivate a plant that becomes a part of your home and life. By following these steps and tips, you can successfully propagate Astropanax abyssinicus from seed or cuttings, unlocking the secrets to growing this unique and beautiful plant.