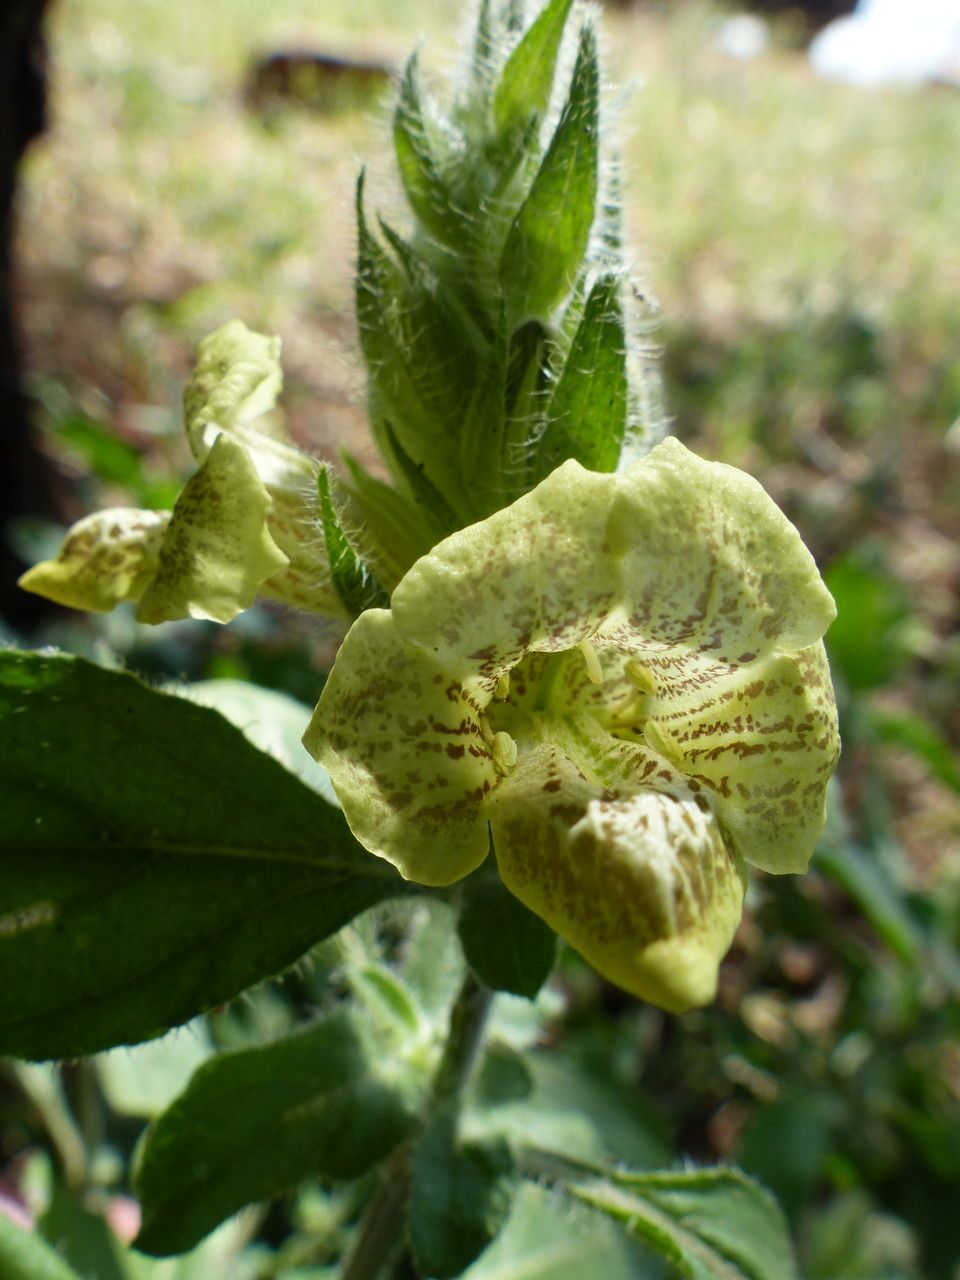
From One to Many: Propagating Your Asystasia Guttata (The “Grateful Fred”)
The Asystasia guttata, also known as the “Grateful Fred,” is a popular choice for gardeners seeking a vibrant, easy-to-grow plant. Its cheerful, lavender-blue flowers and attractive foliage offer a touch of tropical flair to any space. The best part? You can easily share this beauty with friends and family by propagating your own plants from cuttings!
Why Propagate?
Firstly, propagation allows you to create more of this delightful plant without spending a fortune on new purchases. It’s a fantastic way to fill out your garden, share with fellow plant enthusiasts, or even create stunning hanging baskets. But beyond just cost-effectiveness, propagation empowers you to connect with your plants on a deeper level. It’s a rewarding process that teaches you about the plant’s life cycle and fosters a deeper appreciation for its growth and resilience.
Methods of Propagation: Choosing Your Path
Two common methods are used to propagate Asystasia guttata:
Stem Cuttings: This is the most straightforward and widely used technique for Asystasia guttata. Simply snip a 4-6 inch stem from a healthy, mature plant, making a clean cut just below a leaf node (the point where a leaf grows from the stem). Remove the lower leaves from the cutting, leaving 2-3 leaves at the top.
- Layering: This method involves encouraging the plant to root while still attached to the parent plant. Select a healthy stem that trails close to the ground. Make a small cut about halfway through the stem, then use a small rock or wire to hold the stem in place against the soil. The cut area will eventually produce roots, allowing you to separate the newly rooted plant from the parent.
Preparing Your Cuttings for Success
Whether you choose stem cuttings or layering, a few key steps will ensure your propagation is successful:
Dip in Rooting Hormone: Apply a rooting hormone to the cut end of your stem cutting. This helps stimulate the plant to produce roots quickly.
Potting Mix: Use a well-draining, sterile potting mix. A blend of perlite, vermiculite, and potting soil works well. Lightly moisten the mix, but do not drench it.
The Greenhouse Effect: Create a mini greenhouse for your cuttings by placing them in a plastic bag, or covering them with a clear plastic dome. This traps humidity and warmth, mimicking the natural environment of the plant.
Patience is Key: It typically takes a few weeks for Asystasia guttata cuttings to root. During this time, maintain moisture in the potting mix, but avoid overwatering. Keep the cuttings in a bright, indirect light location.
Bringing your New Plants to Life
As your cuttings develop roots, you’ll notice new growth appearing. Once this happens, you can gradually acclimate your new plant to the outdoors. Begin by introducing them to a few hours of morning or afternoon sunlight, gradually increasing the exposure over a few days.
Now that you’ve successfully propagated your Asystasia guttata, enjoy the joy of sharing your gardening success! You can plant them directly in the garden, in containers, or even grow them in hanging baskets. Remember to nurture your plants with regular watering, fertilizing, and deadheading to ensure they thrive and continue to bring their vibrant beauty to your surroundings.