From Seed to Success: A Guide to Propagating the Striking Atractocarpus aragoensis
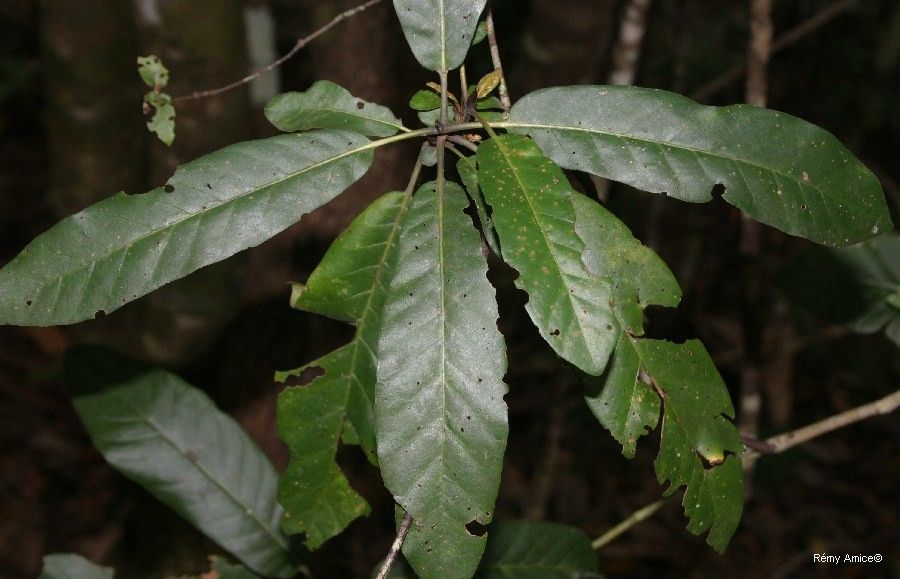
Looking to add a touch of tropical elegance to your home? The Atractocarpus aragoensis, with its glossy, dark green leaves and unique, vibrant red berries, is a captivating choice. But how do you get your hands on this beauty?
While you can purchase established plants, the thrill of propagation adds a special layer of satisfaction. And with the Atractocarpus aragoensis, both seed propagation and cuttings offer exciting avenues to grow your own mini jungle. Let’s dive into the details:
Starting from Seed:
This method requires patience but yields a rewarding experience. Here’s how to get started:
- Harvesting Seeds: The vibrant red berries hold the secret to new life. Carefully collect ripe berries, gently extracting the seeds. Ensure they are clean before sowing.
- Preparing the Soil: A well-draining, slightly acidic mix is ideal. A blend of peat moss, perlite, and vermiculite works well.
- Sowing the Seeds: Sow the seeds shallowly, covering them with a thin layer of soil. Water thoroughly and maintain consistent moisture.
- Providing Light and Warmth: Atractocarpus aragoensis seeds need warmth and indirect sunlight to germinate. Placing them in a warm, bright location or under a grow light is recommended.
- Patience is Key: Germination can take anywhere from a few weeks to several months. Don’t give up! Patience and consistent care are essential.
Propagation via Cuttings:
This method offers faster results than seed propagation. Here’s a step-by-step guide:
- Selecting Cuttings: Choose healthy, non-flowering stems. Take cuttings about 4-6 inches long, making a clean cut just below a node (where leaves emerge).
- Preparing the Cuttings: Remove the lower leaves, leaving a few at the top. Dip the cut end in rooting hormone to promote root development.
- Planting the Cuttings: Use a well-draining potting mix. Insert the cuttings into the mix, ensuring at least one node is buried. Water thoroughly.
- Creating a Humid Environment: Cover the pot with a clear plastic dome or bag to trap moisture and encourage root formation.
- Patience and Care: Place the cuttings in a warm, bright location with indirect light. Maintain consistent moisture, but avoid overwatering. Roots should appear within a few weeks.
Tips for Success:
- Water Regularly: Keep the soil consistently moist, but avoid overwatering.
- Provide Adequate Light: Atractocarpus aragoensis thrives in bright, indirect light.
- Fertilize Monthly: Use a balanced fertilizer during the growing season.
- Repot as Needed: As the plant grows, repot it into a larger pot to accommodate its expanding root system.
In Conclusion:
Propagating the Atractocarpus aragoensis offers a rewarding experience filled with the thrill of nurturing new life. Whether you choose the patience of seed propagation or the speed of cuttings, both methods open the door to a vibrant, green haven in your home. With consistent care and a touch of patience, you can successfully cultivate this captivating plant and enjoy its striking beauty for years to come.