Unlocking the Secrets of Chilean Cedar Propagation: A Guide to Growing Your Own Austrocedrus Chilensis
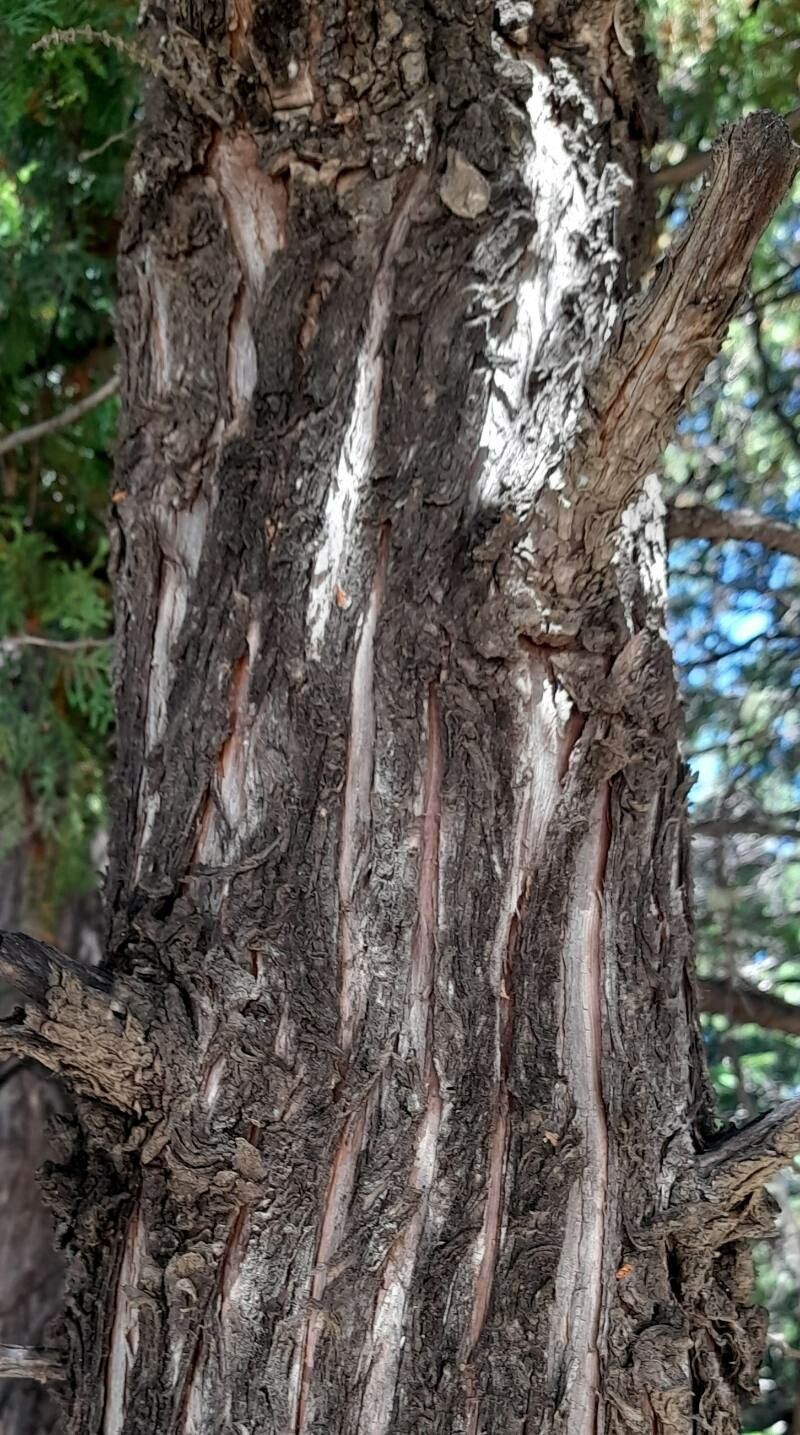
The Chilean cedar, or Austrocedrus chilensis, is a majestic conifer native to the Andes Mountains. Its stunning reddish-brown bark, dense foliage, and elegant, pyramidal form have captivated gardeners and landscape designers alike. But did you know that you can propagate this beautiful tree yourself?
While Chilean cedar seeds are readily available, growing them from scratch takes patience and a specific understanding of their needs. Let’s delve into the world of Chilean cedar propagation and discover the secrets to success.
The Art of Seed Propagation
1. Patience is Key: Chilean cedar seeds require a period of cold stratification, mimicking the natural conditions of winter. This process encourages germination and helps break seed dormancy.
2. Time It Right: The ideal timeframe for sowing Chilean cedar seeds is in the early spring.
3. Preparation is Everything:
- Stratification: Place the seeds in a damp, airtight container like a plastic bag or Tupperware. Store this container in your refrigerator for 6-8 weeks. This simulates the winter chill they need to germinate.
- Moisture is Crucial: Sow the seeds in a well-draining seed-starting mix or a mix of peat moss and sand. Keep the soil consistently moist but not waterlogged, allowing the seeds to breath.
- Light and Temperature: Provide the seeds with indirect light and a temperature of around 70 degrees Fahrenheit.
- Patience (Again): Chilean cedar seedlings can take several weeks to emerge, so don’t give up!
The Elegance of Cuttings:
For faster results, consider propagation using cuttings. This method requires skill and precision. Here’s how to master it:
1. Choose Your Material: In late spring or early summer, select semi-hardwood cuttings (those that have just finished growing). Aim for 4-6 inches long, with healthy leaves at the top.
2. Prepare the Cuttings: Use a sharp knife or pruning shears to make a clean, angled cut at the base of each cutting. Remove the lower leaves, leaving several at the top.
3. Root Hormone Power: Dip the base of each cutting in rooting hormone to promote root development.
4. The Right Environment: Pot the cuttings in a well-draining rooting mix like perlite or vermiculite. Keep the soil consistently moist and provide bright, indirect light. A humidity dome or misting can greatly increase your success rate.
5. Patience (Again): Chilean cedar cuttings can take several months to root. Monitor them closely, ensuring the soil remains lightly moist.
Expert Tips for Success
- Choose a well-drained potting mix: Chilean cedar prefers well-drained soil, so avoid materials that retain too much moisture.
- Provide adequate light: These seedlings need a minimum of 4-6 hours of indirect light per day.
- Protect from frost: Chilean cedar seedlings are very sensitive to cold temperatures, so ensure they are protected from frost during the winter.
From Seedling to Showstopper:
Whether you choose seeds or cuttings, propagating a Chilean cedar is a journey of patience and dedication. By following these steps and providing the necessary care, you equip yourself to enjoy the beauty of this remarkable tree for years to come. As you witness the seedling grow into a magnificent specimen, you’ll realize the true joy of nurturing life and contributing to the vibrant world of nature.