Sowing Success: The Easy Guide to Growing Oats (Avena sativa) From Seed
Oat milk lattes, overnight oats, warm bowls of porridge on a chilly morning – the humble oat (Avena sativa) brings so much to the table! But did you know that growing your own oats is surprisingly simple? Whether you’re a seasoned gardener or just starting out, this guide will equip you with everything you need to know about propagating Avena sativa and reaping the rewards of homegrown oats.
Why Grow Your Own Oats?
- Freshness & Flavor: Nothing beats the taste and texture of freshly harvested oats.
- Nutritional Powerhouse: Control the quality and variety of your oats, ensuring maximum nutritional benefit.
- Sustainable Choice: Reduce your carbon footprint by growing your own food.
- Gardening Delight: Oats are a low-maintenance and attractive addition to any garden.
Getting Started: Planting Your Oats
When to Plant:
- Spring Sowing (for cooler climates): Sow seeds as soon as the ground can be worked, typically 2-3 weeks before the last expected frost.
- Fall Sowing (for milder climates): Plant in early fall, allowing the oats to establish before winter sets in.
Where to Plant:
- Sunlight: Oats thrive in full sun (6-8 hours per day) but tolerate partial shade.
- Soil Type: Well-drained soil is crucial. Loamy soil enriched with compost is ideal, but oats are adaptable to various soil types.
Sowing the Seeds:
- Prepare the Bed: Loosen the soil to a depth of 6-8 inches and remove any rocks or weeds.
- Sowing Depth: Plant seeds approximately 1-2 inches deep and 2-3 inches apart.
- Rows: Space rows 8-12 inches apart for adequate airflow and ease of harvesting.
- Water Wisely: Water gently after sowing to prevent the seeds from washing away. Keep the soil consistently moist but not waterlogged.
Caring for Your Oat Plants
- Watering: Water regularly, especially during dry spells. Adequate moisture is essential for healthy growth and seed development.
- Fertilizing: Oats are light feeders. Amending your soil with compost before planting is usually sufficient. If your soil is poor, a balanced fertilizer can be applied at the time of sowing.
- Weed Control: Regularly weed around your oat plants to minimize competition for nutrients and sunlight.
- Pests and Diseases: Oats are generally pest and disease-resistant. However, be on the lookout for aphids or fungal issues, especially in humid conditions.
Harvest Time: Reaping the Bounty
- Timing is Key: Oats are typically ready for harvest approximately 90-120 days after planting, depending on the variety and climate.
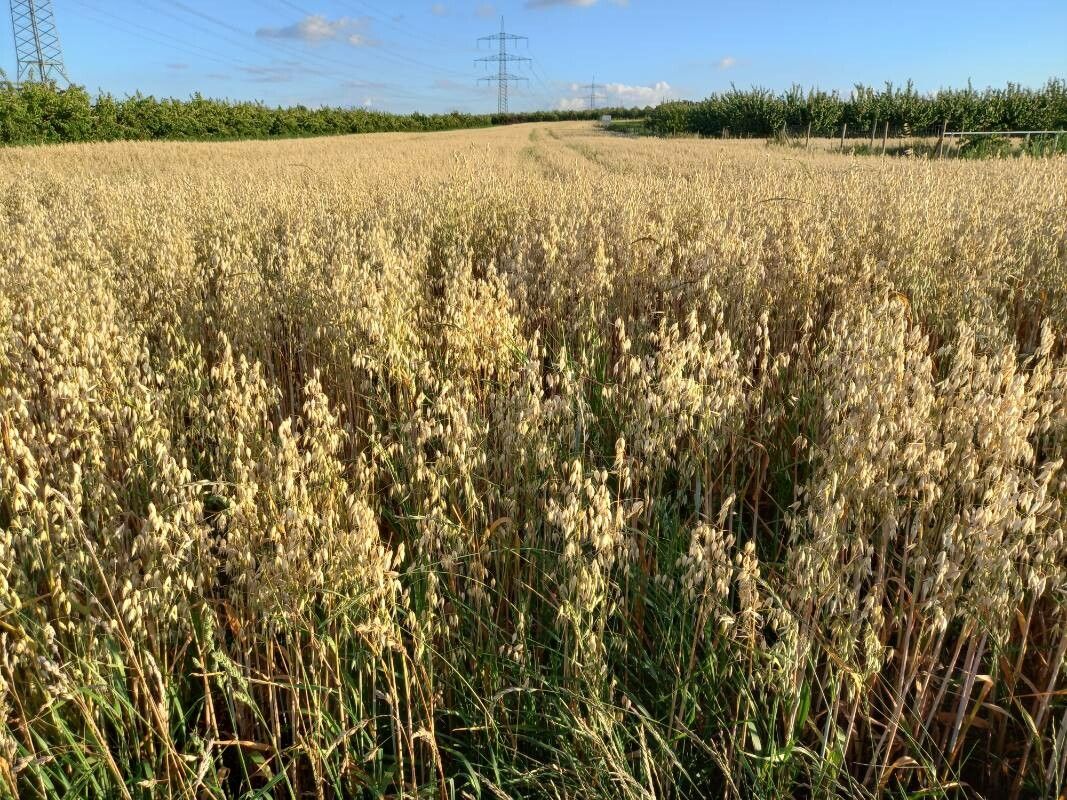
- Visual Clues: Look for the following signs: stalks and leaves turn golden yellow, seed heads are full and plump, and the seeds have a hard outer shell.
- Harvesting: Cut the oat stalks close to the ground using sharp shears or a sickle.
- Threshing: Remove the seeds from the stalks. You can do this by hand for smaller batches or with a threshing machine for larger harvests.
- Enjoy: Once cleaned and dried, your homegrown oats are ready to be enjoyed as a nutritious and delicious addition to your diet!
From Seed to Satisfaction
Growing your own oats is a rewarding experience. It connects you with this ancient grain, allows you to enjoy its freshest form, and adds a touch of rustic charm to your garden. So why not give it a try? You’ll be surprised by how easy and satisfying it can be!