From Seed to Success: A Guide to Propagating the Stunning Banksia praemorsa
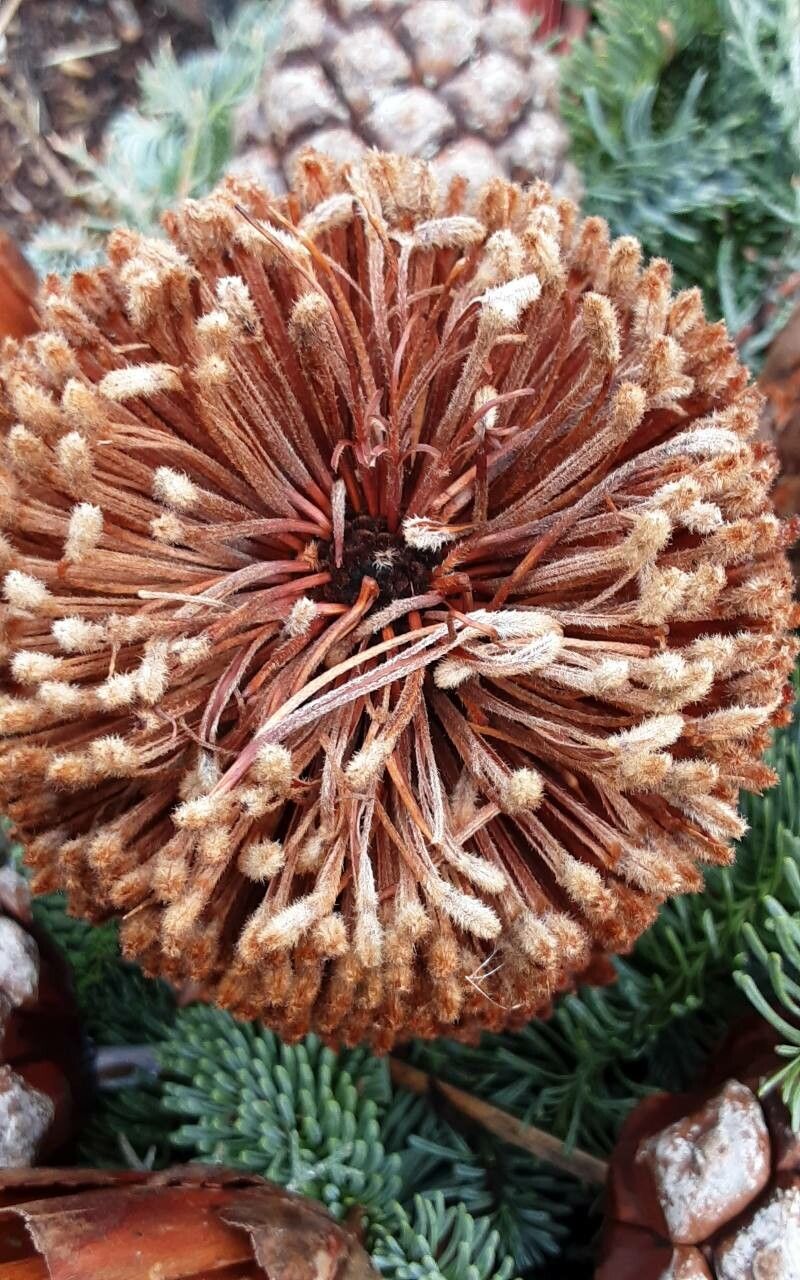
The Banksia praemorsa, with its striking orange flower spikes and unique “toothbrush” appearance, is a captivating Australian native that adds a touch of vibrant wilderness to any garden. If you’re looking to add this beauty to your own space, propagation might be the way to go.
Growing Banksia praemorsa from seed offers a rewarding experience, allowing you to nurture a plant from its very beginning. This guide will walk you through the process, providing expert tips to ensure success.
Step 1: Gathering Seeds
The first step is to obtain viable seeds. You can purchase these from specialist native plant nurseries or collect them yourself after the Banksia praemorsa flowers have finished. Look for the dried, woody seed pods, called follicles. The follicles will eventually open, releasing the seeds.
Step 2: Preparing the Seeds for Planting
Once you have your seeds, they need some preparation. Banksia seeds are known for their hard seed coat, which prevents them from germinating easily. You can scarify them by:
- Mechanical Scarification: Gently nick or scratch the seed coat with a sharp knife or sandpaper.
- Hot Water Treatment: Soak the seeds in boiling water for a few minutes, then immediately transfer them to cold water. The temperature shock can help crack the seed coat.
Step 3: Creating the Ideal Growing Environment
Banksia praemorsa prefers well-drained soil, similar to their natural sandy or rocky environments. A mix of sand, potting soil, and perlite is ideal.
You can sow the seeds directly into pots or seed trays. Choose pots with drainage holes to prevent waterlogging. Fill the container with your chosen potting mix and gently press the seeds into the soil. Cover them with a thin layer of soil, about half the seed’s diameter.
Step 4: Providing Optimal Conditions
Now it’s time to get those seeds growing! Banksia prefer warmer temperatures, so placing your pots in a sunny or partially shaded location is crucial.
Keep the soil consistently moist but not soggy. You can use a misting bottle to spray the surface of the soil gently, ensuring adequate hydration without disturbing the seeds.
Step 5: Patience is Key
Germination for Banksia praemorsa can take anywhere from a few weeks to several months. Be patient and monitor your pots regularly for signs of new growth. Once the seedlings have developed a few true leaves, you can gradually introduce them to more direct sunlight.
Step 6: Transplanting
When your seedlings are approximately 10-15 cm tall, they are ready for transplanting. Choose a permanent location with well-drained soil and plenty of sunshine. Dig a hole slightly larger than the root ball of your seedling and gently transfer it. Water well and provide regular watering during the first year to establish healthy roots.
Extra Tips for Success:
- Mulching: A layer of mulch around the base of the plant helps maintain soil moisture and suppress weeds.
- Fertilising: While Banksia are generally low-maintenance, occasional application of a slow-release fertiliser can benefit their growth.
- Pruning: Pruning is not usually necessary, but you can remove any dead or crossing branches.
With a little patience and the right conditions, Banksia praemorsa will reward you with its stunning blooms and vibrant presence in your garden. Watching this unique Australian native thrive from seed to maturity is truly a gratifying experience.