From One to Many: Propagating Your Stunning Begonia Albomaculata
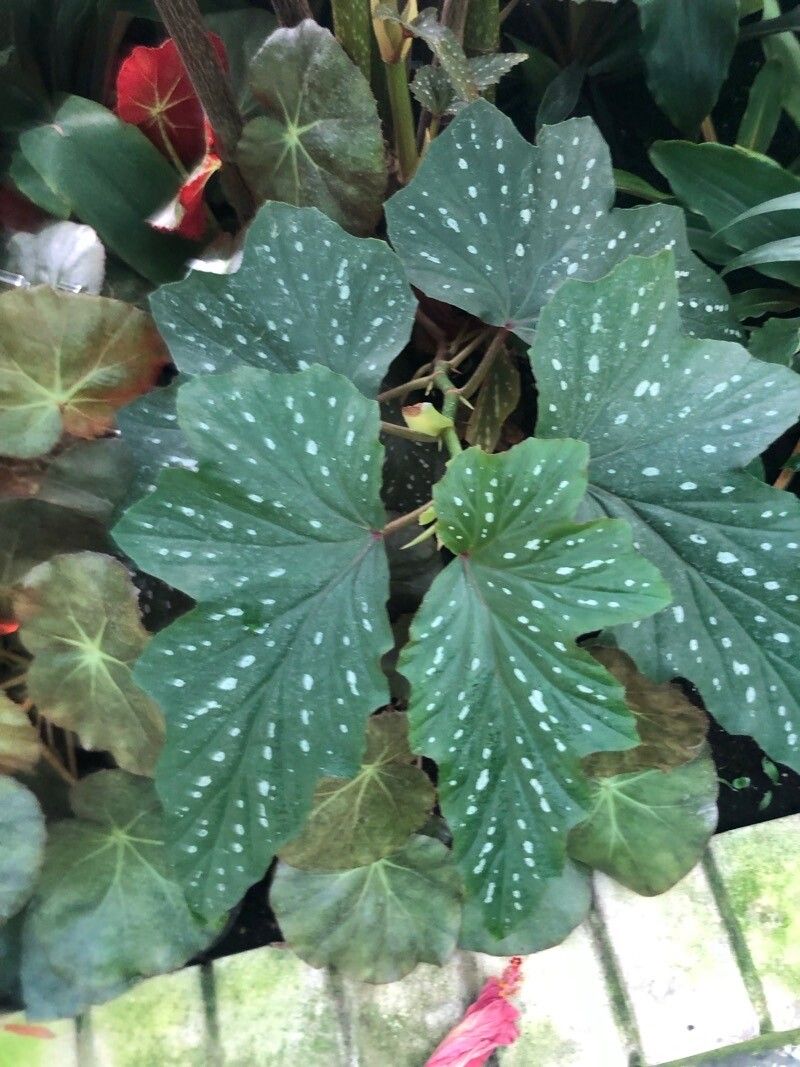
The Begonia albomaculata, with its striking silver-dappled leaves and delicate pink flowers, is a true gem in the plant world. But what if you could grow even more of these beauties, turning a single plant into a whole collection? That’s where propagation comes in!
Propagation, simply put, is the process of creating new plants from existing ones. This allows you to expand your plant family without having to buy new ones, and it’s incredibly rewarding to watch new life emerge.
Here’s a detailed guide on how to successfully propagate your beloved Begonia albomaculata, so you can enjoy its beauty in abundance:
1. Timing is Key:
The best time to propagate Begonias is during the spring or early summer when the plant is actively growing. This is when they have the most energy to focus on root development.
2. Choosing Your Method:
There are two main methods for propagating Begonia albomaculata:
Leaf Cuttings: This is the most common and simplest method. Select a healthy leaf with a long petiole (the stem connecting the leaf to the main stem). Cut the petiole approximately 1 inch below the leaf, making a clean cut with a sharp blade.
- Stem Cuttings: If you prefer, you can take stem cuttings. Choose a piece of stem that has at least two nodes (the points where leaves grow), and cut it just below a node.
3. Prepare Your Cutting:
- Once you have your cutting, remove any lower leaves that would be submerged in the rooting medium.
- You can optionally use a rooting hormone powder or gel to encourage root growth. Lightly dust the cut end with the hormone.
4. Rooting Medium:
A well-draining mix is essential for successful propagation. Here are some options:
- Perlite: Provides excellent drainage and aeration.
- Vermiculite: Holds moisture well and provides nutrients.
- Coco coir: A natural and sustainable option with good water retention.
- Seed Starting Mix: This is a readily available and well-balanced option.
5. Potting Up:
- Choose a pot with drainage holes and fill it with your chosen rooting medium.
- Gently insert the cut end of your Begonia cutting into the medium, ensuring that the node (if using stem cuttings) is buried in the soil.
- Water the medium thoroughly, ensuring it is moist but not waterlogged.
6. The Waiting Game:
- Place the pot in a bright, indirect location. Avoid direct sunlight as this could burn your delicate cuttings.
- Keep the rooting medium consistently moist, but not saturated. You can check the moisture level by inserting a finger into the medium.
- It can take anywhere from 4 to 8 weeks for roots to form. Be patient!
7. Transplanting Time:
- Once you see new growth on your cuttings, it indicates they have rooted. Gently remove them from their original pot and inspect the roots.
- Prepare a new pot with fresh potting mix and transplant your newly rooted Begonia.
- Water them thoroughly and place them in a bright, indirect location.
And that’s it! With a bit of patience and care, you can successfully propagate beautiful new Begonia albomaculata plants and enjoy their vibrant presence throughout your home.
Additional Tips:
- Use clean tools to minimize the risk of disease.
- Avoid overwatering, which can lead to root rot.
- Ensure good ventilation to prevent fungal issues.
- You can also try propagating in water, placing the cutting in a jar of water.
With a little practice, you’ll become a plant propagation pro in no time, allowing you to share the beauty of your Begonia albomaculata with others or create a thriving jungle of your own!