Unlocking the Beauty of Begonia augustae: A Guide to Propagation
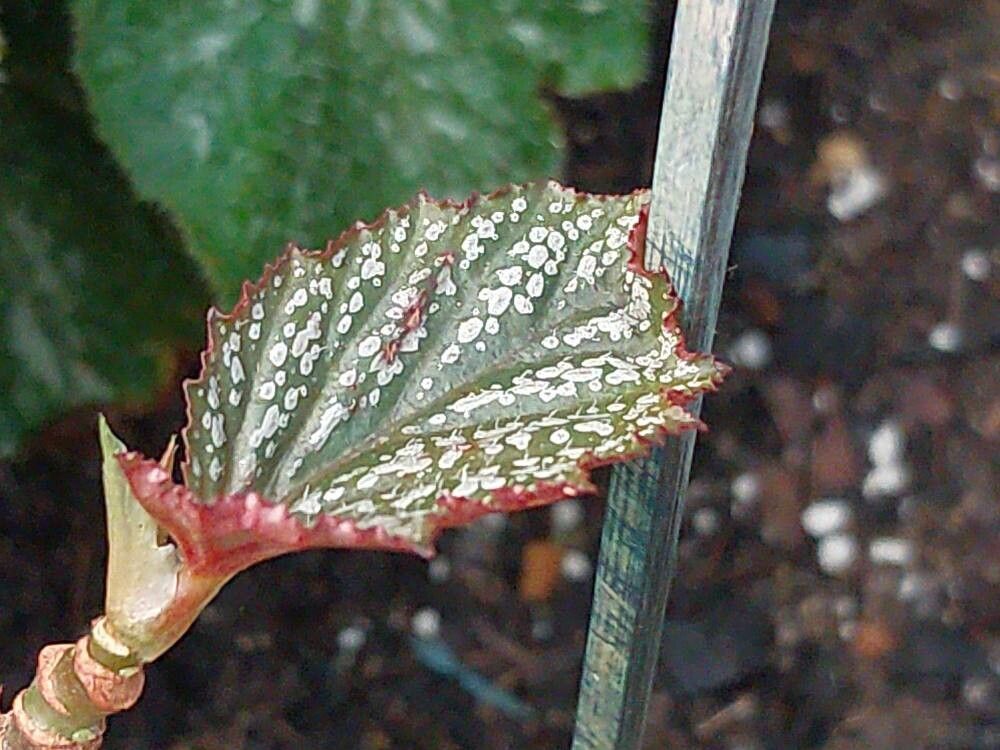
The Begonia augustae, often referred to as the “Painted Lady,” is a stunning plant renowned for its vibrant foliage. This captivating begonia boasts leaves that resemble a medley of vibrant greens, blushing reds, and intricate patterns. But the true magic of this plant lies in its ease of propagation, offering even beginner gardeners a chance to cultivate their own lush collection of Painted Ladies.
Understanding the Art of Propagation:
Propagation refers to the process of creating new plants from existing ones. It’s a wonderful way to expand your plant family, share the joy of gardening, and even save money on new purchases. With Begonia augustae, you have two primary methods at your disposal:
1. Leaf Cuttings:
This is arguably the most popular and straightforward technique for propagating Begonia augustae. Here’s how to do it:
- Gather Your Supplies: You’ll need a sharp blade or scissors, a small pot with well-draining potting mix, a clear plastic bag or dome, and a clean, sharp knife.
- Choose a healthy leaf: Select a healthy, mature leaf with vibrant colors.
- Cut the leaf: Use your clean knife or blade to make a precise cut through the leaf stem, leaving a small portion of the stem intact.
- Plant the cutting: Fill the pot with your chosen potting mix and make a small hole in the center. Place the leaf cutting into the hole, ensuring the stem portion is slightly buried.
- Create a humid environment: Cover the pot with the plastic bag or dome to retain moisture and promote root growth. Place the pot in a bright spot with indirect sunlight.
- Patience is key: Patience is key – root development can take anywhere from a few weeks to a couple of months. Monitor the moisture levels and check for signs of new growth.
2. Stem Cuttings:
For Begonia augustae, stem cuttings offer an alternative route to propagation. This method involves taking a cutting from the stem of the plant, usually with a few nodes (growth points) attached, and rooting it in a humid environment:
- Prepare the cutting: Choose a healthy stem with at least two nodes. Cut the stem just below a node using a clean blade.
- Remove lower leaves: Pinch off the lower leaves from the stem cutting, leaving the top leaves intact. This helps prevent rotting.
- Dip in rooting hormone (optional): For faster rooting, you can dip the cut end of the stem in rooting hormone powder.
- Plant the cutting: Similar to leaf cuttings, plant the cutting in a pot with well-draining potting mix, ensuring the node is buried. Water thoroughly and cover with a plastic bag.
- Provide ideal conditions: Place the pot in a warm, bright location with indirect sunlight, and keep the soil consistently moist.
- Monitor progress: Check regularly for new root growth and potential new growth from the node.
Tips for Success:
- Choose the right time: Spring and summer are ideal times for propagation as the plant is actively growing.
- Use clean tools: Always sanitize your blades or scissors before and after each cut to prevent the spread of disease.
- Provide ample humidity: Maintaining high humidity is crucial for both methods. Misting the cuttings regularly or using a humidity dome can help maintain optimal conditions.
- Avoid direct sunlight: Direct sunlight can scorch delicate new roots and leaves. Choose a spot with bright, indirect light.
- Be patient: Propagation takes time, so be patient and give your plant cuttings the best possible environment.
Expanding Your Begonia Collection:
With the right tools and techniques, propagating Begonia augustae is a rewarding experience. Not only do you get to expand your plant collection and create stunning new plants, but you also gain an appreciation for the beauty and resilience of nature. So, grab your scissors, pot, and a newfound love for Begonia augustae and embark on your propagation journey!