Untangling the Vine: Easy Propagation Techniques for Your Begonia Convolvulacea
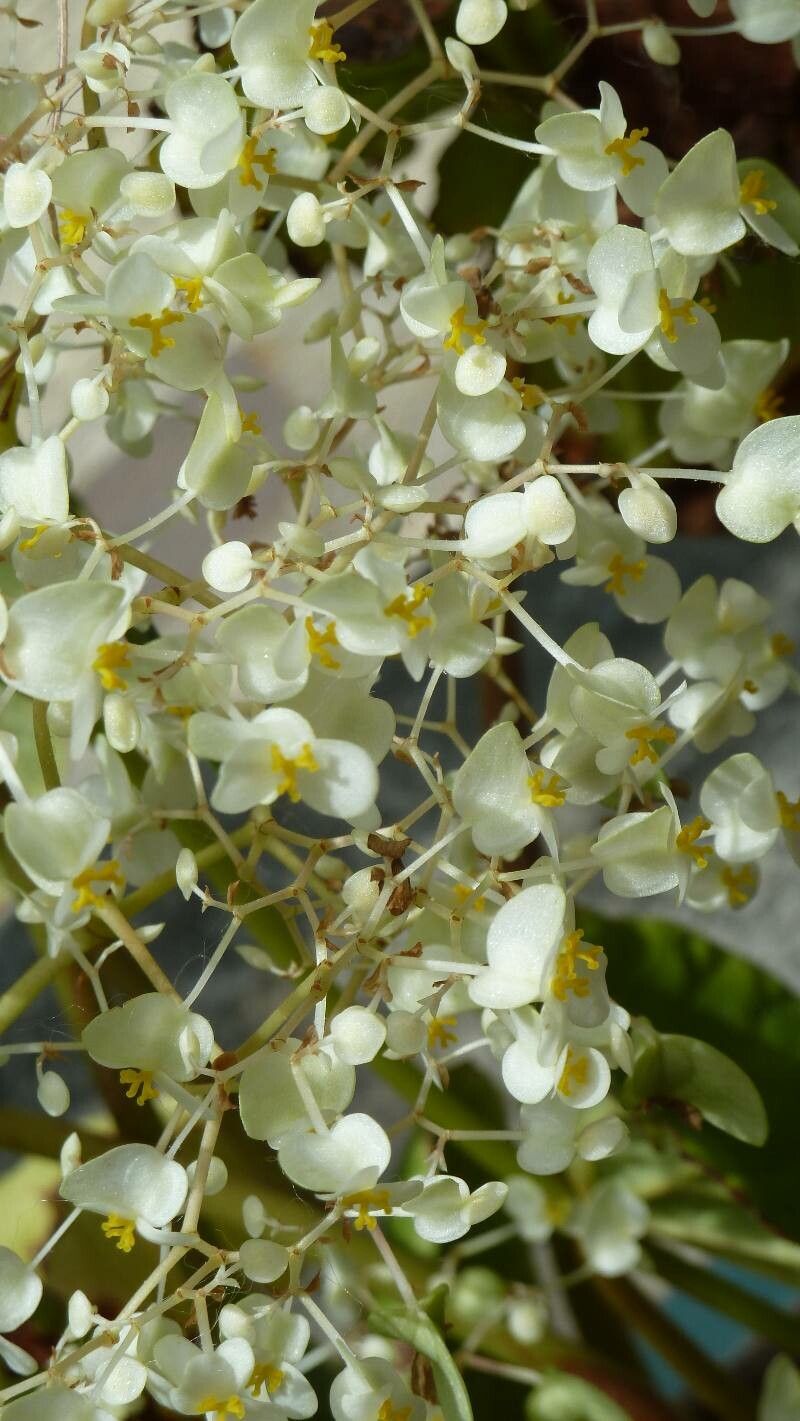
The Begonia convolvulacea, with its delicate, cascading vines and charming blooms, is a sight to behold. But did you know that sharing the beauty of this plant is as easy as snipping a stem? That’s right, propagating your Begonia convolvulacea is surprisingly simple, even for those new to the world of plant parenting.
This guide will unravel the mysteries of propagating this stunning species, offering you the tools and knowledge to multiply your leafy treasures.
Why Propagate?
Before we delve into the ‘how’, let’s explore the ‘why’. Propagation, the process of creating new plants from existing ones, offers several benefits:
- Free plants! Skip the garden center and expand your plant family without spending a dime.
- Shares the love: Gift cuttings to friends and spread the joy of Begonia convolvulacea.
- Rejuvenates older plants: Taking cuttings encourages bushier growth and can even revive leggy plants.
Two Roads to Propagation: Stem Cuttings and Leaf Cuttings
With Begonia convolvulacea, you have two reliable propagation methods at your disposal:
1. Stem Cuttings:
This tried-and-true method offers the quickest results. Here’s how:
- Timing is key: Aim for spring or early summer when your plant is actively growing.
- Tools of the Trade: A sharp, clean knife or pair of pruning shears, a small pot or tray, and a well-draining potting mix.
- Making the Cut: Choose a healthy stem and make a clean cut just below a leaf node (where the leaf meets the stem). Your cutting should be around 3-4 inches long. Remove the lower leaves, leaving 2-3 at the top.
- Potting Up: Dip the cut end in rooting hormone (optional but recommended) and plant it in moist potting mix, burying at least one node.
- Creating a Humid Haven: Cover the pot with a clear plastic bag or humidity dome to lock in moisture. Place in a warm, bright location, out of direct sunlight.
- Patience is a Virtue: Within a few weeks, you should see new growth, indicating successful rooting.
2. Leaf Cuttings:
For a slightly more adventurous approach, try leaf cuttings:
- The Right Leaf: Select a healthy, mature leaf from your Begonia convolvulacea.
- Cut It Right: Using your clean shears, cut the leaf at its base, ensuring you get a small piece of the stem (petiole) attached.
- Prep for Propagation: Dip the cut end in rooting hormone and place the petiole end into moist potting mix, burying it slightly. Alternatively, you can lay the whole leaf flat on the soil surface, making small cuts across the veins on the underside and pinning it down to encourage root development from each cut.
- Humidity is Key: Cover the pot with a humidity dome or plastic bag and place it in a warm, brightly lit area.
- Tiny Miracles: Be patient! It can take several weeks for roots and tiny plantlets to form at the base of the leaf. Once these plantlets are large enough, you can carefully separate and pot them individually.
Tips for Success:
- Use a well-draining potting mix specifically formulated for cuttings or seedlings.
- Keep the soil consistently moist but not waterlogged.
- Provide bright, indirect light for your cuttings.
- Be patient! Propagation takes time.
Propagating your Begonia convolvulacea is a rewarding endeavor that allows you to connect with your plant on a deeper level. With a little patience and care, you’ll be amazed at how easily you can multiply these stunning trailing beauties. Now, go forth and propagate!