
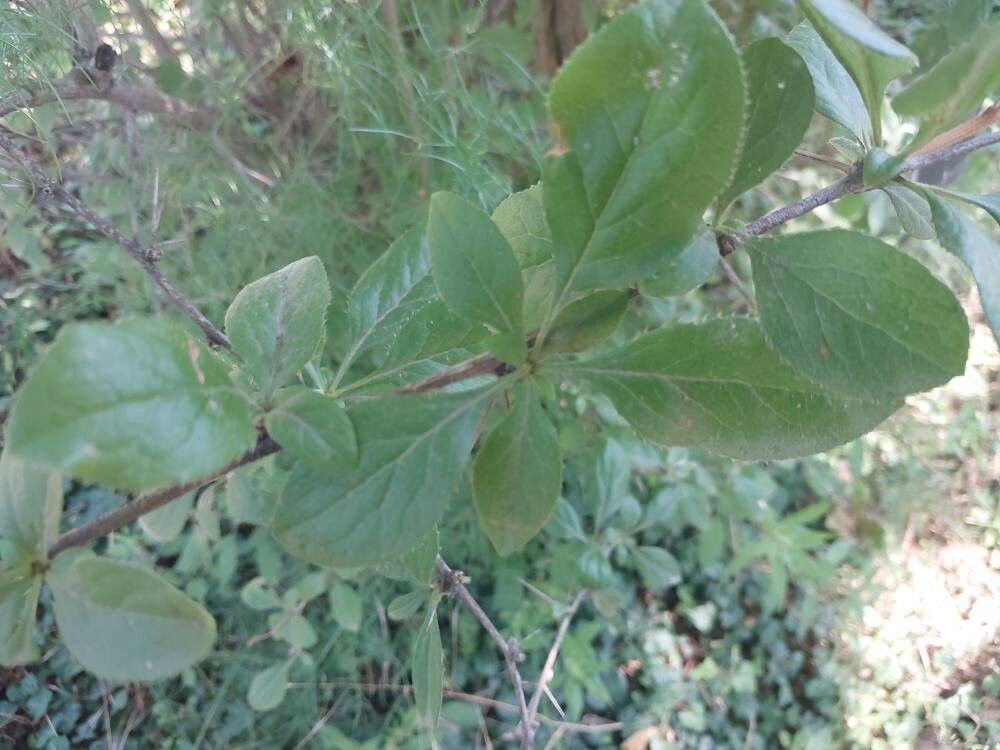
Unleashing the Beauty of Berberis brachypoda: A Guide to Propagation
Berberis brachypoda, with its captivating clusters of crimson berries and striking foliage, is a captivating addition to any garden. But, what if you could multiply this enchanting beauty and share it with friends or create a stunning hedge? Enter the world of propagation!
This post explores the art of propagating Berberis brachypoda, revealing the secrets to successful growth from cuttings and seeds. Whether you’re a seasoned gardener or just starting out, this guide provides the knowledge you need to cultivate this vibrant shrub.
The Magic of Cuttings: A Quick and Rewarding Method
For those eager to witness their Berberis brachypoda thrive quickly, propagation through cuttings is the way to go. This method offers rapid growth and a high success rate. Here’s how:
- Timing is Everything: The best time to take cuttings is in late spring or early summer when the plant is actively growing. Choose healthy, non-flowering stems.
- Sharpen Your Tools: Use a clean, sharp knife or pruning shears to cut 4-6 inches of stem just below a node (the point where a leaf emerges). Remove the leaves from the bottom inch or two.
- Rooted in Success: Dip the cut end in rooting hormone powder for a boost in root development. Then, carefully insert the cutting into a pot filled with well-draining potting mix.
- Nurturing the Cuttings: Keep the cuttings moist and protected from direct sunlight. You can place a plastic bag over the pot to create a miniature greenhouse.
- Patience is Key: Roots will typically develop within 4-6 weeks. Once you see signs of new growth, you can gradually acclimate the cuttings to full sun and prepare them for their permanent home in the garden.
The Art of Seed Propagation: A Journey of Patience
For those who enjoy the thrill of watching life emerge from tiny seeds, Berberis brachypoda offers another propagation method. However, this approach requires a bit more patience. Here’s how to embark on this journey:
- Harvesting the Treasure: Collect ripe berries in late summer or early fall. Gently press the seeds out and remove any surrounding pulp.
- Cold Stratification: The Key to Success: Berberis brachypoda seeds require a period of cold stratification to break dormancy. Mix the seeds with slightly dampened vermiculite or peat moss and store them in a sealed container in the refrigerator for 2-3 months.
- Planting the Future: After the cold treatment, sow the seeds in seed trays filled with a well-draining seed starting mix. Keep the soil moist and warm (around 70°F) for germination.
- Patience Pays Off: Germination can take several weeks to months depending on the seed’s freshness and environmental conditions. Once seedlings emerge, provide them with adequate light and water, and you’ll be rewarded with a new generation of Berberis brachypoda.
Nurturing Your New Berberis brachypoda Plants
Once established, whether through cuttings or seeds, your new Berberis brachypoda plants require a few key elements to thrive:
- Sunlight: Berberis brachypoda prefers a location with full sun to partial shade.
- Soil: Well-draining soil is crucial for healthy growth. Avoid soggy conditions.
- Water: During the establishment phase, water regularly to ensure even moisture. Mature plants are relatively drought-tolerant, but watering during dry spells is essential.
- Fertilizer: A balanced fertilizer applied in spring will keep your Berberis brachypoda vibrant.
- Pruning: Regular pruning helps to maintain the desired shape and size.
Conclusion:
Propagating Berberis brachypoda is a rewarding experience for any gardener. Whether you choose the speedy route of cuttings or the patient journey of seed propagation, this captivating shrub offers a beautiful way to share its unique charm and add a splash of colour to your garden. So, grab your tools, gather your seeds, and unleash the beauty of Berberis brachypoda – the perfect addition to any landscape.