Unlocking the Secrets to Multiply Your Billbergia Vittata: A Propagation Guide
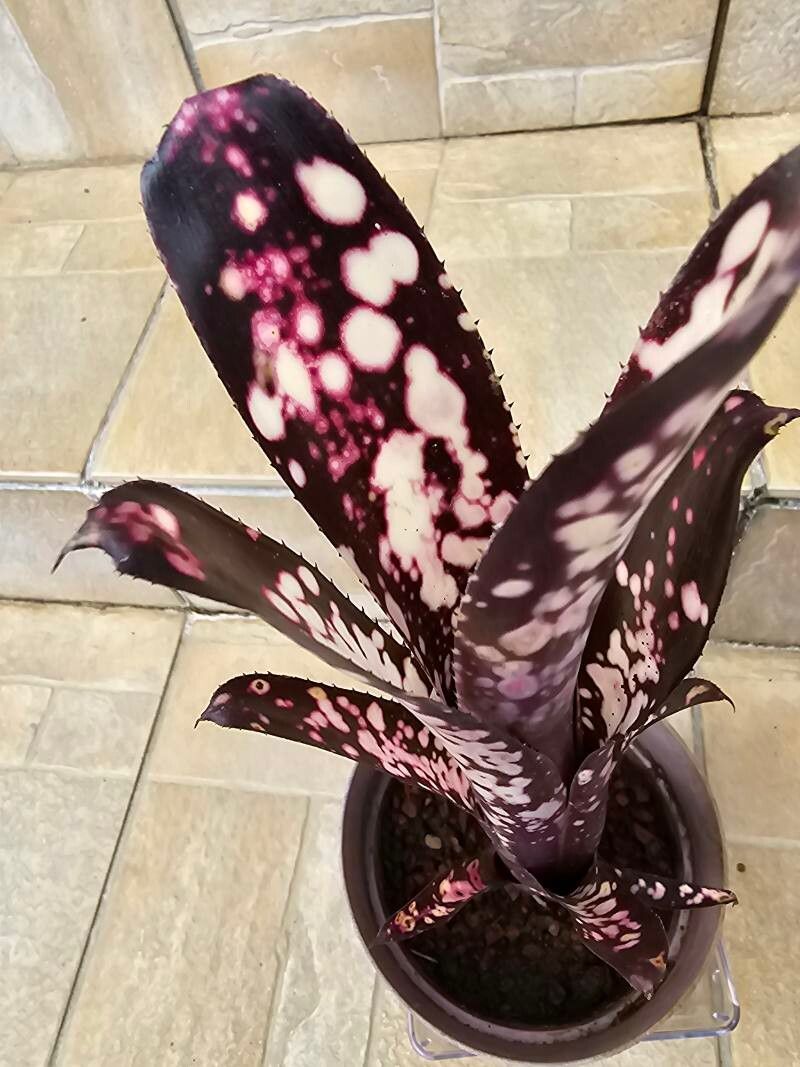
The Billbergia vittata, with its vibrant foliage and show-stopping blooms, is a true marvel of the bromeliad world. But did you know that this tropical beauty is also surprisingly easy to propagate? That’s right! You can multiply your Billbergia and share the joy with friends, all while expanding your own plant collection.
This comprehensive guide will walk you through the different methods of Billbergia vittata propagation, empowering you to become a true plant parent pro.
Understanding the Basics
Before we delve into the specifics, it’s important to understand a bit about how Billbergia vittata reproduces. These fascinating plants produce “pups” – baby bromeliads that emerge from the base of the mother plant after flowering. Our goal with propagation is to carefully separate and pot these pups, encouraging them to thrive independently.
Methods for Success
There are two primary methods for propagating Billbergia vittata:
1. Pup Separation:
This method is the most common and yields the highest success rate. Here’s a step-by-step breakdown:
- Timing is Key: Wait until the pup is at least one-third the size of the mother plant. This ensures the pup has developed a sufficient root system of its own.
- Gentle Removal: Carefully remove the mother plant from its pot. Using a clean, sharp knife or pair of pruning shears, separate the pup by cutting it away from the mother plant, ensuring you retain some roots on the pup.
- Potting Up: Plant the pup in a well-draining potting mix specifically designed for bromeliads or epiphytes. Ensure the base of the pup sits slightly above the soil line to prevent rotting.
- Patience is a Virtue: Keep the newly potted pup in a warm, humid environment with bright, indirect light. Water sparingly, allowing the soil to dry slightly between waterings. Root development may take several weeks.
2. Seed Propagation:
While possible, propagating Billbergia vittata from seed is less common and requires more patience. However, it’s a rewarding experience for dedicated plant enthusiasts:
- Source Fresh Seeds: Purchase fresh Billbergia vittata seeds from a reputable supplier or collect them from a mature plant after successful pollination.
- Surface Sowing: Fill a seed tray with a well-draining seed starting mix. Sprinkle the seeds evenly across the surface without burying them.
- Humidity is Key: Mist the seeds with water and cover the tray with a humidity dome or plastic wrap to create a greenhouse-like environment.
- Light and Warmth: Place the tray in a brightly lit area, avoiding direct sunlight. Maintain a consistent temperature of around 70-80°F.
- Germination Patience: Germination can take anywhere from a few weeks to a couple of months. Be patient and continue misting regularly to keep the soil moist.
- Transplanting Time: Once the seedlings have developed a few true leaves, they can be carefully transplanted into individual pots.
Tips for Success:
- Always use clean, sterilized tools when separating pups or handling seeds to prevent contamination.
- Provide adequate humidity, especially for newly potted pups and seedlings. A pebble tray filled with water or a humidifier can be beneficial.
- Avoid overwatering, as this can lead to root rot.
- Remember that patience is key. Don’t be discouraged if you don’t see results immediately.
By following these steps and embracing the art of patience, you’ll be well on your way to successfully propagating your Billbergia vittata and enjoying an abundance of these stunning plants in your home!