Bringing the Beauty Home: Propagating the Enchanting Bolusiella talbotii
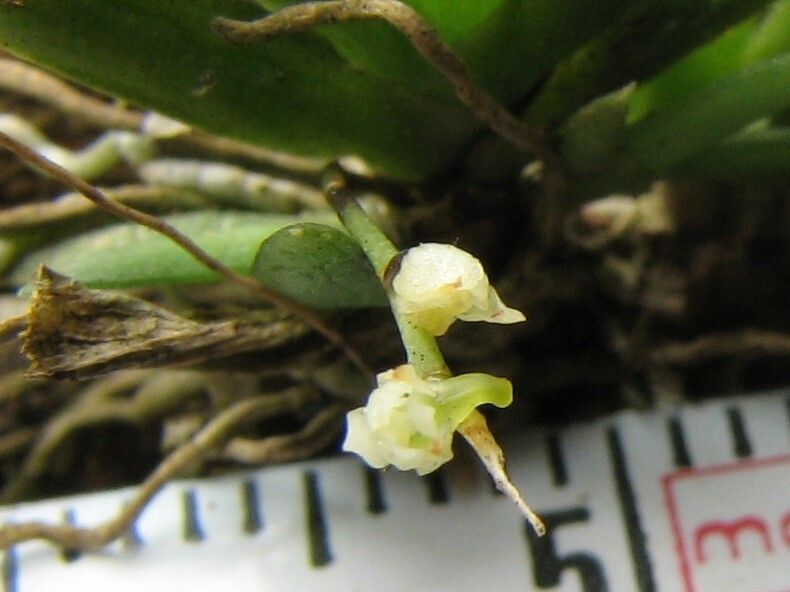
The Bolusiella talbotii, with its stunning foliage and ethereal appearance, is a plant that has captivated plant enthusiasts across the globe. But how do you bring this beauty into your own home? One way is through propagation!
Propagation is the process of creating new plants from existing ones, and for the Bolusiella talbotii, it’s a surprisingly achievable feat. While this plant might seem delicate, with its delicate, almost transparent leaves, it is surprisingly resilient when it comes to reproducing.
Understanding the Process: The Basics of Propagation
There are a few key methods for propagating the Bolusiella talbotii. These include:
Leaf Cuttings: This is the most popular and arguably easiest method. You’ll take a healthy, mature leaf from the mother plant and carefully snip it off close to the stem. The key here is to ensure the cutting includes a small section of stem where the leaf was attached. This section contains the cells that will trigger the formation of new roots.
- Stem Cuttings: While less common, stem cuttings can also be used. Choose a healthy stem with several leaves. Cut the stem at a slight angle, ensuring you have at least two nodes (the bumps where the leaves sprout) on the cutting.
Putting the Process into Action: Step-by-Step
Prepare your cutting: The first step is to gently remove the leaves from the lower part of the cutting, leaving the top few untouched. This prevents the bottom leaves from rotting while new roots develop.
Callus Formation: Allow the cut end of the cutting to dry and form a callus. This acts as a protective layer for the future root growth. Leave the cutting in a dry, warm place for a few days.
Planting the Cutting: Fill a small pot with a well-draining potting mix. Moist the mix and then carefully bury the base of the cutting into the soil. Make sure the leaves are above the soil level. You can use a rooting hormone on the cutting to promote faster root development.
Moisture and Light: Place the cutting in a bright location, but avoid direct sunlight. The soil should stay consistently moist but not soggy. Regularly mist the leaves to maintain humidity.
- Patience is Key: The process of root development can take several weeks. Don’t worry if you don’t see immediate results. Continue to monitor your cutting, ensuring it gets the right amount of moisture and light. As new growth emerges, you’ll know your propagation has been successful!
Key Tips for Success:
- Fresh, healthy cuttings: Use only healthy, vigorous leaves or stems for your propagation.
- Sterilize your tools: Using clean, sterilized tools will help prevent infection and disease. You can disinfect tools with rubbing alcohol or chlorine bleach.
- Choose the right potting mix: A well-draining mix is essential for Bolusiella talbotii propagation. A blend of perlite, vermiculite, and peat moss will provide the perfect balance.
- Promote humidity: Bolusiella talbotii thrives in humid environments. You can create a mini-greenhouse effect by placing your cutting in a clear plastic bag or by using a humidity dome.
Watching the Magic Unfold:
As your Bolusiella talbotii cutting sprouts new leaves and roots, you’ll be witnessing the fascinating cycle of life. The tiny plant, initially fragile and dependent on your care, will gradually mature into a stunning specimen that brings a unique aesthetic to your home.
Propagating the Bolusiella talbotii is a rewarding and achievable task that brings you closer to the wonder of nature. It allows you to expand your plant collection and share the beauty of this captivating species with others. So, go ahead, give it a try—you might be surprised at how easy it is to become a plant propagator!