Boost Your Blooms: A Guide to Propagating Sticky Browallia
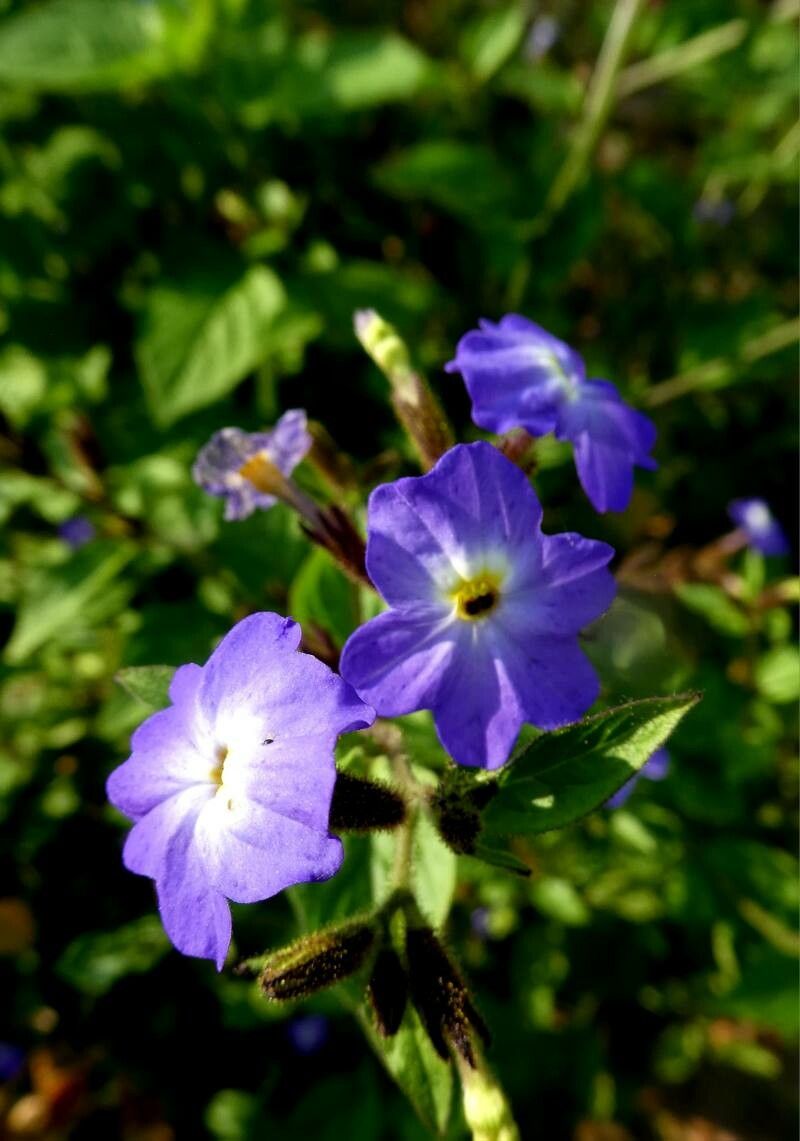
Sticky browallia (Browallia viscosa) is a charming plant beloved for its profuse, jewel-toned blooms that grace gardens from spring to frost. Unlike its annual cousin, Browallia speciosa, Browallia viscosa is often grown as a tender perennial, rewarding gardeners with multiple seasons of color. Whether you’re looking to expand your existing patch or share the joy of browallia with fellow plant lovers, propagating this beauty is easier than you think.
This guide will walk you through the two most popular methods for propagating sticky browallia:
1. Propagating Sticky Browallia from Seed:
Starting sticky browallia from seed is a rewarding experience, allowing you to witness the entire lifecycle of this vibrant plant. Here’s what you need to know:
- Timing: Begin sowing seeds indoors 6-8 weeks before the last expected frost in your region.
- Materials:
- Seed starting mix
- Seed trays or small pots
- Water mister
- Plastic wrap or a humidity dome (optional)
- Process:
- Fill your seed trays with moist seed starting mix and gently press the seeds onto the surface. Browallia seeds need light to germinate, so avoid burying them.
- Mist the soil surface with water and cover the tray with plastic wrap or a humidity dome to maintain moisture.
- Place the tray in a warm, bright location out of direct sunlight.
- Keep the soil consistently moist but not soggy.
- Germination typically takes 1-2 weeks.
- Once seedlings have developed their first set of true leaves, thin them out, leaving the strongest seedling in each cell or pot.
- Gradually harden off the seedlings by introducing them to outdoor conditions for increasingly longer periods over a week or two.
- Once all danger of frost has passed, transplant your seedlings to their final location in the garden.
2. Propagating Sticky Browallia from Cuttings:
Taking cuttings is another straightforward method for propagating sticky browallia, especially useful if you want to create more plants with identical characteristics to your existing ones.
- Timing: Take cuttings in spring or early summer from healthy, actively growing stems.
- Materials:
- Sharp, clean pruning shears or scissors
- Small pots or a seed tray
- Rooting hormone (optional, but recommended)
- Well-draining potting mix
- Process:
- Select healthy stems and make a clean cut just below a leaf node (where the leaf joins the stem). Each cutting should be about 3-4 inches long.
- Remove the lower leaves from the cutting, leaving 2-3 leaves at the top.
- Dip the cut end of the stem in rooting hormone (optional).
- Plant the cuttings in a pot filled with moist potting mix.
- Cover the pot with a plastic bag or humidity dome to retain moisture and create a humid environment.
- Place the pot in a bright location out of direct sunlight.
- Keep the soil consistently moist and mist the cuttings regularly.
- Roots should develop in 2-4 weeks.
- Once roots have formed and new growth appears, begin hardening off the cuttings before planting them outdoors.
Tips for Success:
- Sticky browallia prefers a well-draining, slightly acidic soil.
- Provide your plants with regular watering, especially during hot, dry periods. However, avoid overwatering, which can lead to root rot.
- Feed your plants every 4-6 weeks with a balanced liquid fertilizer.
- Pinch back young plants to encourage bushier growth and more abundant blooms.
- Deadhead spent flowers to prolong the blooming period and prevent self-seeding.
Propagating sticky browallia is a great way to expand your garden or share your love for this beautiful plant with others. Whether you choose to start seeds or take cuttings, follow these guidelines and enjoy watching your browallia thrive!