Bulbs and Beyond: Multiply Your Bulbine Bulbosa with Ease
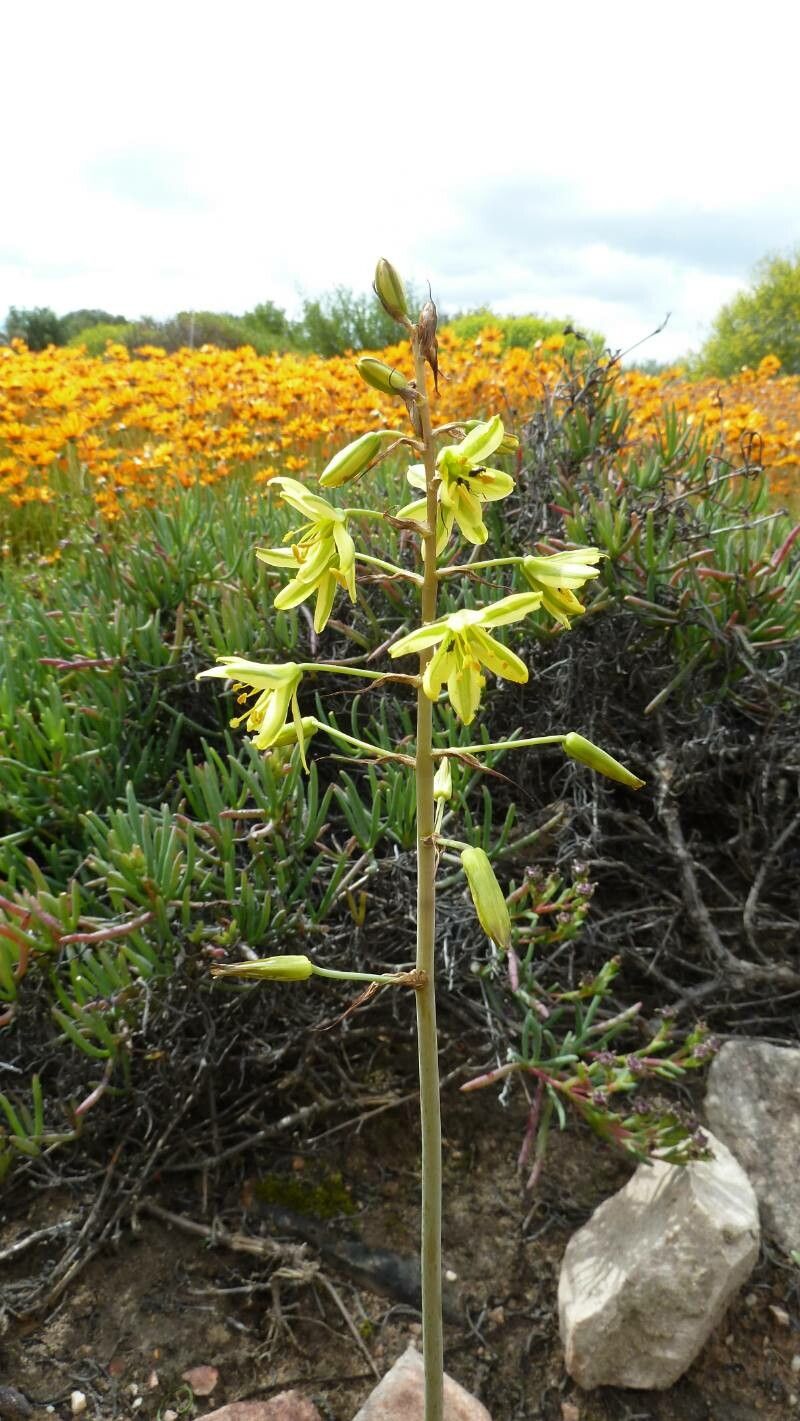
The Bulbine bulbosa, with its cheerful yellow blooms and succulent-like foliage, is a winner in any sunny garden. But did you know that this Australian native is also incredibly easy to propagate? That’s right, you can quickly multiply your Bulbine bounty and spread the sunshine to other corners of your yard, or even share them with friends. Here’s how:
Three Ways to Propagate Bulbine Bulbosa:
1. Division:
This is the simplest and fastest method, especially if you have an established clump. Here’s what to do:
- Timing is Key: Divide your Bulbine in early spring or fall. Avoid doing this during the hottest months of the year.
- Gentle Hands: Carefully dig around the clump, ensuring you don’t damage the bulbs or roots.
- Divide & Conquer: Gently separate the clump into smaller sections, ensuring each section has a healthy amount of bulbs and roots.
- Replant & Water: Replant the divisions at the same depth they were originally growing, water them well, and watch them thrive.
2. Seeds:
While a touch more time-consuming than division, starting Bulbine bulbosa from seed is incredibly rewarding and offers a chance to witness the plant’s entire life cycle:
- Collect Those Seeds: After the flowers fade, you’ll notice small seed pods forming. Allow these pods to dry on the plant, then collect and store the seeds in a cool, dry place.
- Springtime Sowing: Sow the seeds in a well-draining seed-starting mix in spring. Sprinkle them on the surface and lightly cover them with a thin layer of mix. Mist the soil and keep it consistently moist.
- Patience is Key: Germination can take anywhere from a few weeks to a couple of months. Be patient and provide consistent light and moisture.
- Transplant Time: Once the seedlings have developed a few true leaves, you can transplant them into individual pots or directly into the garden.
3. Bulbils:
Bulbine bulbosa often produces small bulbils (miniature bulbs) around the base of the mother plant:
- Spot the Bulbils: Keep an eye out for these tiny treasures around your Bulbine. They look like miniature versions of the parent plant.
- Gently Remove: Carefully detach the bulbils from the mother plant, ensuring they have some roots attached.
- Pot Them Up: Plant the bulbils in a well-draining potting mix, burying the roots but leaving the bulbil exposed.
- Watch Them Grow: With proper watering and sunlight, these little ones will soon take root and develop into thriving Bulbine plants.
Tips for Success:
- Well-draining Soil: Bulbine bulbosa hates soggy feet. Ensure your soil or potting mix allows for excellent drainage.
- Sunshine is Key: Choose a bright, sunny location for your Bulbine. They thrive in full sun but can tolerate some light shade.
- Water Wisely: While somewhat drought-tolerant, Bulbine bulbosa prefers regular watering, especially during their active growing season.
With a little effort and these easy propagation methods, you can easily multiply your Bulbine bulbosa and enjoy a garden brimming with their cheerful golden blooms. So go ahead, get propagating, and let the sunshine in!