Unlocking the Secrets to Propagating Your Coconut Orchid (Bulbophyllum cocoinum)
The Bulbophyllum cocoinum, affectionately nicknamed the “Coconut Orchid” for its coconut-scented blooms, holds a special allure for orchid enthusiasts. Its cascading chains of delicate, fragrant flowers are a sight to behold, but successfully propagating this unique orchid can feel like cracking a complex code. Fear not, fellow orchid lovers! This guide will demystify the process and equip you with the know-how to expand your Coconut Orchid collection.
Understanding Your Orchid:
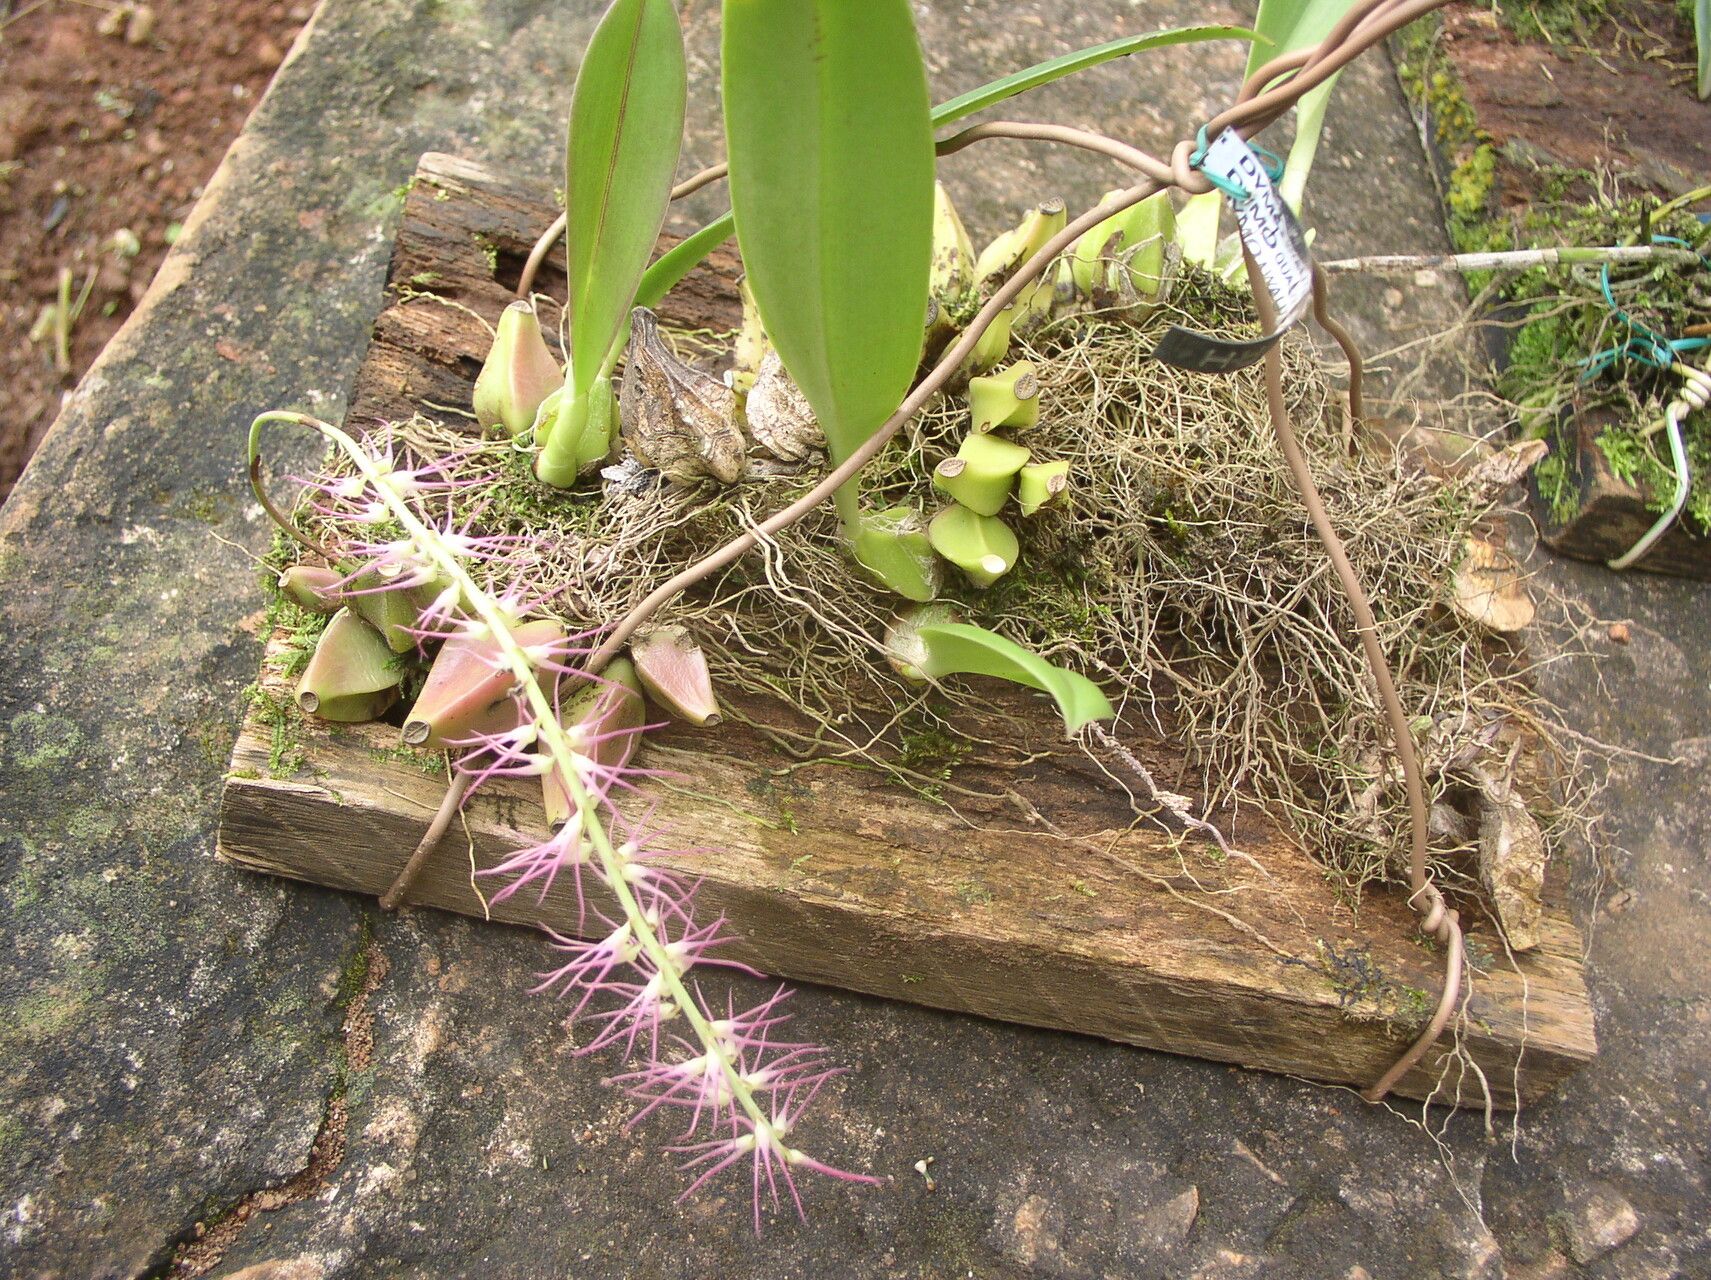
Before diving into propagation, it’s crucial to understand the growth habit of the Bulbophyllum cocoinum. This sympodial orchid grows laterally, producing new growths or “pseudobulbs” along a rhizome. Each pseudobulb matures, blooms, and eventually gives rise to new growths. This characteristic is key to successful propagation.
Two Roads to Propagation:
1. Division:
- When? The best time for division is during spring, just as the orchid begins its active growth period.
- What to look for? A healthy Coconut Orchid ready for division will have multiple mature pseudobulbs (at least 3-4) connected by a healthy rhizome.
- The Process:
- Carefully remove the orchid from its pot.
- Using a sterilized knife or shears, cut the rhizome, ensuring each division has at least 2-3 healthy pseudobulbs with some roots attached.
- Treat any cut surfaces with cinnamon powder or a fungicide to prevent infection.
- Plant each division in a well-draining orchid mix, ensuring the base of the pseudobulbs is at or slightly above the media surface.
2. Backbulbs (Keikis):
- What are they? Occasionally, your Coconut Orchid might surprise you with miniature plants forming at the base of mature pseudobulbs – these are keikis, essentially clones of the parent plant.
- When are they ready? Once a keiki develops its own roots (at least an inch long), it’s ready for separation.
- The Process:
- Gently remove the keiki from the parent plant, ensuring some root system remains attached.
- Plant the keiki in a well-draining, finer-grade orchid mix suitable for its smaller size.
Post-Propagation Care: The Key to Success
- Patience is a Virtue: Newly propagated divisions or keikis require time to establish themselves. Don’t be discouraged if you don’t see immediate growth.
- Light: Provide bright, indirect light, similar to the parent plant’s preferred conditions.
- Water: Water sparingly at first, allowing the potting mix to dry slightly between waterings.
- Humidity: Maintain moderate to high humidity levels, which are essential for root development.
Troubleshooting:
- Yellowing leaves: May indicate overwatering.
- Shriveling pseudobulbs: Could signify dehydration or excessive dryness.
Propagating your Coconut Orchid doesn’t have to be daunting. With a little understanding of its growth habits and the right techniques, you can successfully multiply your collection and enjoy the captivating beauty and enchanting fragrance of this remarkable orchid for years to come.