
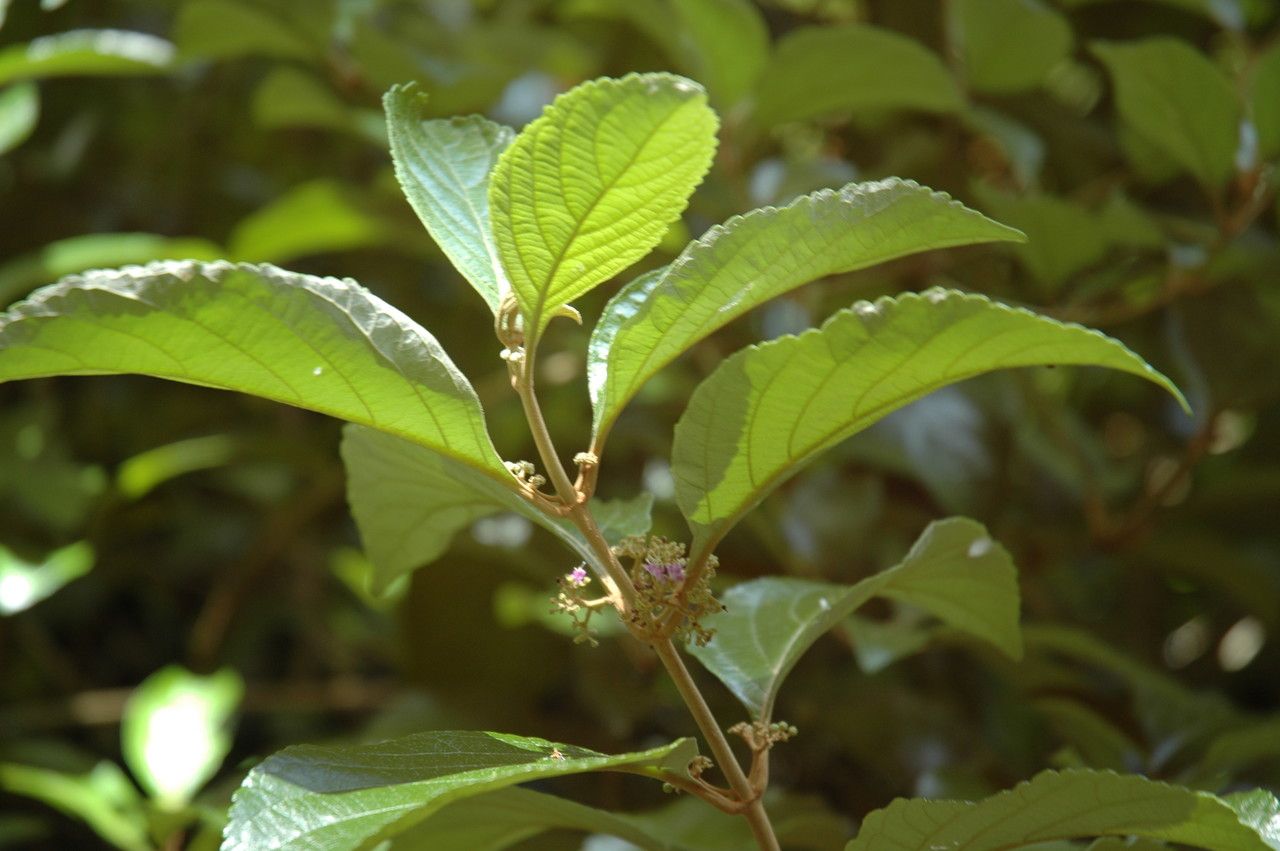
Unleash the Magic: Propagating Your Very Own Beautyberry (Callicarpa candicans)
The Beautyberry, also known as Callicarpa candicans, is a visual delight. This captivating shrub boasts vibrant foliage that transitions from deep green to glowing gold in autumn. But the real showstopper arrives with clusters of iridescent purple berries adorning its branches, creating a jewel-toned spectacle that captivates the eye and attracts a flurry of feathered friends to your garden.
If you’re already smitten by the Beautyberry’s charm (and who wouldn’t be?), why not multiply the magic by learning the art of propagation? It’s surprisingly simple and rewarding to cultivate these enchanting shrubs from scratch. Here’s a comprehensive guide to get you started:
The Power of Two: Softwood and Hardwood Cuttings
There are two primary methods for propagating Beautyberry:
1. Softwood Cuttings (Late Spring to Early Summer):
- Timing is Key: Focus on the period of new growth, typically from late spring to early summer, when the stems are still somewhat pliable but no longer snap easily.
- The Perfect Snip: Choose healthy, vigorous stems about 4-6 inches long, making the cut just below a leaf node (the point where a leaf emerges).
- Prepare for Success: Remove the lower leaves, leaving 2-3 pairs at the top. Dip the cut end in rooting hormone to encourage faster root development.
- Potting Time: Plant the cuttings in a well-draining potting mix, burying the bottom node. Water thoroughly and cover the pot with a clear plastic bag or humidity dome to create a mini greenhouse.
- Nurturing Growth: Place the pot in a bright, indirect light location. Keep the soil consistently moist but not waterlogged. Roots should develop in about 4-6 weeks.
- Transplanting Triumph: Once the cuttings have developed a strong root system, transplant them to individual pots or directly into your garden.
2. Hardwood Cuttings (Late Fall to Early Winter):
- Dormant but Determined: This method utilizes dormant hardwood cuttings taken after leaf drop in late fall or early winter.
- Cut with Precision: Select healthy, pencil-thick stems about 6-8 inches long and make a clean cut just below a leaf node.
- Bundling for Success: Gather 5-6 cuttings and tie them together loosely with twine. Label them clearly to avoid confusion later.
- The Chill Factor: Store the bundles horizontally in a moist medium like peat moss or sawdust within a cool, dark location (around 40°F) for several weeks to encourage callus formation.
- Spring Awakening: In late winter or early spring, plant the callused cuttings directly into your garden, burying about two-thirds of their length in the soil.
- Patience is a Virtue: Hardwood cuttings may take a bit longer to establish and show growth compared to softwood cuttings.
Extra Tips for Propagation Prowess:
- Well-Drained Soil is Key: Beautyberries thrive in well-drained soil, so ensure your potting mix and garden bed are conducive to good drainage.
- Sunlight is Golden: Choose a location in your garden that receives full sun to partial shade for optimal growth and berry production.
- Water Wisely: While Beautyberries appreciate regular watering, especially during their establishment phase, avoid overwatering, as it can lead to root rot.
Propagating your own Beautyberry (Callicarpa candicans) is a fulfilling endeavor that allows you to multiply the enchantment of this stunning shrub. With a little patience, care, and these simple techniques, you’ll be well on your way to creating a breathtaking display of vibrant foliage and jewel-toned berries for seasons to come.