
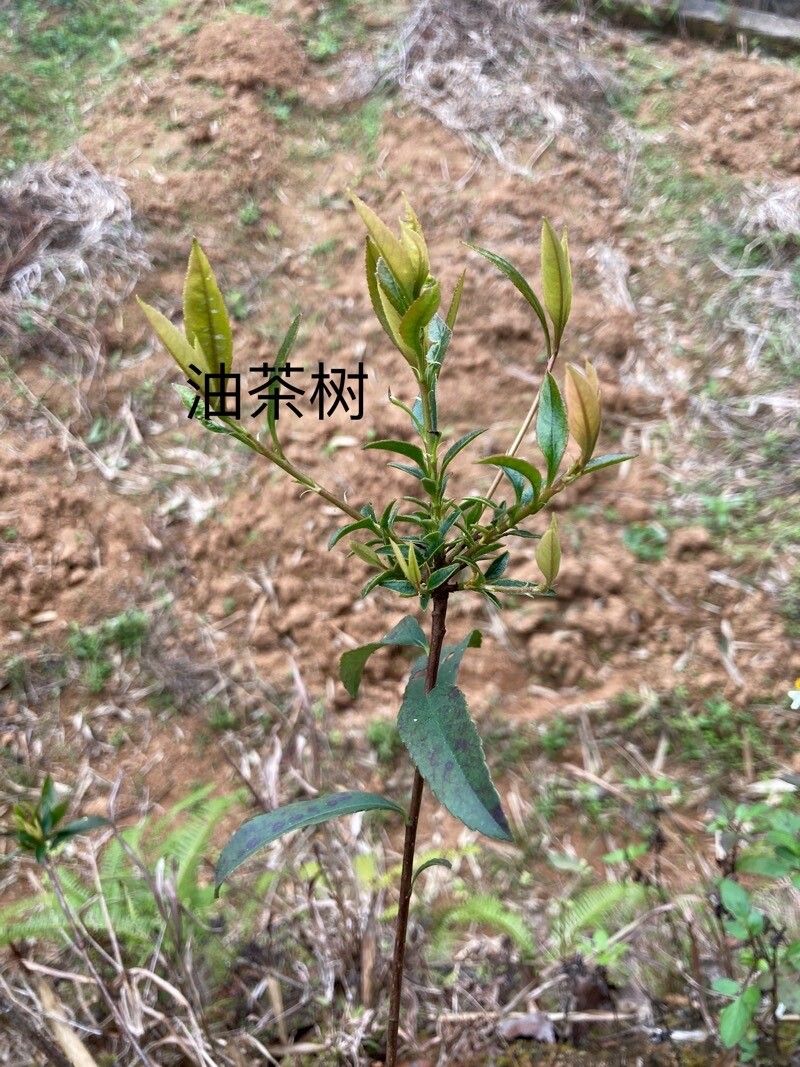
Cracking the Code: Propagating the Oil-Rich Camellia oleifera
The Camellia oleifera, also known as the oil-tea camellia, is more than just a pretty face. While its delicate blooms are undeniably charming, this evergreen shrub is prized for the high-quality oil extracted from its seeds – tea oil. This versatile oil is used for everything from cooking and cosmetics to lubrication and lamp fuel.
If you’re interested in cultivating this fascinating and useful plant, you might be wondering about the best methods for propagation. While commercially grown Camellia oleifera are often propagated through specialized techniques like tissue culture, home gardeners can successfully propagate them through two main methods:
1. Seed Propagation: A Journey of Patience
Propagating Camellia oleifera from seed is an adventure in patience, but the rewards are well worth it. This method allows you to witness the entire lifecycle of the plant, from tiny seed to mature shrub.
Here’s how to do it:
- Seed Collection: Harvest mature seed capsules in autumn when they turn brown and begin to split open.
- Seed Preparation: Extract the seeds from the capsules and remove any fleshy outer layer. Allow them to dry for a few days.
- Cold Stratification (Optional): While not strictly necessary, cold stratification can improve germination rates. Store the seeds in a moist paper towel inside a sealed plastic bag in your refrigerator for 6-8 weeks.
- Sowing: Plant the seeds in a well-draining seed-starting mix, burying them about an inch deep.
- Patience is Key: Be patient! Germination can take anywhere from a few weeks to several months. Keep the soil consistently moist but not waterlogged.
Pros:
- Cost-effective: Seeds are often easier to obtain and more budget-friendly than established plants.
- Genetic Diversity: Seed propagation promotes genetic variation, potentially leading to stronger, more adaptable plants.
Cons:
- Longer Process: Seedlings require more time to mature and produce seeds compared to plants grown from cuttings.
- Variability: The resulting plants may not inherit all the desirable traits of the parent plant.
2. Semi-Hardwood Cuttings: Cloning for Quicker Results:
For a faster and more predictable outcome, consider propagating Camellia oleifera from semi-hardwood cuttings. This technique involves taking cuttings from a healthy, mature plant and encouraging them to develop roots.
Here’s a step-by-step guide:
- Timing is Crucial: Take cuttings during the summer months when the plant is actively growing.
- Choose Wisely: Select healthy stems that are partially woody with new growth at the tips. Cuttings should be around 4-6 inches long.
- Prepare the Cuttings: Remove the leaves from the bottom inch or two of each cutting. Dip the cut end in rooting hormone (optional).
- Potting Up: Plant the cuttings in a pot filled with a well-draining rooting medium, such as a mixture of peat moss and perlite.
- Creating a Humid Environment: Cover the pot with a plastic bag or humidity dome to maintain moisture.
- Be Patient (Again!): Root development might take several weeks. Once you notice new growth, it’s a good sign that the cuttings have rooted successfully.
Pros:
- Faster Results: Cuttings tend to mature faster than seedlings.
- Clonal Propagation: The resulting plants will be genetic replicas of the parent plant, ensuring consistency in desired characteristics.
Cons:
- Slightly More Challenging: Cuttings can be a bit more finicky to root than seeds.
- Source Material Needed: You’ll require access to a healthy Camellia oleifera plant for cuttings.
No matter which method you choose, propagating Camellia oleifera is a rewarding endeavor. With patience and care, you can successfully cultivate this versatile and valuable plant in your own backyard.